Disclosure: This DIY Felt Plantable Flower Garden post is sponsored by, Ben and Holly’s Little Kingdom. 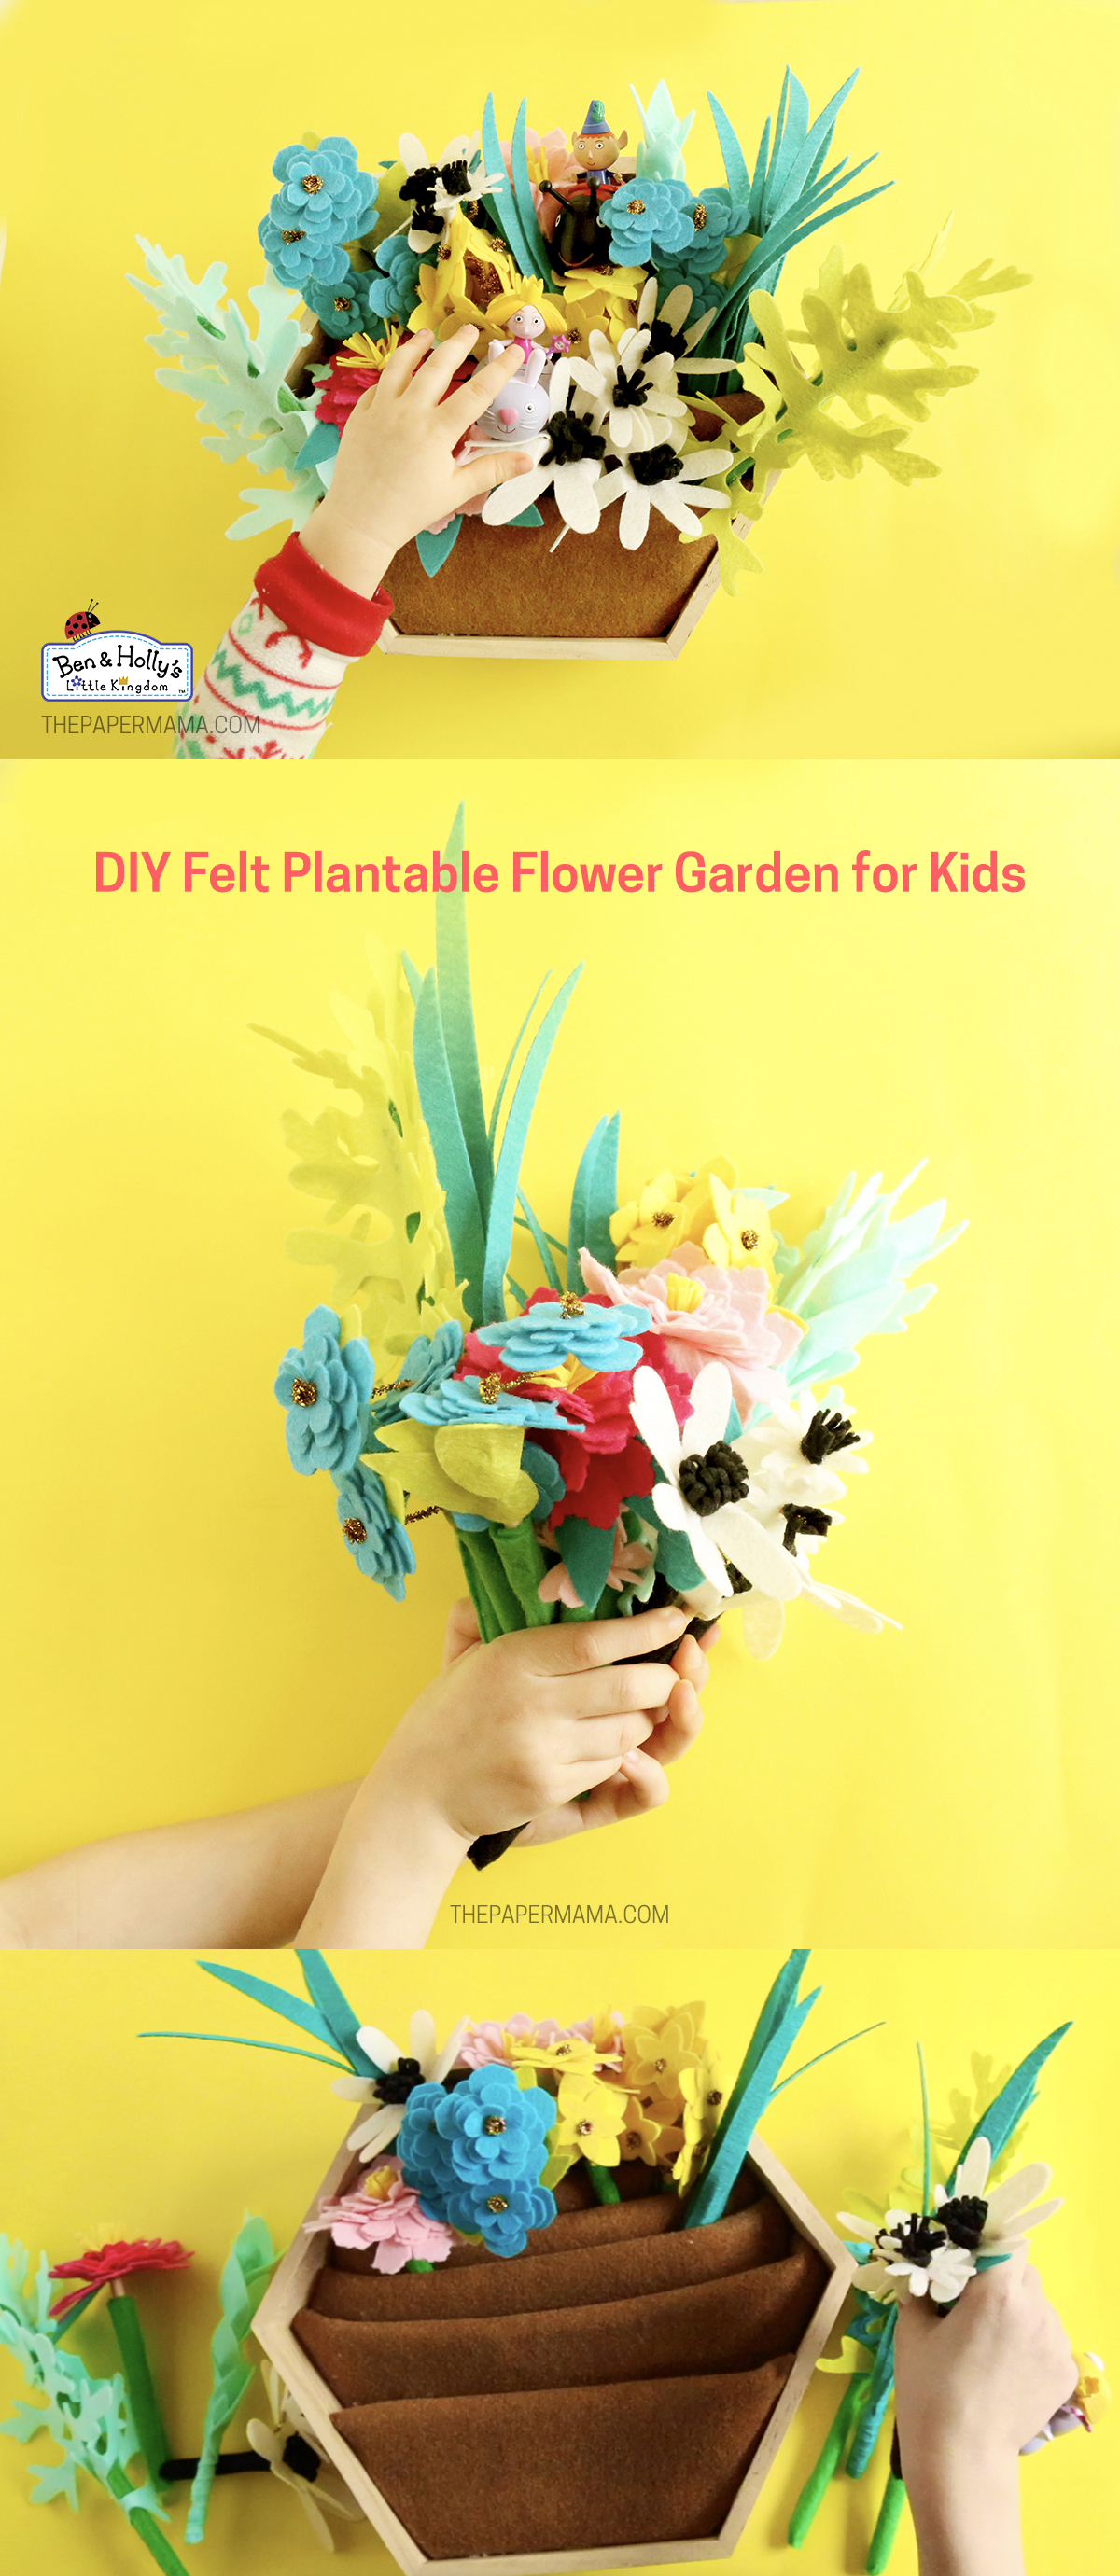
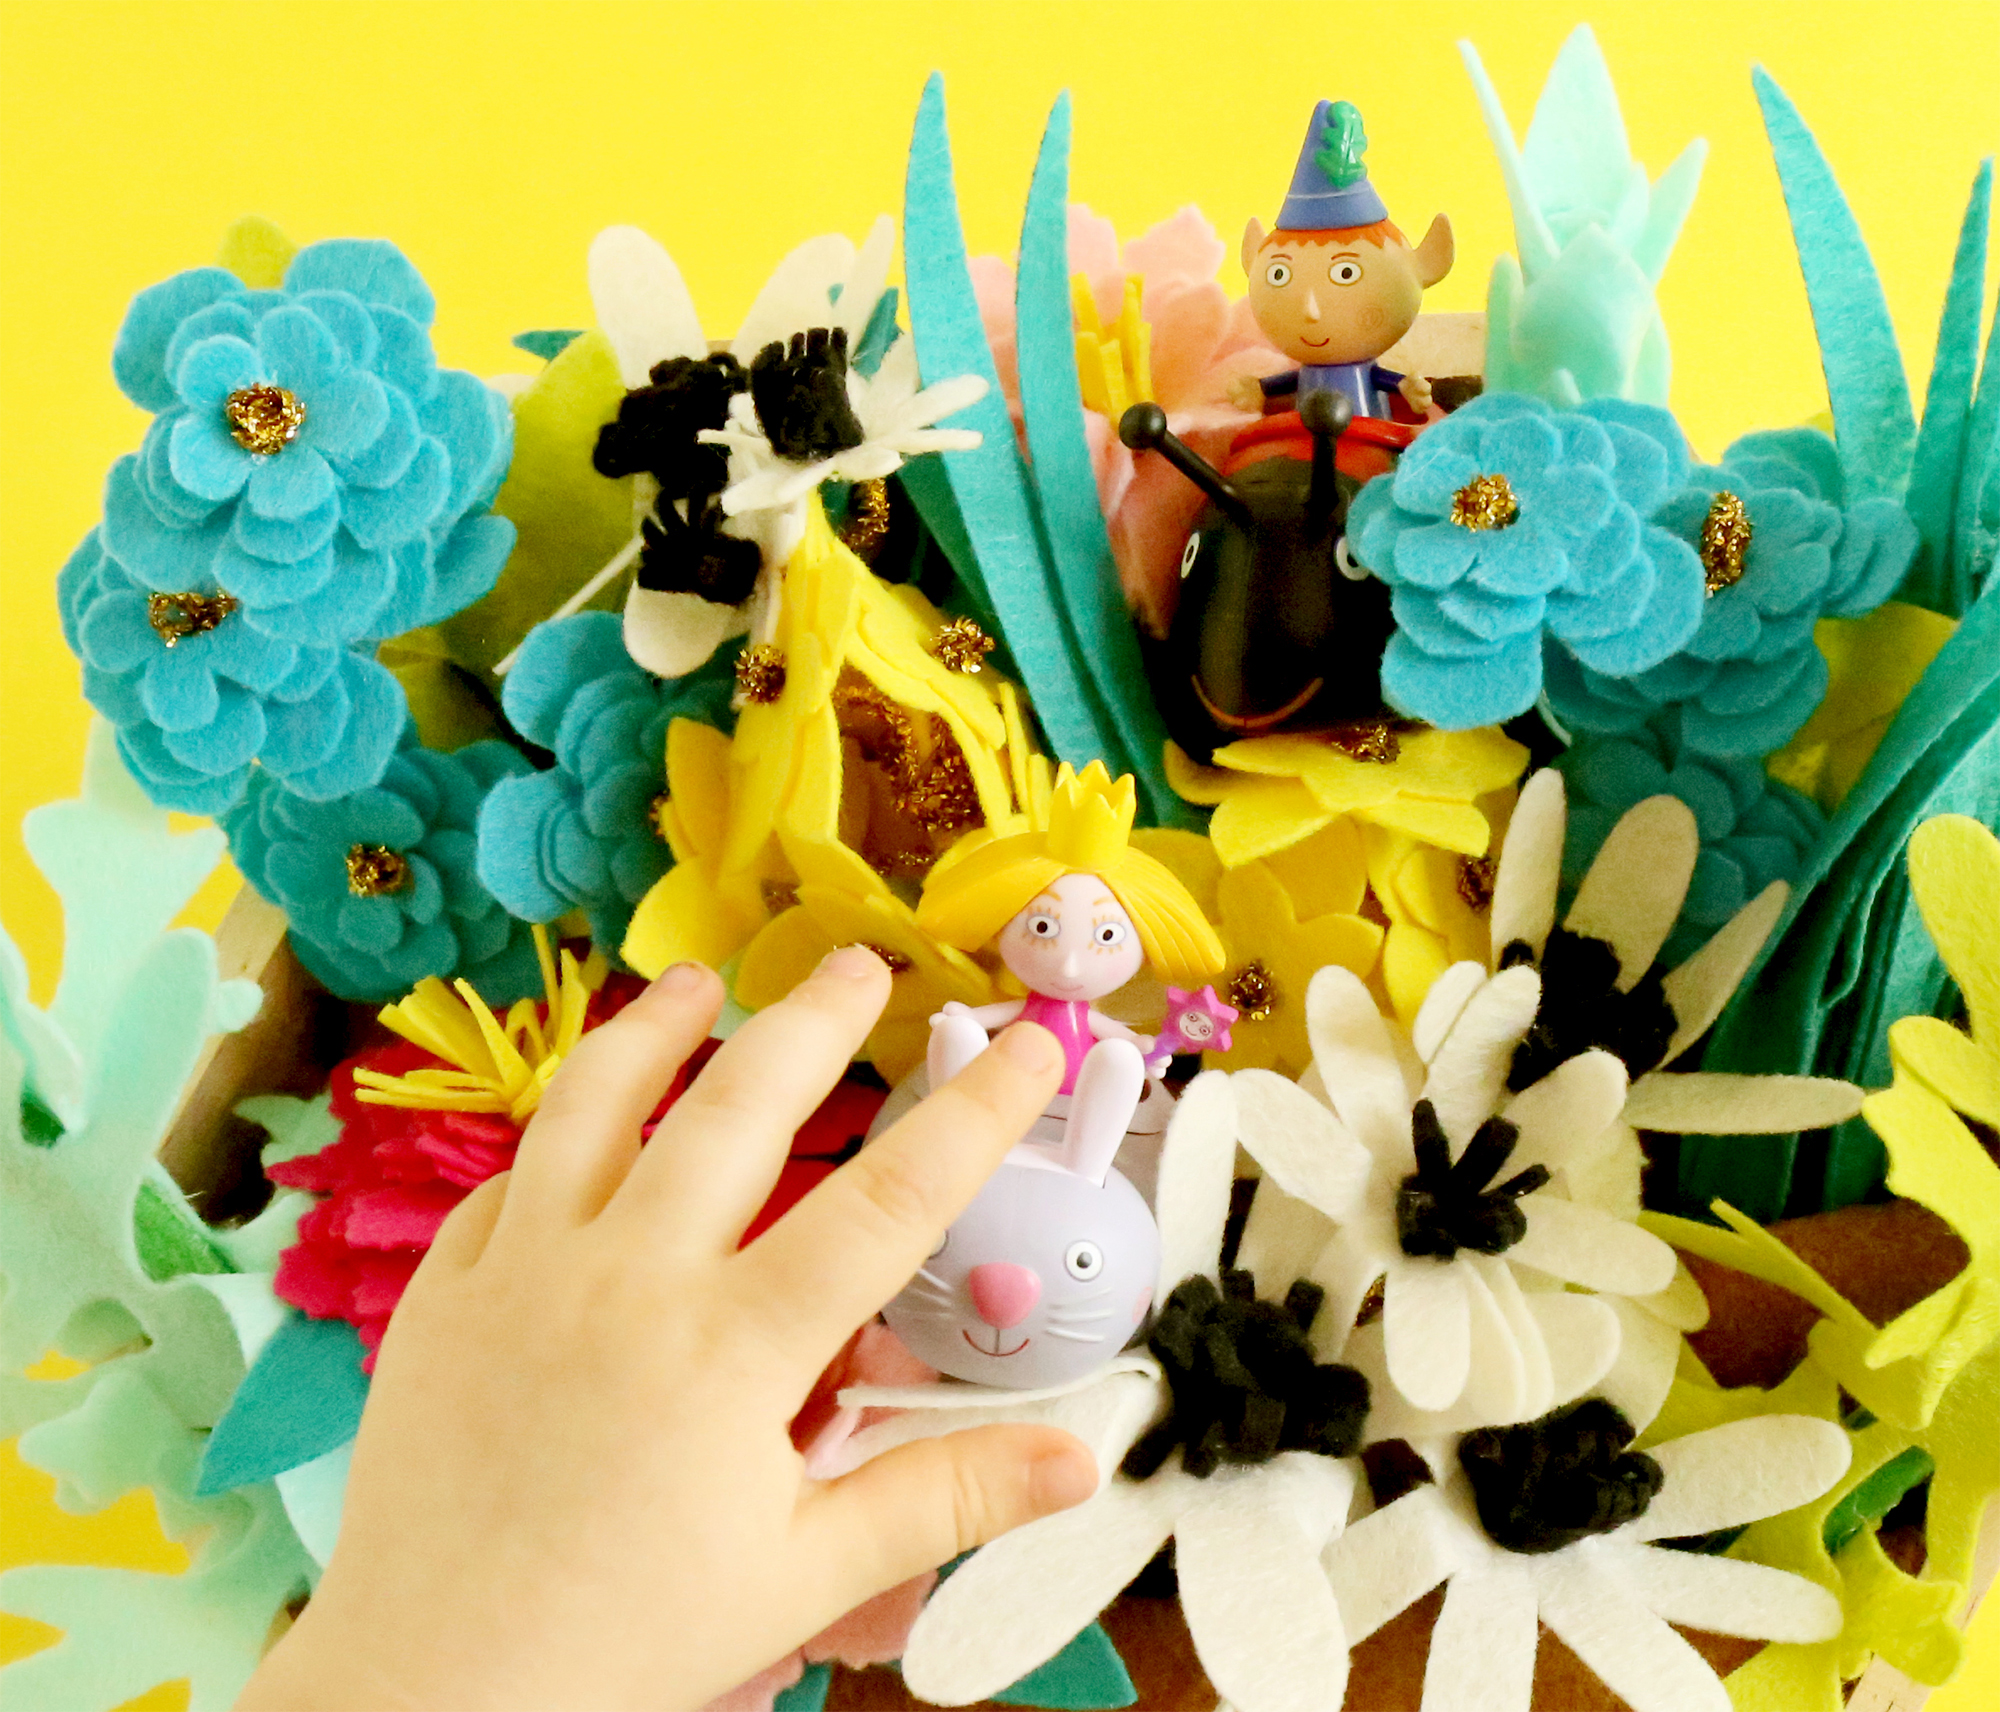
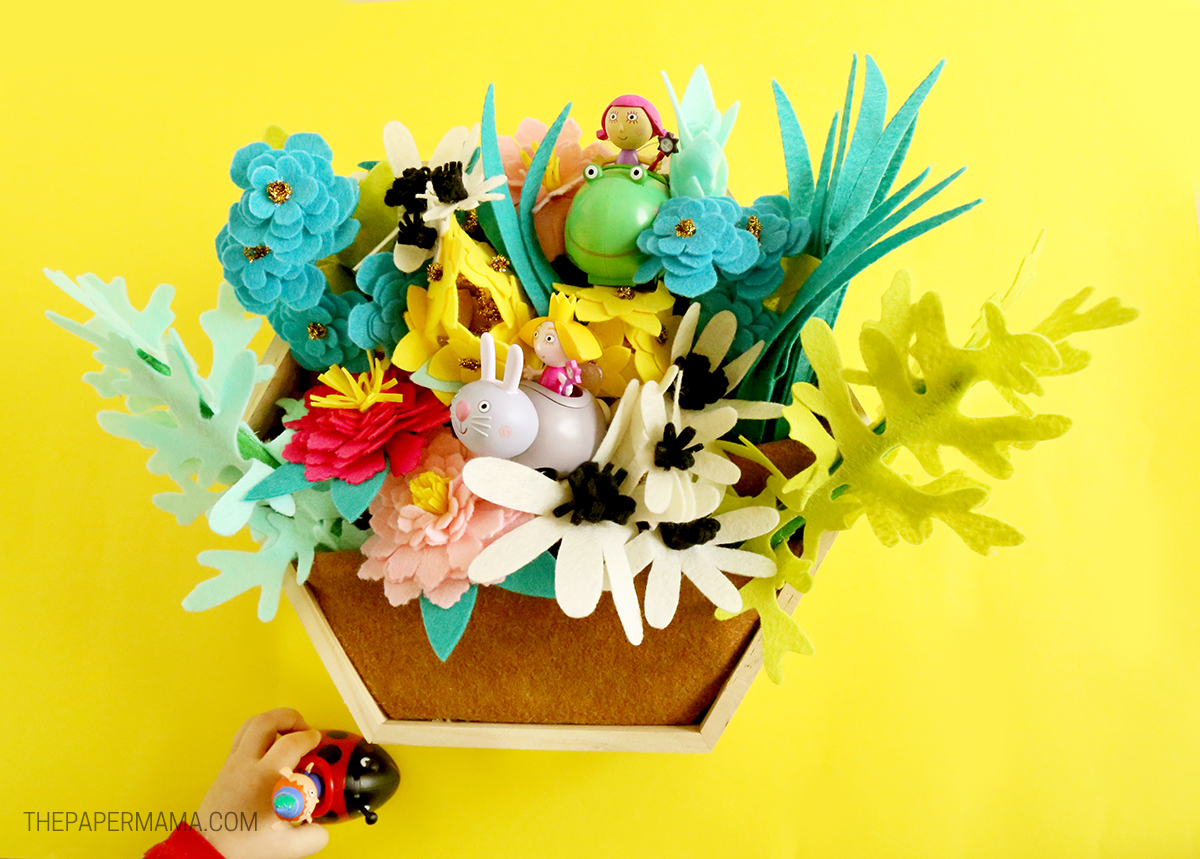
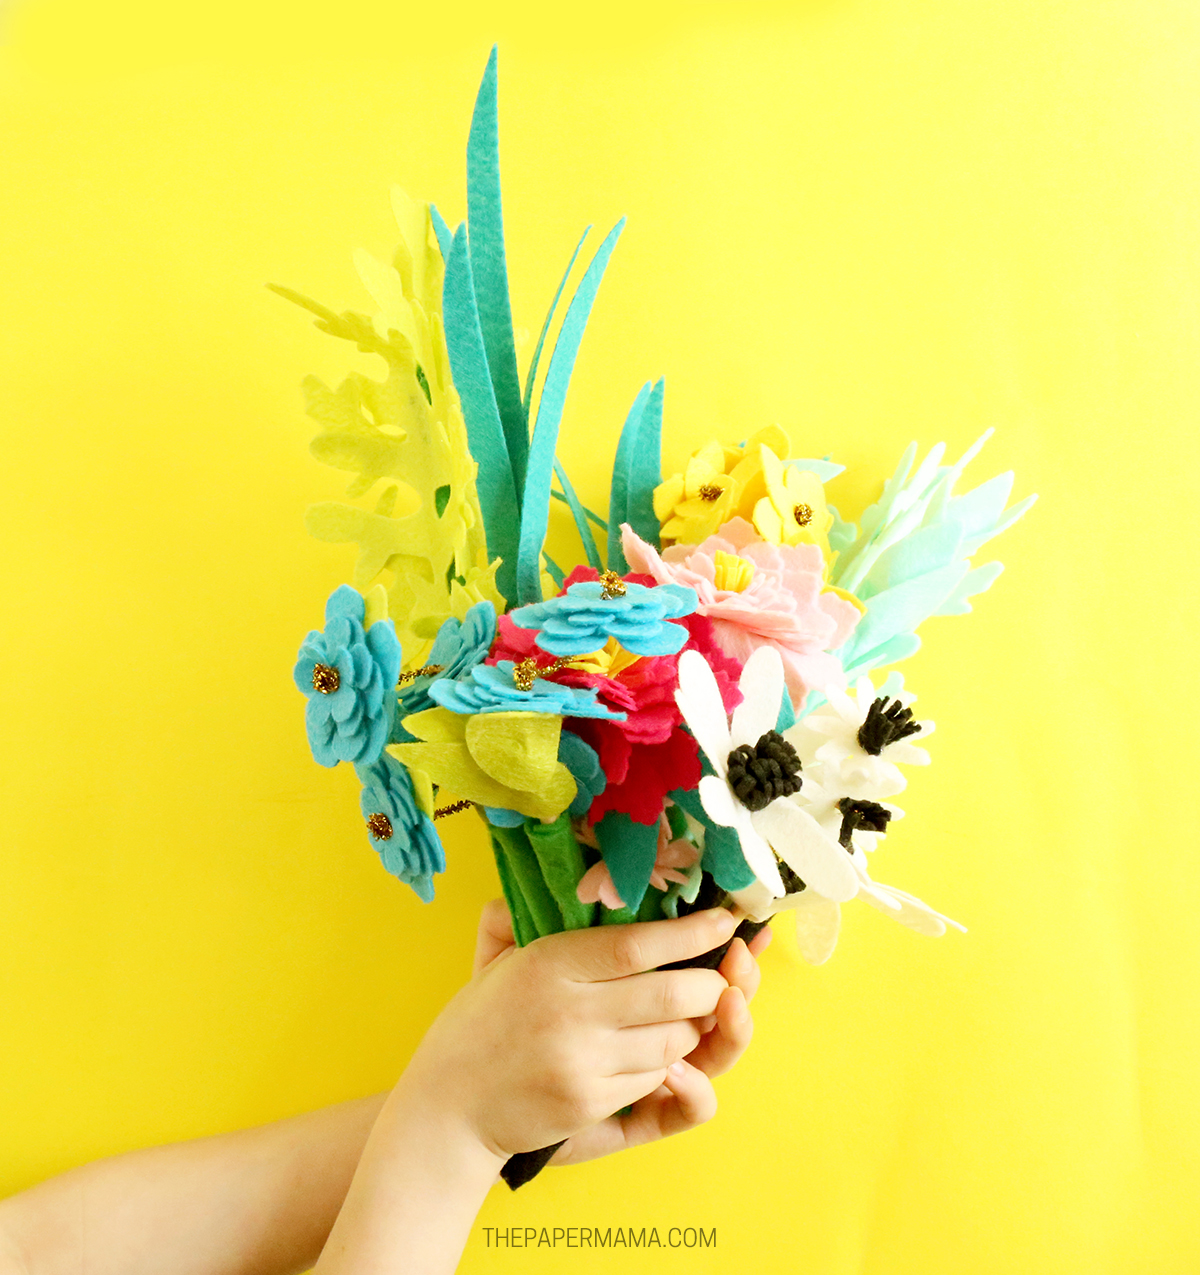
My DIY Felt Plantable Flower Garden was inspired by the beautiful imagery in the series, Ben and Holly’s Little Kingdom. The show takes place in the Little Kingdom, a tiny land where flowers and grass grow above the tallest towers! This DIY is the perfect toy for this Summer and Spring! I hung this sweet garden on the wall and my daughters LOVE picking their flowers and planting them over and over again. My oldest even requested gardening gloves while she played. We do a lot of real gardening at our home, but sometimes it’s nice to have something fun and creative for my kids to do indoors on rainy days… or days I don’t want to take the kids to the playground.
I’ve created flower files for you guys, my awesome readers, to make this for yourself. I have files to cut it on a Silhouette machine, if you have one, or images to use as patterns and cut by hand.
Are you ready to get crafting?
Supplies needed for my DIY Felt Plantable Flower Garden:
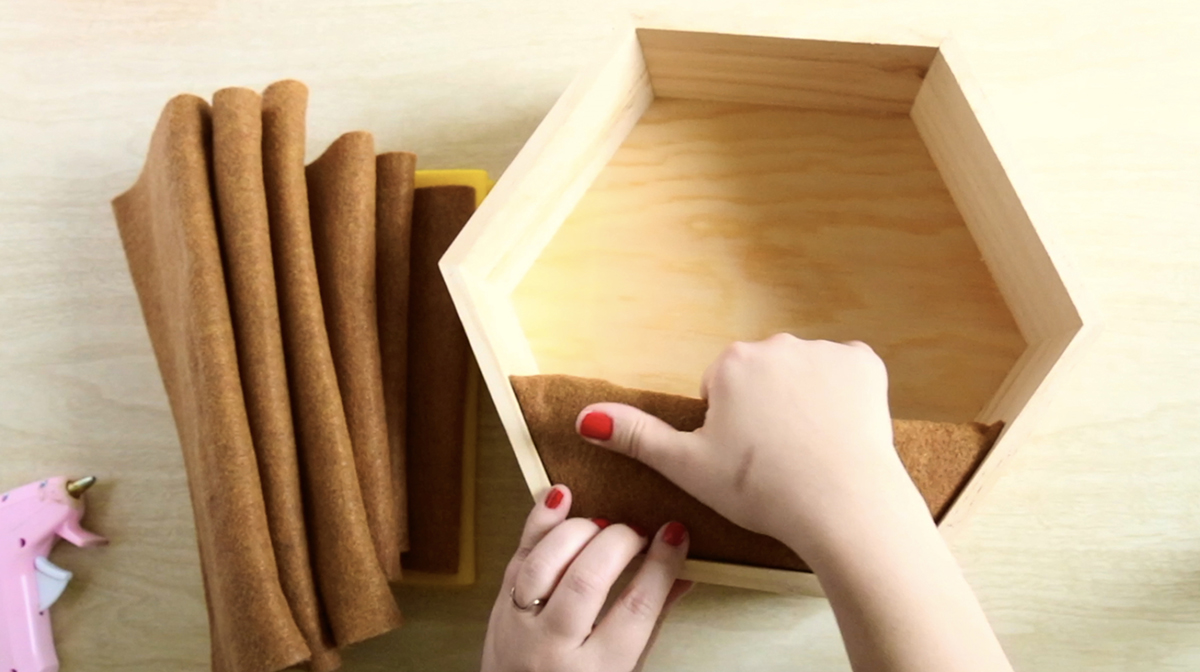
Planter box:
- wall hanging box (My box came from Michaels)
- three brown 9 x 12 felt sheets for the dirt
- cardboard
- hot glue
Flowers and leaves:
- 12 x 12 stiff felt 1mm thick
- 1/4 diameter wood dowels
- golden pipe cleaners
- hot glue
- flower and leaf tracing patterns if cutting by hand: dusty miller and leaves, dusty miller, grass, daisy, wildflowers, star flowers, and anemone.
- optional: Heat’n Bond
Items needed if cutting on the silhouette machine:
- 12 x 12 stiff felt 1mm thick (stiff felt is necessary if cutting on the silhouette machine)
- Elmer’s Spray Adhesive
- Silhouette Deep Cut Blade
- Silhouette Cutting Mat
- Silhouette cutting files for 12 x 12: dusty miller and leaves, grass and leaves, daisy, wildflowers, star flowers, and anemone.
Directions:
Step 1:
If you’re going to cut the flowers out with the Silhouette machine, follow step 1. If not, skip ahead to Step 2.
I had a hard time finding a good set of directions to cut felt on my Silhouette Cameo 3 WITHOUT using ironed-on fabric so I practiced and I have figured out a few tricks here and there. With a bit of trial and error I came up with a pretty good plan for cutting felt on my Silhouette. First, you need to have the proper felt. It has to be stiff (not floppy) and I provided a link to the felt I purchased for this project in the supplies list. The problem with cutting felt is the fuzz will come off on your cutting mat and the mat loses its stickiness! Here’s what I did:
- Spray a coat of the Elmer’s Spray Adhesive onto your mat (do this outside on a covered space, it’s sticky). Let the spray dry for a minute or two and press the stiff felt onto the mat. Really press it down.
- Set the Silhouette Deep Cut Blade to 14 (red) and 4 (blue). Install the blade into your machine. Note: I’ve seen others use the regular blades with success, but it didn’t work for me!
- Open the files I provided and set the settings to the following: deep cut blade, speed at 3, force at 33, and 1 pass. Note: set the passes to “2” if it’s not cutting well enough.
- Cut your felt on the machine. Remove from the mat and trim any spots that didn’t cut all the way. This is a successful technique, but little corners and details all need a trim.
- Repeat the above until you are all done cutting the felt.
Step 2:
Skip this step and move onto step 3 if you’ve already cut your felt on the Silhouette.
- Print out the tracing patterns I provided in the supplies list. Cut out the shapes.
- Iron on the Heat’n Bond onto the back of the felt.
- Trace the leaf and flower shapes onto the Heat’n Bond.
- Cut out the traced shapes.
- Peel off the Heat’n Bond.
- Use a hole punch to put holes in the center of the flower shapes.
Step 3:
Cut your wood dowels to a variety of sizes. The lengths all depend on the wood box you are using. For mine I cut the sizes to about 3 – 6 inches.
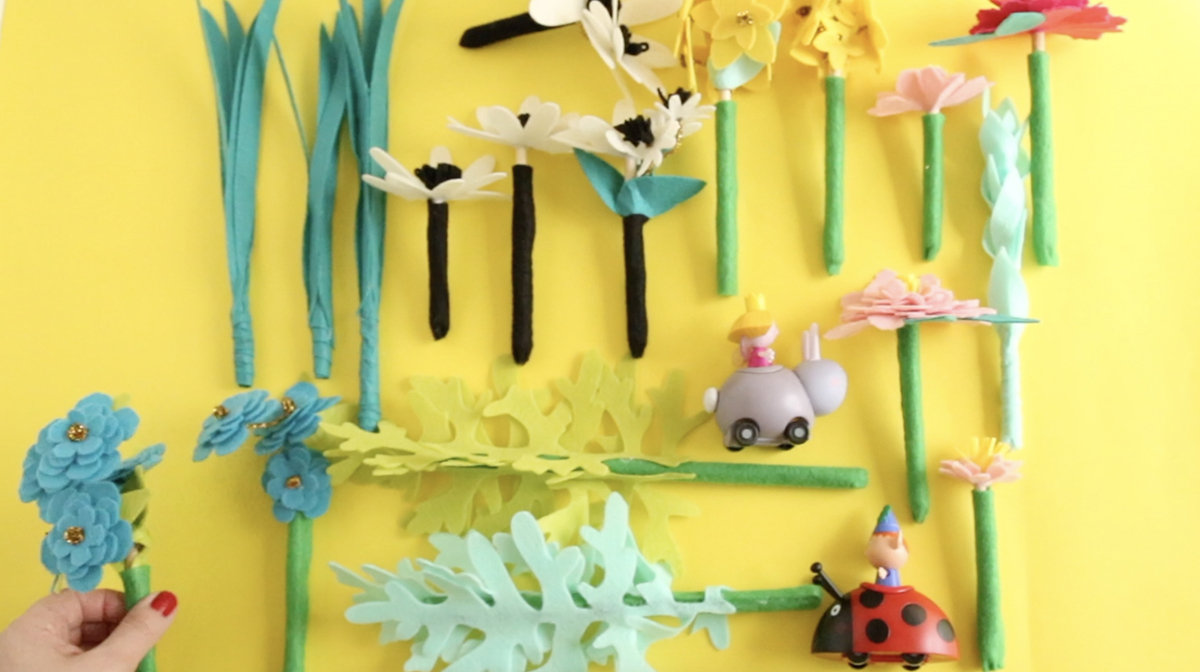
Step 4:
It’s time to assemble the flower! I provided a video if you need more of a visual to craft this DIY, but here are some more tips:
- Star flowers: use some pliers to form a little ball at the end of a pipe cleaner. Slide on your two star flower shapes and add a bit of hot glue to the back of the flower. Wrap the pipe cleaner around one end of the wood dowel. Repeat this step until you have about 4 or 5 flowers glued to the dowel.
- Daisy: Cut a strip of black felt to about 1″ x 3″. Fold the felt in half lengthwise and glue the edges together. On the folded side of the glued strip use your scissors to make little cuts along the edge. Glue the end of the felt strip to the end of the wood dowel. Add a strip of glue to the cut edge and roll it onto the dowel. This will be the center of the daisy. Push the daisy flower onto the dowel. Add hot glue to the back of the center of the flower and push the daisy onto the glue.
- Wildflowers: use some pliers to form a little ball at the end of a pipe cleaner. Slide on four wildflower shapes onto the pipe cleaner and add a bit of hot glue to the back of the flower to hold it in place. About 1 inch down from the glued flower add another pipe cleaner ball, and slide on four wildflower shapes onto the pipe cleaner, and add a bit of hot glue to the back of the flower to hold it in place. Wrap the end of the pipe cleaner to the end of a dowel and glue. Add some leaves if you like.
- Anemone: Cut a strip of yellow felt to about 1/2″ x 3″. On the lengthwise side of the felt use your scissors to make little cuts along the edge. Glue the end of the felt strip to the end of the wood dowel. Add a strip of glue to the uncut edge and roll it onto the dowel. This will be the center of the anemone. Push the felt flower shapes onto the dowel and glue as you go.
Step 5:
Let’s get to assembling the leaves! I provided a video if you need more of a visual to craft this DIY, but here are some more tips:
- Dusty Miller: Cover a wood dowel with a strip of felt. Glue the dusty miller leaves to the dowel.
- Stem of leaves: Glue and cover each end of a dowel with small felt pieces. On one side of the dowel glue a strip of felt to wrap and cover the end. On the opposite end glue the leaf shapes onto the dowel (moving down and twisting as you go along).
- Grass: Glue and cover each end of a dowel with small felt pieces. On one side of the dowel glue a strip of felt to wrap and cover the end. Glue the grass, lengthwise, along the dowel. I glued about 4 – 5 for each stem.
Step 6:
Glue strips of felt to the end of each flower. This will make it easier to slide the flowers into the pockets of the planter.
Step 7:
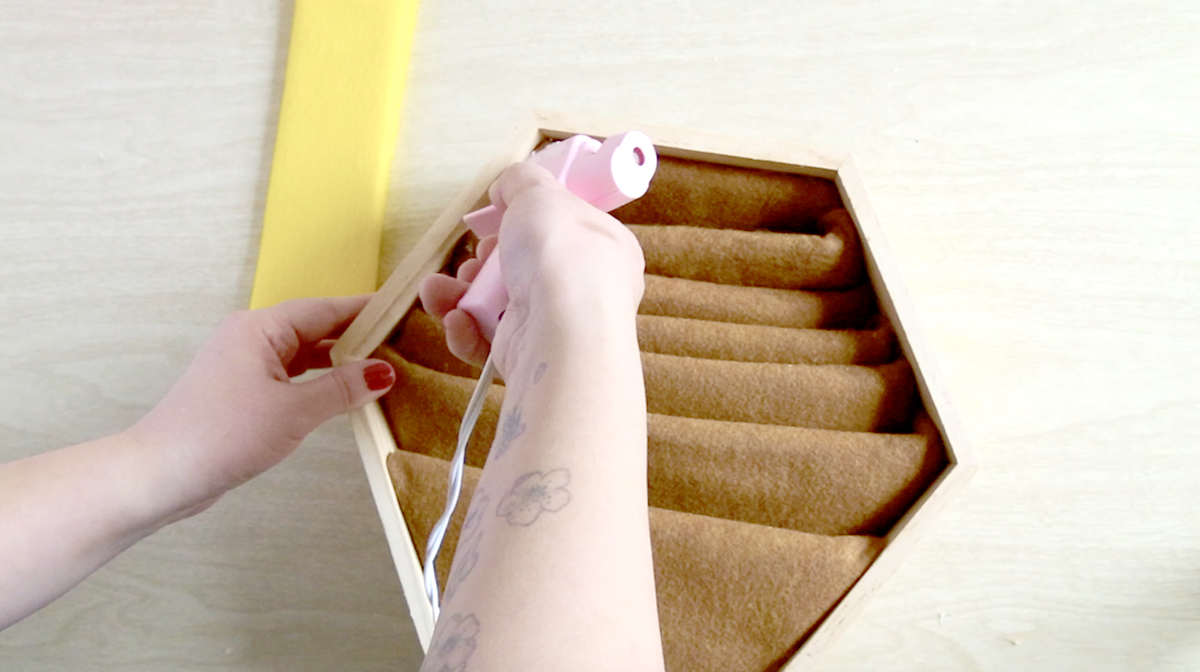
Assembling the planter box:
- The sizes of the pockets are all based on what wood box you have. Since mine was honeycomb shaped I sized as I went along. To make each pocket cut a piece of cardboard and glue it to a bit of felt for cushion. Glue some brown felt over the cushioned cardboard. Slide the pockets into box at an angle (if you’re hanging on the wall) and glue. Continue to add pockets until the box is full. Note: if you want the flowers to sit on a table, just glue the pockets standing up straight.
Hang on the wall and you are done! I hope you and your kids enjoy this craft that will inspire your child’s creativity! Have you guys watched Ben & Holly’s Little Kingdom? My kiddo’s and I just discovered it and they loved it.
Video tutorial for all of my visual crafters:
Do you want to be the first to get news, shop discounts and freebies?
Sign up for my newsletter. There are special treats just for my email subscribers. Head over here to sign up!
– Chelsey
Disclosure: This post is a paid sponsorship from Ben & Holly’s Little Kingdom. I may earn a small commission for my endorsement, recommendation, testimonial, and/or link to any products or services from this website. There are affiliate links in this post.