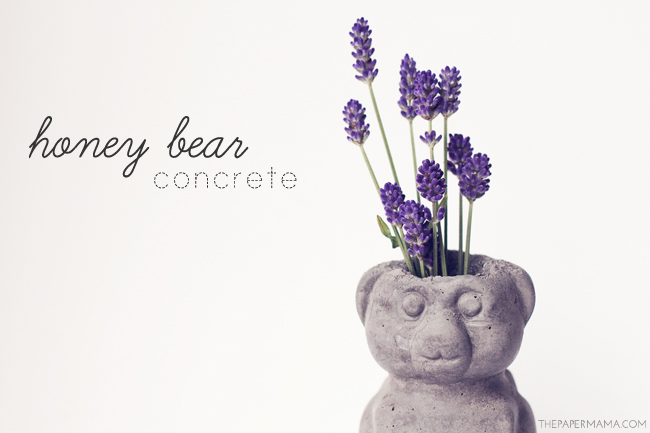
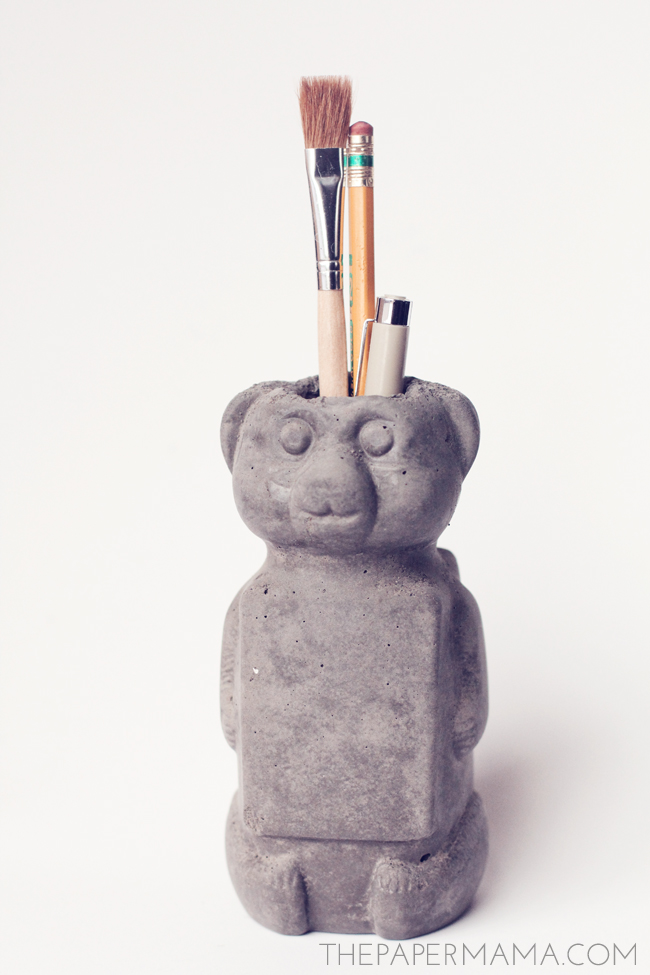
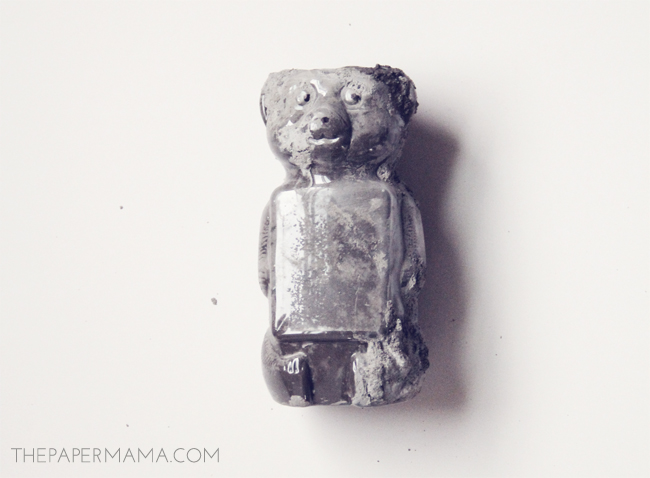
This was a vase I made back in 2013 when I went on a bit of a concrete DIY binge. Ha! Have you ever worked with concrete? It’s so much fun. Messy and fun. This is my Concrete Honey Bear Vase DIY and I’ve added just a couple of changes that you can find below (suggestions from a couple of awesome readers)… Any of my changes are in BOLD and Italic font! Enjoy.
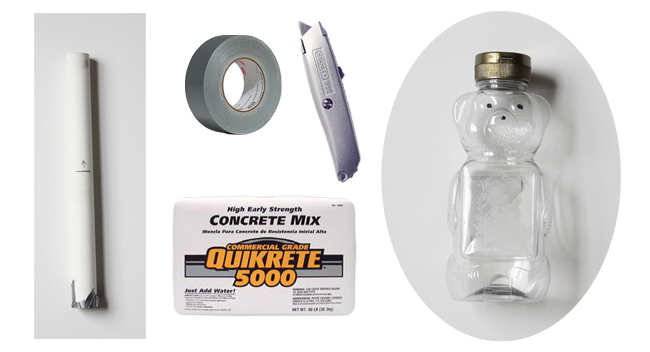
Supplies:
- Roughly 3 cups of Quikrete Concrete
- 1 Honey Bear bottle
- One 3/4 inch wide and change: cut to a height that’s taller than the top of the bear’s head
- Water
- Change: use a PVC pipe cap instead of tape
- Shovel/stick to mix the concrete.
- Large container to mix concrete (we used two 5 gallon buckets)
- Pliers, wire cutters, and blade to peel off plastic
- Olive oil
Directions:
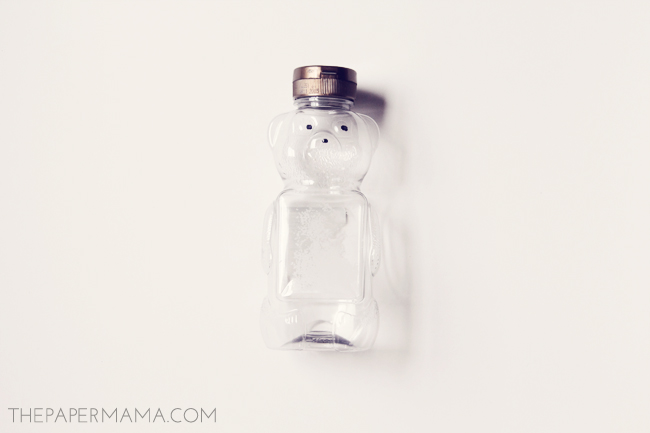
Step 1:
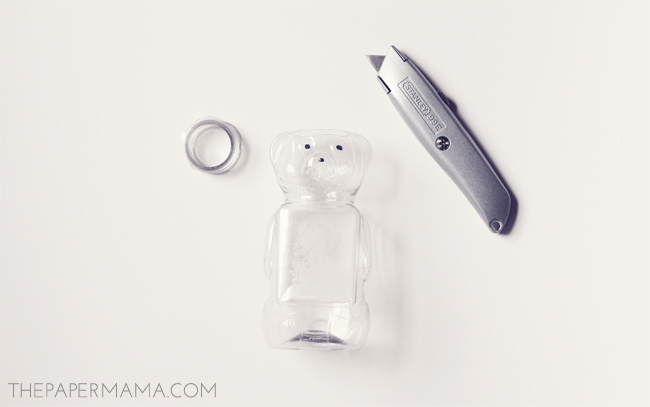
Prep your honey bear bottle. Clean it. Cut the top off the bottle. I did this so I could fit the PVC pipe into the bear.
Step 2:
Cut the PVC pipe to size (you can get this done at the hardware store if you don’t have a pipe cutter.
Change: Originally I sealed the PVC pipe with tape, but it makes sense to seal the pipe with a PVC cap. They are inexpensive. Another change: add a very small amount of olive oil to the bottle. This will help lubricate the inside of the bottle so it’s easier to remove the plastic later.
Step 3:
It’s time to pour your concrete! Safety note: wear gloves/eye protection/dust filter mask for this process. Change: For some reason I did not realize that you could buy a small bag of concrete… you totally can. Check this out. Anyway: Mix your concrete together with water. I’m not positive how much water I used, but slowly add water until the mixture is slushy. Add more concrete if it gets too watery. If you’ve never mixed concrete before I recommend watching this video by Quikrete.
Pour the prepped concrete into the bear.
Step 4:
Push the PVC pipe (with the capped portion of the pipe face down) into the concrete bear. You’ll have a bit of concrete pour out. Tap the base of the bear on the ground to get air bubble out. If the pipe starts to float to the top, tape it down. Clean up the top of the bear (it’s a bit messy).
Step 5:
30 to 45 minutes after the pour, smooth out the top of the bear’s head.
Step 6:
Let Honey Bear dry for 2 + days. I took this bear out after 24 hours, and he still had a few lose pieces on the back. Needed more time. Still looks cute!
Step 7:
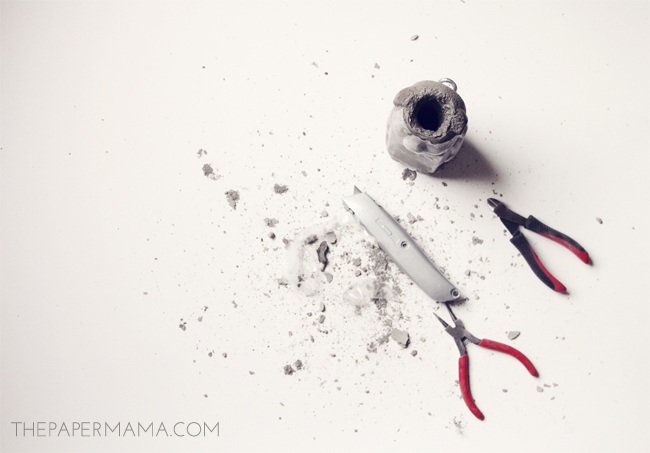
Onto the pain in the buns portion of this DIY: Take the plastic off your concrete honey bear.
Change: this part of the DIY should be easier if you had oiled the bear bottle.
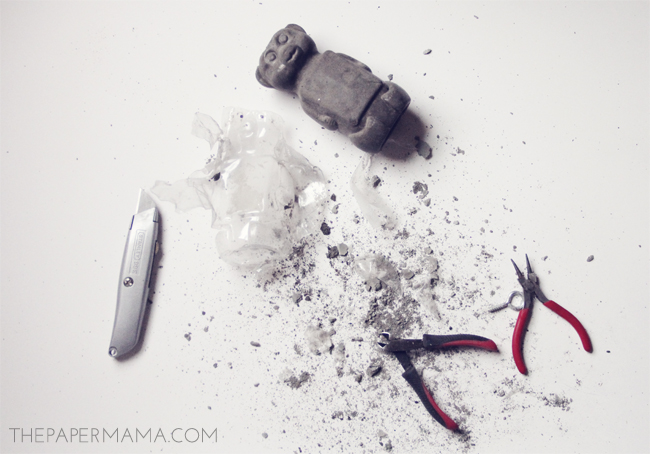
I admit this killed me. Lots of swearing, etc. BUT, I did it. Using pliers, a wire cutter, and a blade. Tips: Use the blade to cut some lines on the back. Use the wire cutters to snip little pieces to get a portion of the plastic to start peeling. Use the pliers to twist off (I’m talking actually twisting the pliers) to pull off the plastic. I worked on creating one big line on the back. I was able to pull it off… after a bit of work.
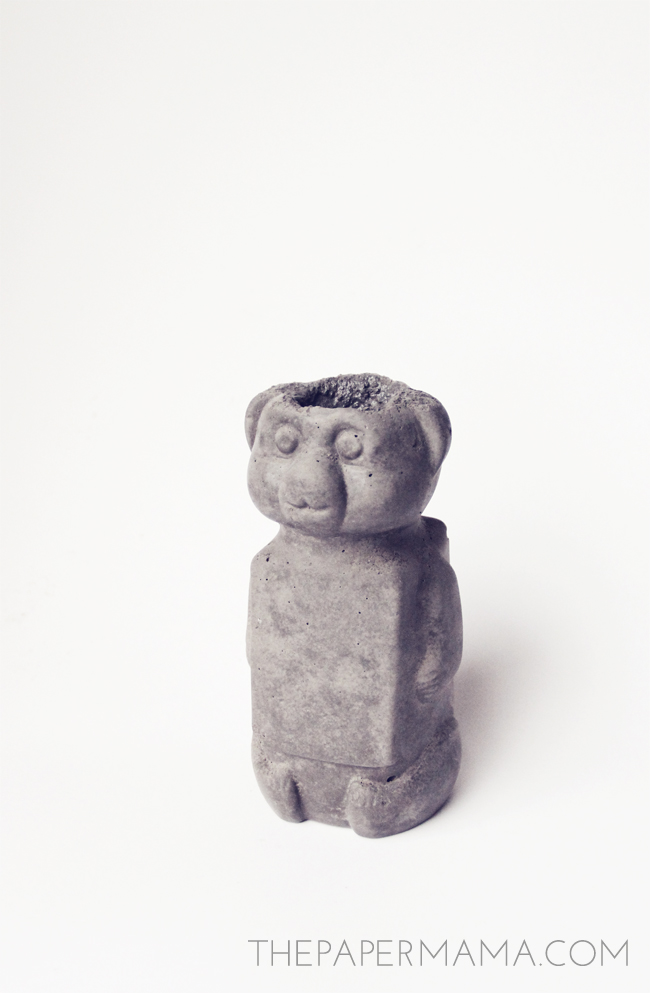
You’re done! It’s now a cute kitschy pencil holder…. or bud vase? I think I’ll be putting a little succulent in it and putting him outside. Yes, that’s cute.

ALSO, new blog post on Better Homes and Gardens. Can you guess what it’s about? Yeah. Concrete. You gotta check out my Outdoor Concrete Stool/Table.
Do you want to be the first to get news, shop discounts and freebies?
Sign up for my newsletter. There are special treats just for my email subscribers. Head over here to sign up!
– Chelsey
Disclosure: I may earn a small commission for my endorsement, recommendation, testimonial, and/or link to any products or services from this website.