
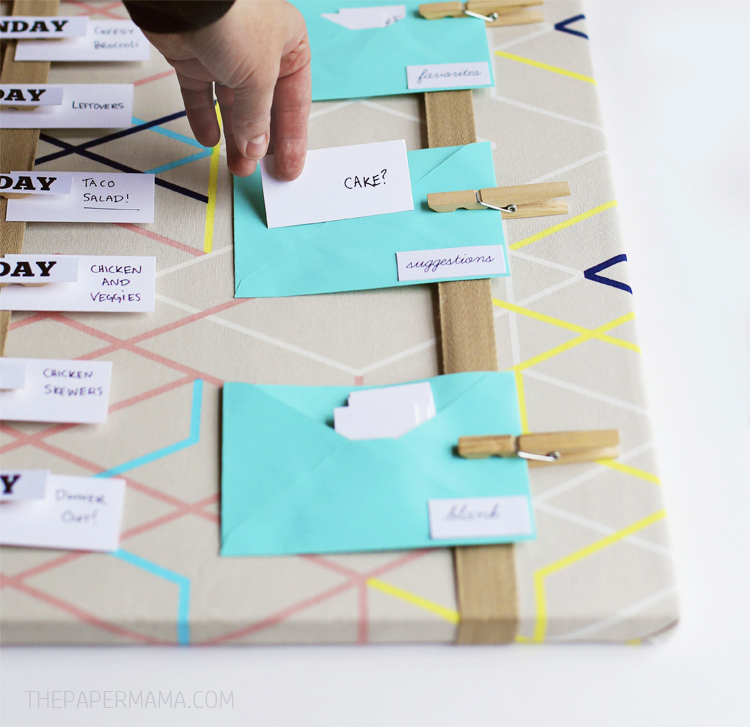
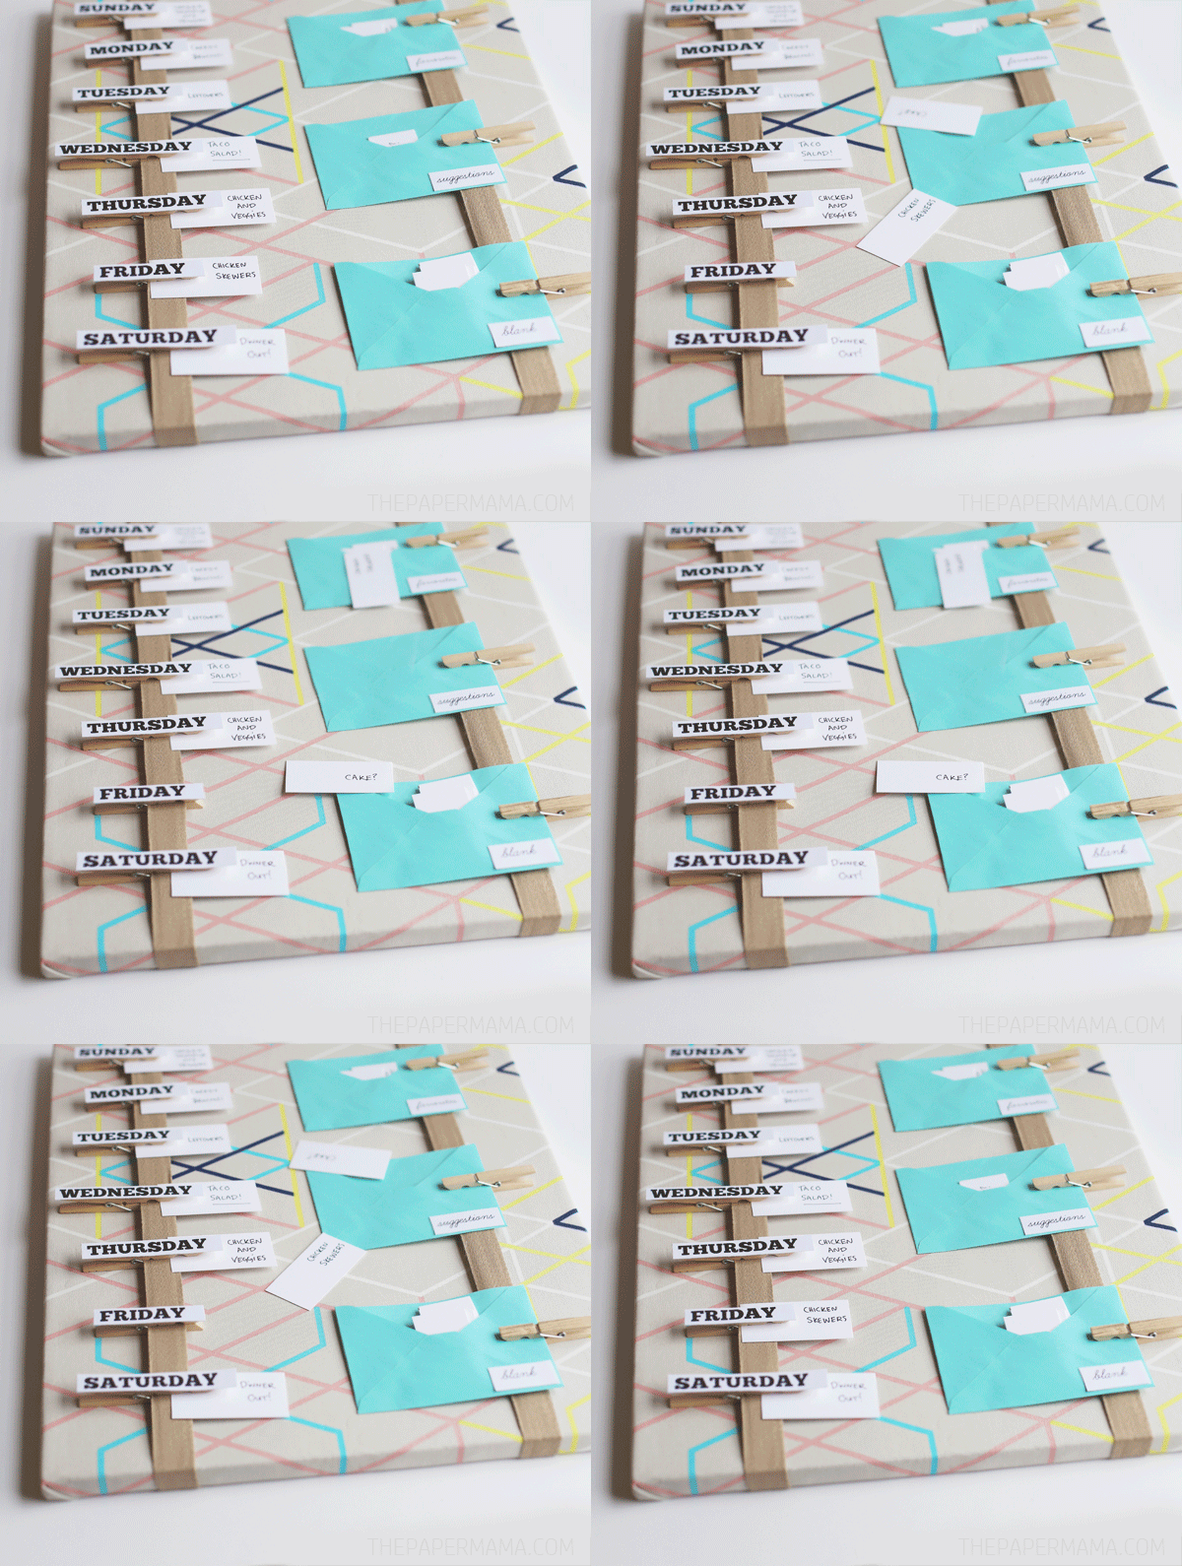
Eating healthy all the time is just hard for me, especially when I want cheese and fried chicken and all the chocolate. I don’t eat like that all the time, but when the husband and I don’t have a dinner plan we tend to just do something quick (and it’s not always the healthiest quick dinner). I made this Meal Plan Board to finally organize our weekly meals. With a plan we head to the grocery store less often and we save money because we aren’t buying a bunch of random items. I added 3 envelopes to the board to hold any favorite meals, a spot to add suggestions for dinner, and a blank paper section.
Supplies needed to make this DIY (I made this for the HP Create site):
- 16 x 20 canvas (the canvas needs a wood frame, I found mine at a thrift shop)
- 20 x 24 inch section of fabric (my fabric is from Ikea)
- Staple gun + staples
- Two 24 inch lengths of 1 inch wide ribbon
- Heavy white cardstock paper
- 10 clothespins
- Hot glue gun + hot glue sticks
- free printable days
- Three paper envelopes
- Pen
- Scissors
Directions:
STEP 1: Iron out the 20 x 24 inch section of fabric.
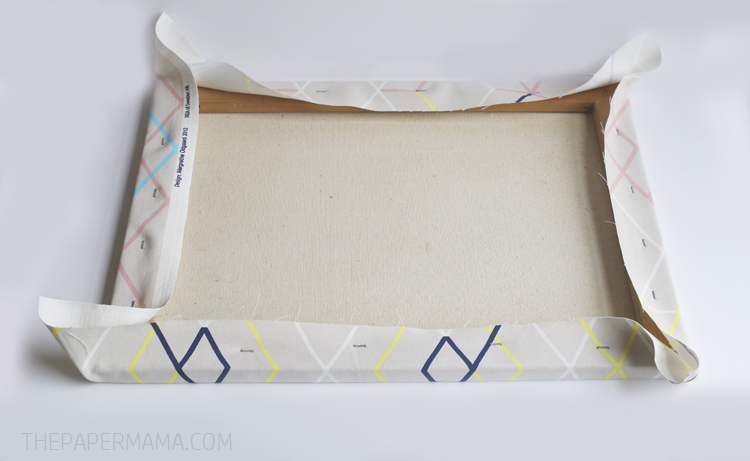
STEP 2: Let’s stretch the fabric onto the canvas.
A. Place the fabric (print side facing down) on a flat surface. Center the canvas (canvas side down) on the back side of the fabric.
B. Fold the fabric over one side of the back of the canvas. Use your staple gun to staple the folded fabric to the wood. On the opposite side of the side you just stapled, pull the fabric tight and secure the fabric to the wood with more staples.
Repeat the above step on the other two sides.
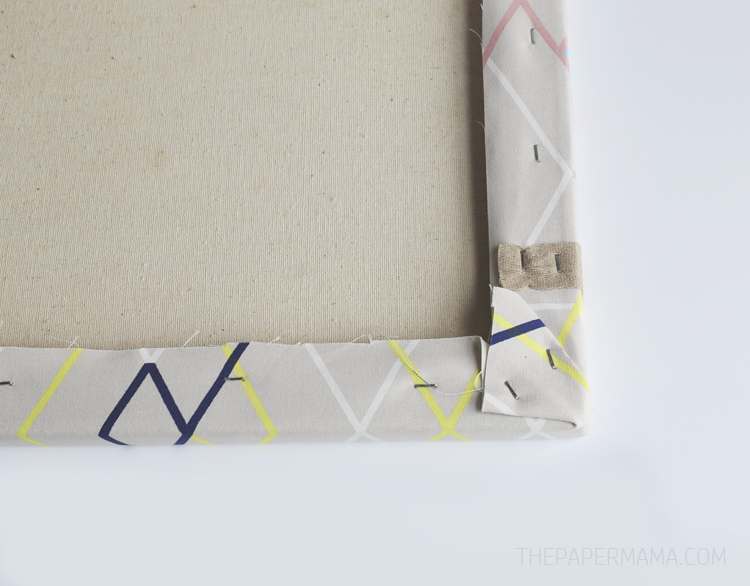
C. How do you get those nice folded fabric corners?
Pinch one fabric corner and make a 45 degree corner along the edge (I chose to put my folds along the top and bottom of the frame).
Fold the excess fabric on the back, hold the corner and check the fabric on the front of the canvas before stapling. If it looks good, staple the folded fabric to the back of the frame.
Repeat the above step to all four corners.
Tip #1: if you didn’t get the fabric tight enough, or mess up, you can easily remove the staples with a flathead screwdriver to fix.
STEP 3:
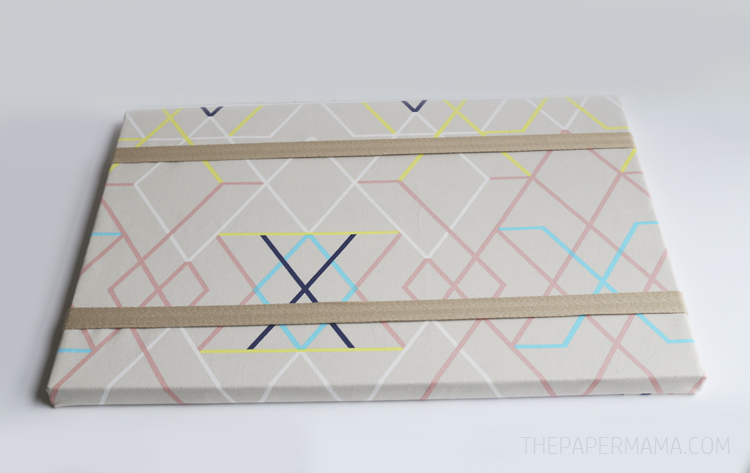
On the back of the left side of the frame, measure in about 3 inches. Use the staple gun to attach the ribbon to the wood.
Fold the ribbon over the front of the frame, bring the end to the back, and staple the end to the wood frame.
Repeat that step on the other side of the frame.
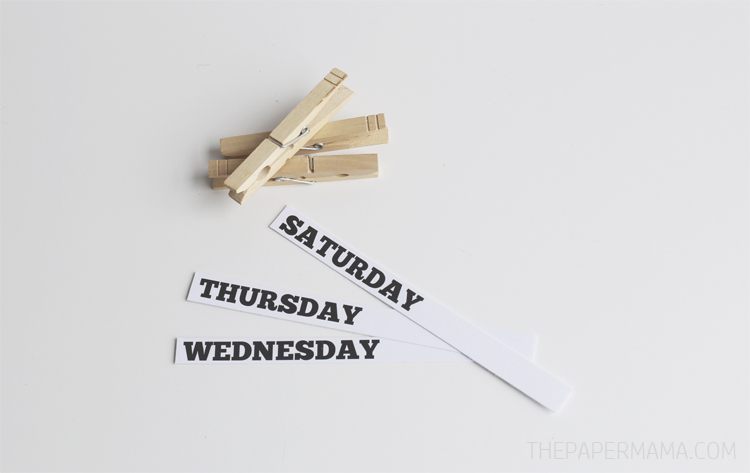
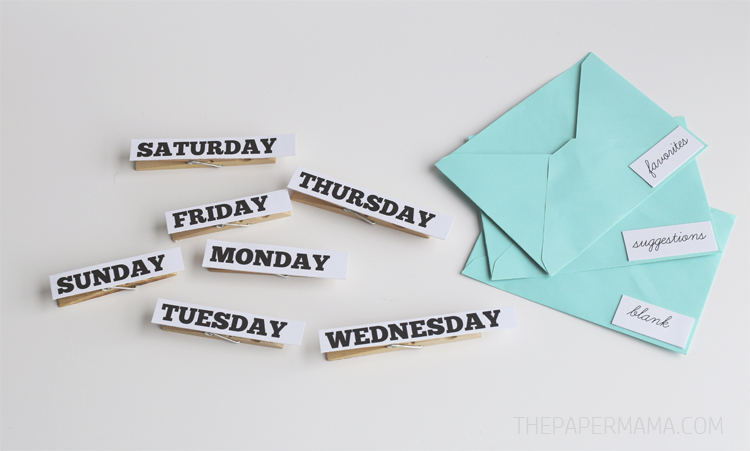
STEP 4: Print out the Sunday through Saturday printable. Cut out the days, then use the hot glue gun to attach the words to the clothespins. Cut out the “suggestions”, “favorites”, and “Blank” words. Hot glue the words onto the envelopes. Cut off the flaps of the envelopes.
STEP 5: Clip the days of the week onto the left sided ribbon. Clip the envelopes onto the right side ribbon with the three extra clothespins.
STEP 6: Cut out a few 3 inch wide by 1.5 inch wide sections of paper. These will be your dinner ideas! Use your pen to write out favorite dinners and clip them onto the days.
– Chelsey
P.S. I’m a paid contributor for the HP Create blog.











Love this idea! I have such a hard time meal planning this would be great to keep lists fresh (plus it's pretty!)!
Planning meals can get so frustrating. This board has definitely helped our family!