

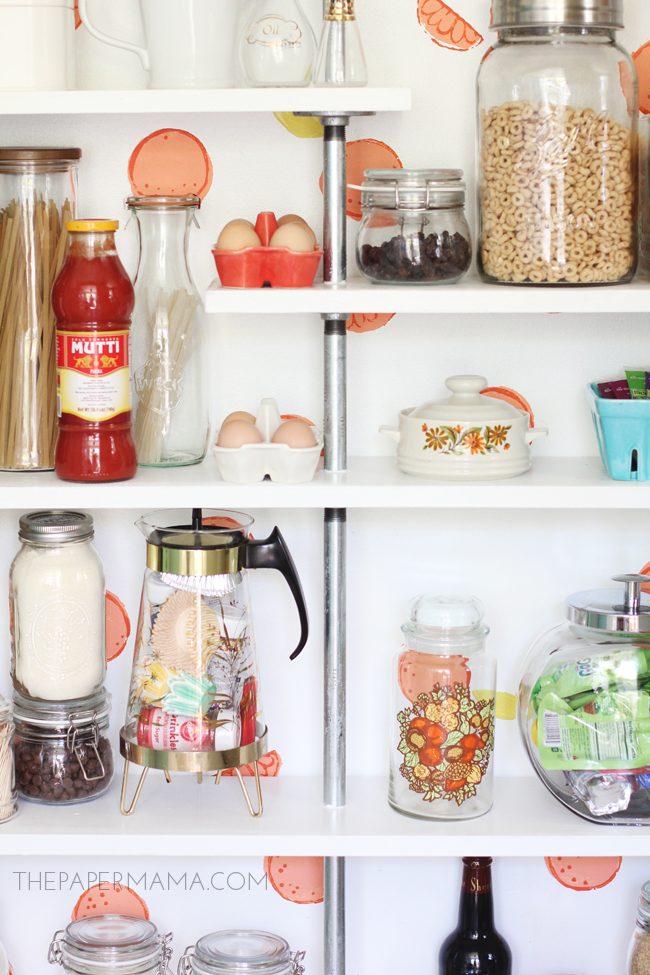
Over the summer my husband and I gave one wall in our kitchen a makeover. Our home is lacking in the storage department, so we created a mini pantry in the tiniest nook in our kitchen (with the help of Home Depot). It turned out perfect and added some much needed storage for pantry items we use daily. We also managed to fit 3 small cupboards above the pantry shelves to store any items we use less often.
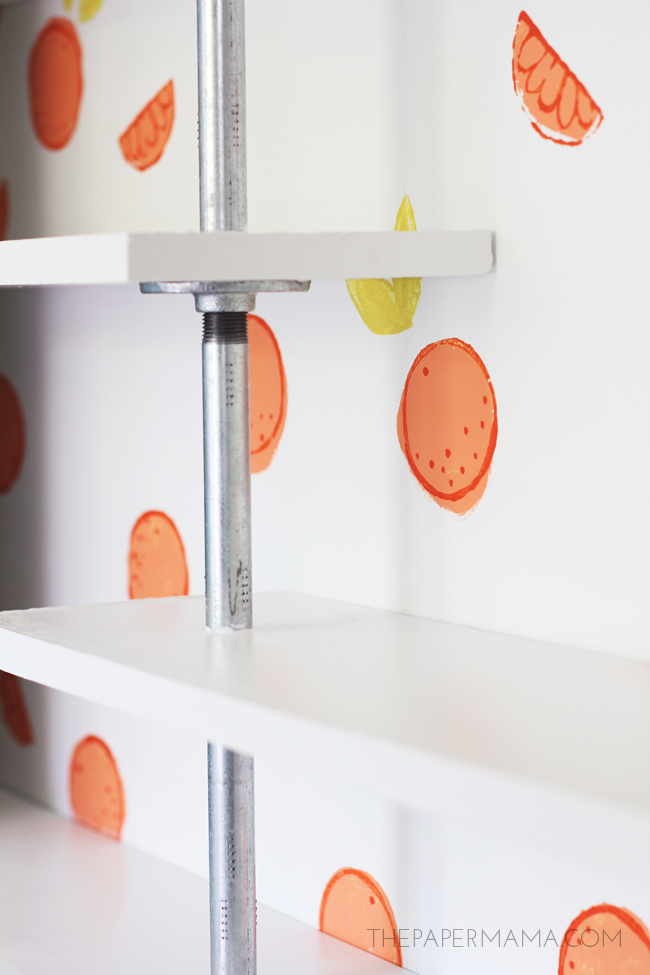
In addition to the extra storage the new addition has made the space lovely and added a bunch of color to the room. I smile each time I see it. My favorite part is the new Citrus Stamped Wall painted wall behind the shelving. I was originally inspired by this citrus stamped wall on the A Beautiful Mess blog and I wanted to create my own version in my home. I made the stamps out of insulation foam using an X-acto knife, a dremel, and using a citrus illustration as a template.
Note: if you want to see our mini pantry DIY head on over to the Home Depot Blog to check out the full DIY.
Supplies:
- insulation foam (there are smaller sizes at Home Depot)
- x-acto knife
- mask
- pen
- Citrus Stamp Printables
- optional: Dremel
- two orange paint colors (one light colored orange, and one darker orange)
- one green paint color (one green of your choice)
Directions:
STEP 1:
Print out the free printables I provided.
Note: if you’d like the citrus to be smaller adjust the scale before you print.
STEP 2:
Place one citrus shape over the foam, and trace it with a pen. This will hopefully leave an indent in the foam. Remove the paper and trace the indents with your pen (so they are easier to see).
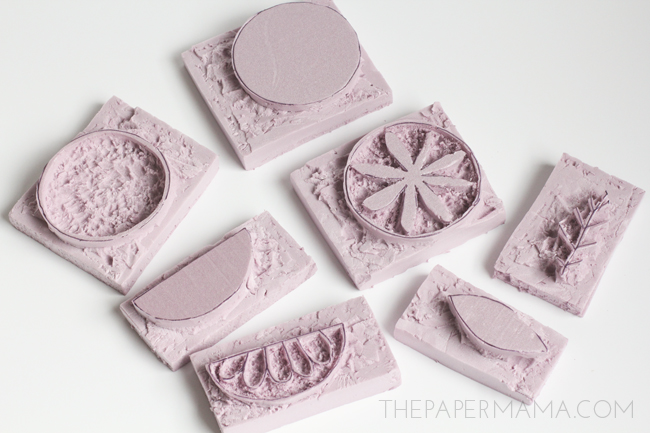
STEP 3:
Let’s start making that stamp! I used a combination of an X-acto knfe and Dremel to make mine. You don’t have to have a Dremel, but it really helped me. You’ll be cutting out any white space from the printable.
Repeat the above step for the remaining stamps.
When you’re done making the stamps, use the X-acto knife to cut a few lines into the stamp shape. This helps prevent the stamp from suctioning onto the wall when it’s wet with paint.
Side note: You don’t have to use all of the stamps, I didn’t. It all depends on your taste.

STEP 4:
Start with the solid full orange and sliced orange stamps (using the lighter orange color). Let them dry completely.

STEP 5:
Use the darker orange to stamp the orange outline.
STEP 6:
Use the green paint to stamp the leaves.
You’re done! Enjoy your hand stamped citrus wall.

– Chelsey
I was not paid for this post, but I was provided with store credit to create our mini pantry. Head on over to the Home Depot Blog to check out the full Mini Pantry DIY.


Pingback: Apartments For Rent in Ankeny Altoona Grimes Johnston Pleasant Hill by Haverkamp Properties
I FREAKING LOVE IT
THANK YOU!