Tag: jar
-
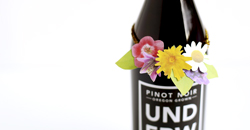
Coffee Facts Game, Girl Time, and a GIVEAWAY!
Coffee Facts Game, Girl Time, and a GIVEAWAY!
June 25, 2014
Game time with friends = the best. I LOVE playing games. If you’re ever around me and want to play some board or card game… I will join you. I don’t get to play [...] Continue →
-
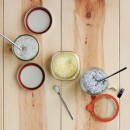
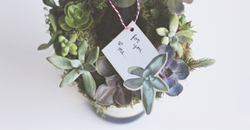
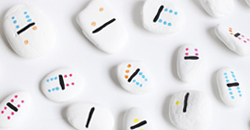
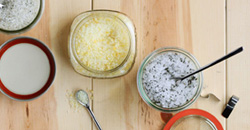
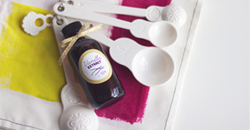
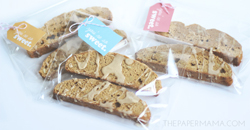
DIY Flavored Sea Salts
DIY Flavored Sea Salts
April 7, 2014
It’s always fun to give homemade gifts, especially when they’re food related, even more especially when they’re very fancy and very gourmet. Flavored sea salts are one of those great little gifts that don’t [...] Continue →
-
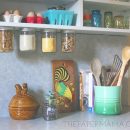
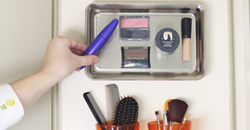
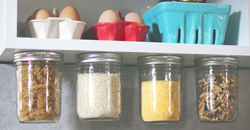
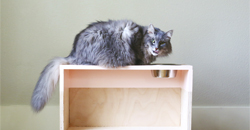
Under Cabinet Jar Storage
Under Cabinet Jar Storage
March 20, 2014
I’ve seen jar storage ALL over the Pinterest, and I’m finally using the idea. My under cabinet jar storage is one step towards a more organized kitchen. Seriously, our kitchen is lacking in quite [...] Continue →
-
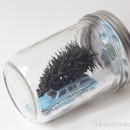
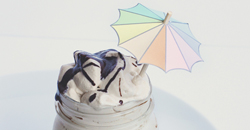
Day 35: Christmas Vacation Snow Globe
Day 35: Christmas Vacation Snow Globe
December 12, 2013
Day 35 of my 50 DIY Days of Christmas: Christmas Vacation Snow Globe! One of my all time fave Christmas movies (right next to Elf). This little globe is a dry snow globe, MUCH easier [...] Continue →
-
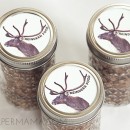
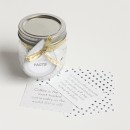
Day 33: Reindeer Food Jar Labels!
Day 33: Reindeer Food Jar Labels!
December 10, 2013
Day 33 of my 50 DIY Days of Christmas: Reindeer Food Jar Labels! Supplies: – Free Printable Reindeer Food Jar Labels: Large Reindeer Lid, Large Reindeer Lid w/Nose, Small Reindeer Lid, and Small Reindeer Lid w/Nose. [...] Continue →
-
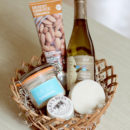
Homemade Bath Soak
Homemade Bath Soak
November 4, 2013
This post is sponsored by HP. I never realized how simple it is to make a homemade bath soak until recently. With Mother’s Day coming up I thought this would be a wonderful gift [...] Continue →
-
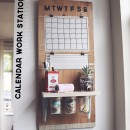
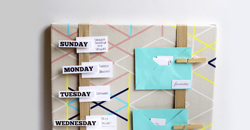
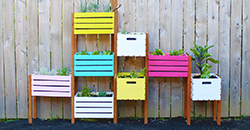
Calendar Work Station – Made from Recycled Wood
Calendar Work Station – Made from Recycled Wood
September 5, 2013
Well folks, it’s just about Fall. That means we all need to get ourselves organized… or at least pretend we’re organized. I’ve created a Calendar Work Station just for this. A new DIY for [...] Continue →
-
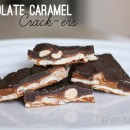
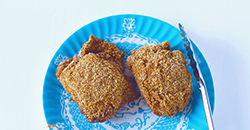
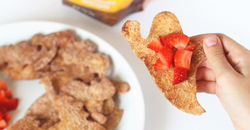
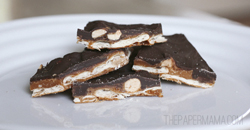
Chocolate Caramel Crack-ers
Chocolate Caramel Crack-ers
May 3, 2013
I love sweet awesome candy goodness, but I like to pretend that I don’t want to eat it ALL the time (especially when my kiddo is looking). Admit it… you’ve snuck the candy you JUST told [...] Continue →
-
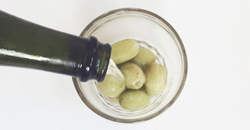
Water bath canning method… for high acid foods
Water bath canning method… for high acid foods
April 9, 2013
I realized, AFTER I shared my Apple Pie Butter recipe, that I never shared how to actually do the Water Bath Canning Method. I am, by no means, an expert… but I’ve researched a [...] Continue →
-

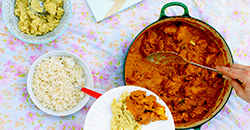
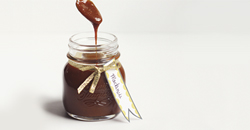
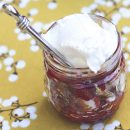
Apple Pie Butter Recipe with no added sugar – canned
Apple Pie Butter Recipe with no added sugar – canned
April 8, 2013
Homemade Apple Pie Butter. Yeah, my label in the photo calls it JAM… I did not notice I put the word “jam” instead of “butter” until I had labeled all my jars…. oh well. [...] Continue →
-
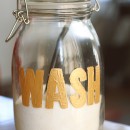
Homemade Laundry Detergent and Wash Jar
Homemade Laundry Detergent and Wash Jar
March 21, 2013
I finally tried it: Homemade Laundry Detergent! And it does work. I’m not great at math so I won’t do the calculations of my costs per load… but I do know the costs are [...] Continue →
-
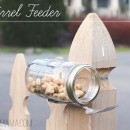
We feed the squirrels.
We feed the squirrels.
March 18, 2013
Do not feed the squirrels. Yeah, we feed those little rodents. I KNOW we probably shouldn’t… but it’s pretty cute to watch. They pretty much rule our neighborhood and I’m 90% sure they are [...] Continue →
-

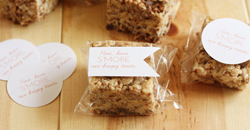
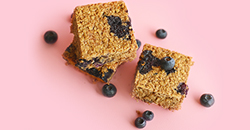
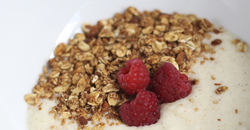
Homemade Granola (no refined sugars)
Homemade Granola (no refined sugars)
January 29, 2013
I love quick and easy foods. I’d MUCH rather just head to the store and buy something… instead of making it. I’m just not into cooking. Since I’ve had my kiddo I’ve been looking [...] Continue →
-
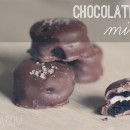
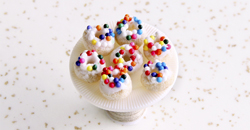
Day 33: Chocolate Covered Mini Oreos (with a $50 Pear Tree Greetings giveaway!)
Day 33: Chocolate Covered Mini Oreos (with a $50 Pear Tree Greetings giveaway!)
December 3, 2012
Day 33: So… these are so good. Really good. I mean, Oreo’s are good just the way they are… but add some chocolate: OMG. It makes these mini Oreo’s addictive! Plus, since they’re bite-size, [...] Continue →
-
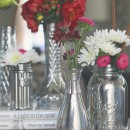
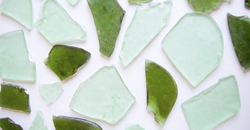
Faux Mercury Glass Vases DIY
Faux Mercury Glass Vases DIY
November 27, 2012
My Faux Mercury Glass Vases are the perfect DIY for gifts, or for your home. The leaves have fallen, and it’s chilly outside! Time to get cozy inside with some more DIY projects. Today [...] Continue →
-

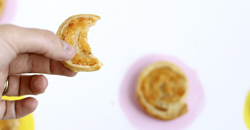
Day 22: Chocolate Covered Bacon Bites!
Day 22: Chocolate Covered Bacon Bites!
November 17, 2012
Day 22: This DIY is a favorite of mine because, well yeah… bacon covered in chocolate. I bet some of you are thinking, “What the? Nope.” Let me tell you, it’s fantastic. Things you [...] Continue →
-

Day 11: DIY Winter Snowglobes
Day 11: DIY Winter Snowglobes
November 5, 2012
DAY 11 is brought to you by, the lovely Suzanne of Bebehblog: Hello friends! I’m currently planning my daughter’s second birthday party with a North Pole Winter Sparkle Candy Cane Fairy theme (it makes sense in [...] Continue →
-
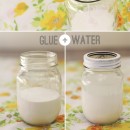
Tried it: Homemade mod podge
Tried it: Homemade mod podge
September 11, 2012
Hello sweet friends! Another Tried It post. In case you missed it before, my Tried It series is all about what actually works from Pinterest. And, hopefully I can add tips to make it [...] Continue →
-
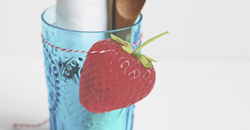
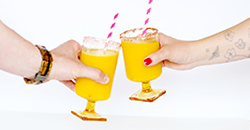
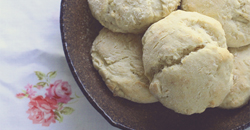
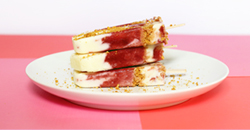
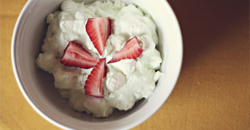
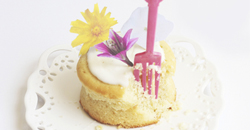
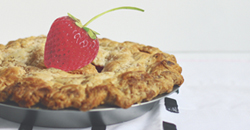
Lazy Strawberry Shortcake
Lazy Strawberry Shortcake
June 15, 2012
Thank you COOL WHIP for sponsoring this post. Join us on Facebook for inspiration and recipes for everyday treats. What you add makes it. #coolwhipmoms My family and I have been so darn busy [...] Continue →