
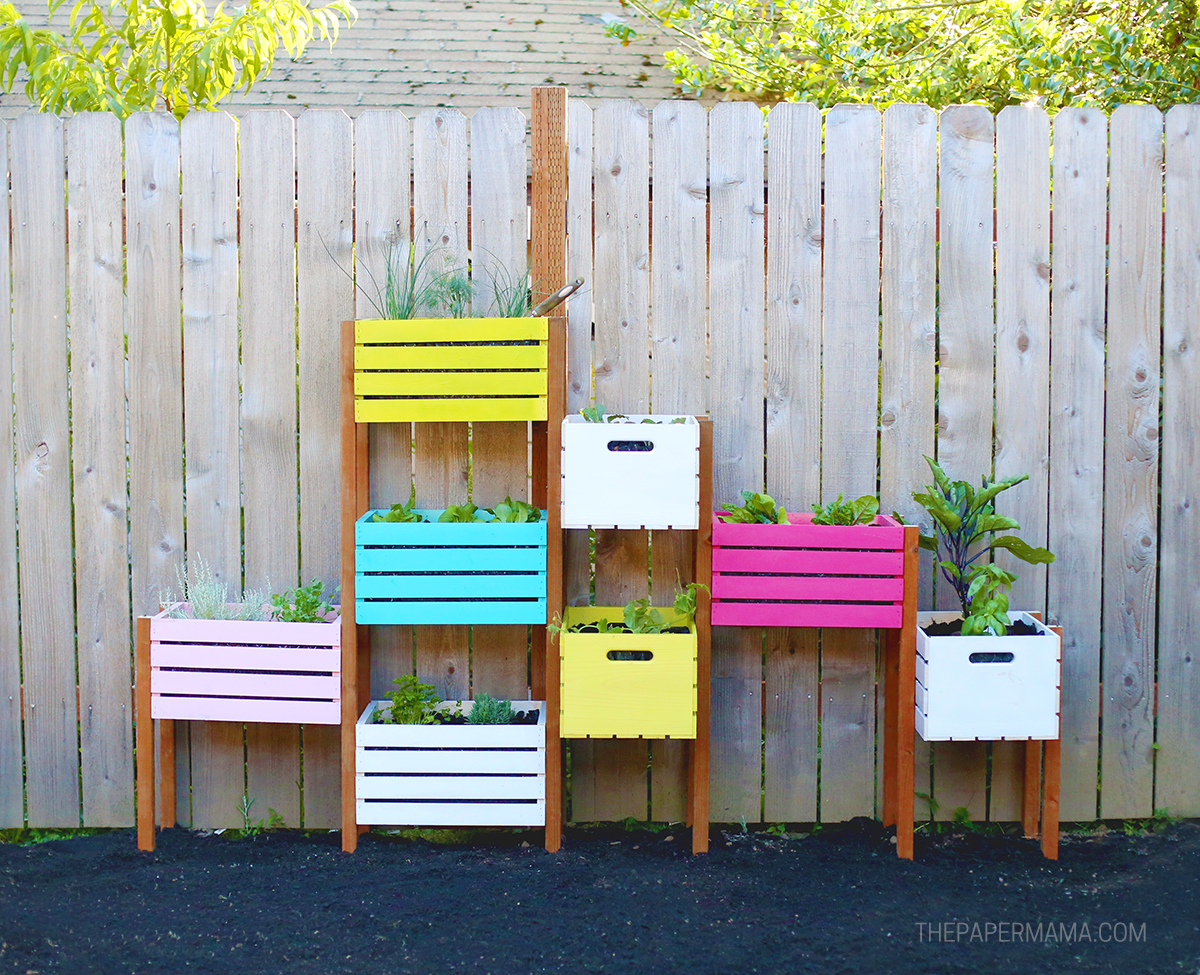
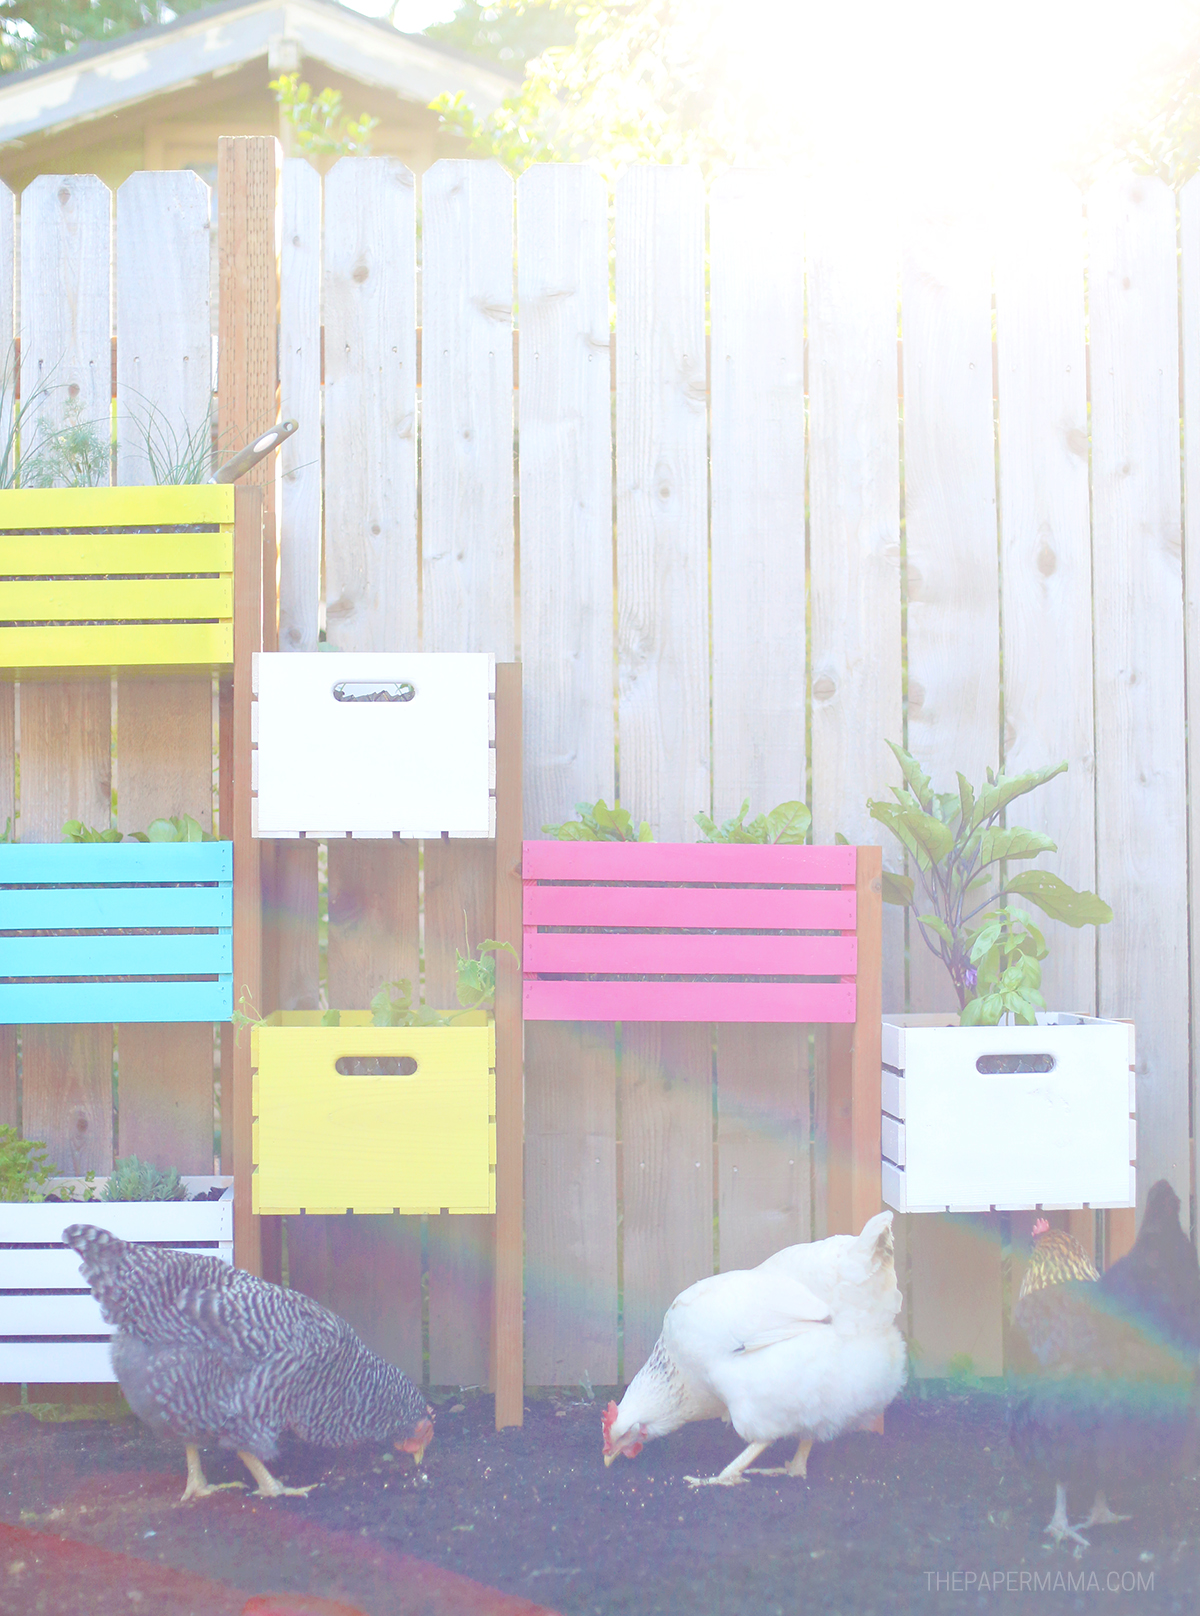
What do you do when you have a small yard and chickens that eat all the plants they can find? You build yourself a vertical rainbow garden! I’m sure a couple of our more sneaky chickens will find a way into some of our newly planted veggies, but for now it will work just fine.
One of our main goals this summer was to clean up our small backyard and make it more livable. I’ve said this before, but our yard is just a big dirt pit. We tore down our detached garage a couple years ago and it’s so sad back there. It needs so much work and our vertical garden is a step in the right direction. It’s amazing how such a small update can really change the feel of a space. I love the bright pop of color against our fence.
Do you want to make this vertical rainbow garden for your yard? As long as you have a few basic tools it’s pretty easy to make.
Supplies needed:
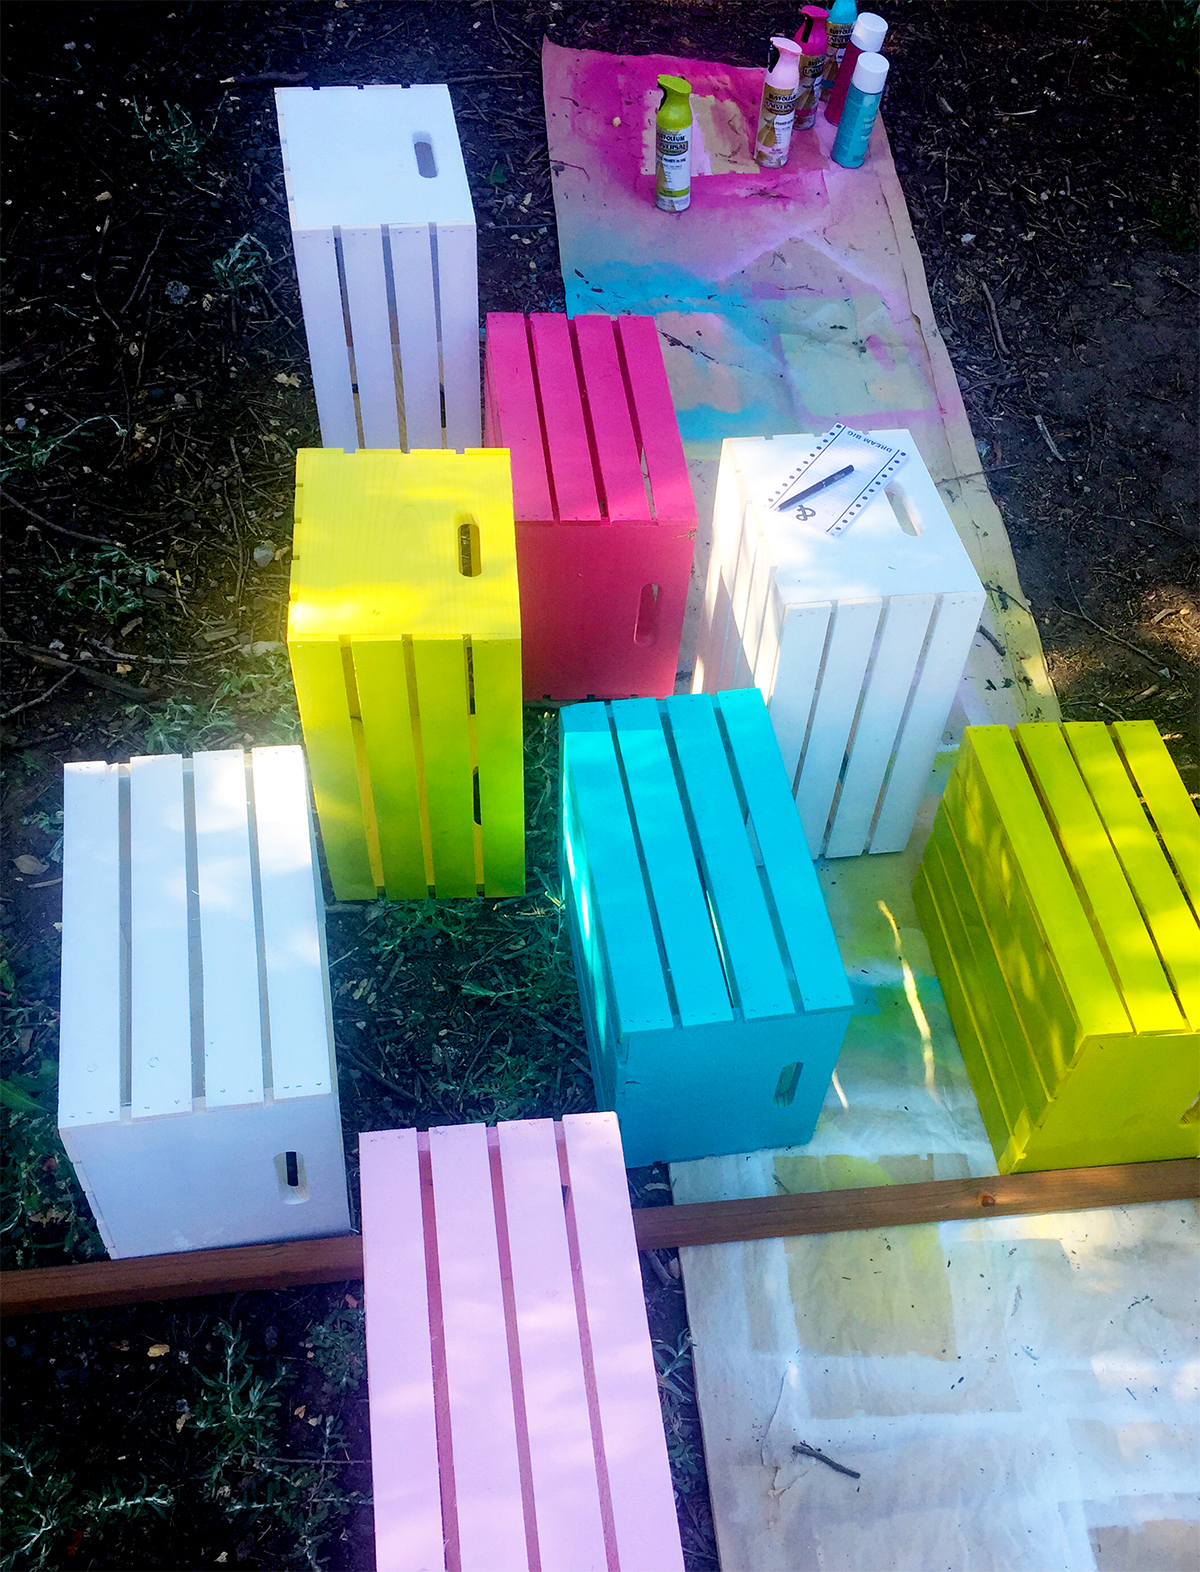
- 8 wooden crates (mine are from Michaels)
- a variety of colorful outdoor spray paint (I used Rust-oleum)
- clear acrylic spray sealer
- 4 – 2″ x 2″ x 8′ (actual 1.5″ x 1.5″ x 8′) treated lumber
- 64 – 1 3/4″ exterior wood screws
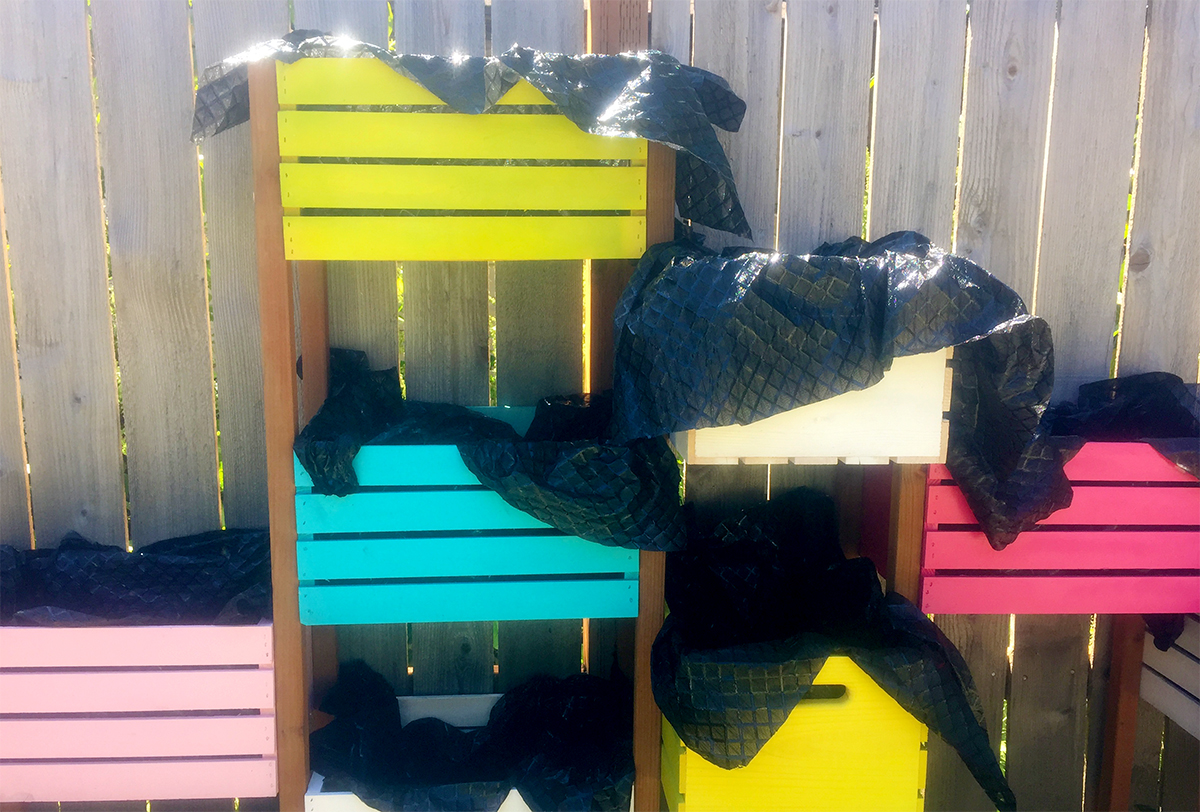
- landscape fabric
- potting soil
- plants
Directions:
Step 1: In a well ventilated space (preferably outdoors and wearing a mask) follow the directions on the back of the spray can and paint your crates. Note: Only paint the outside of your crates. Don’t paint where the dirt will be inside of the crate.
Step 2: When you are happy with the color of the painted boxes you can seal the boxes with the clear spray (this will help the boxes last a bit longer outside).
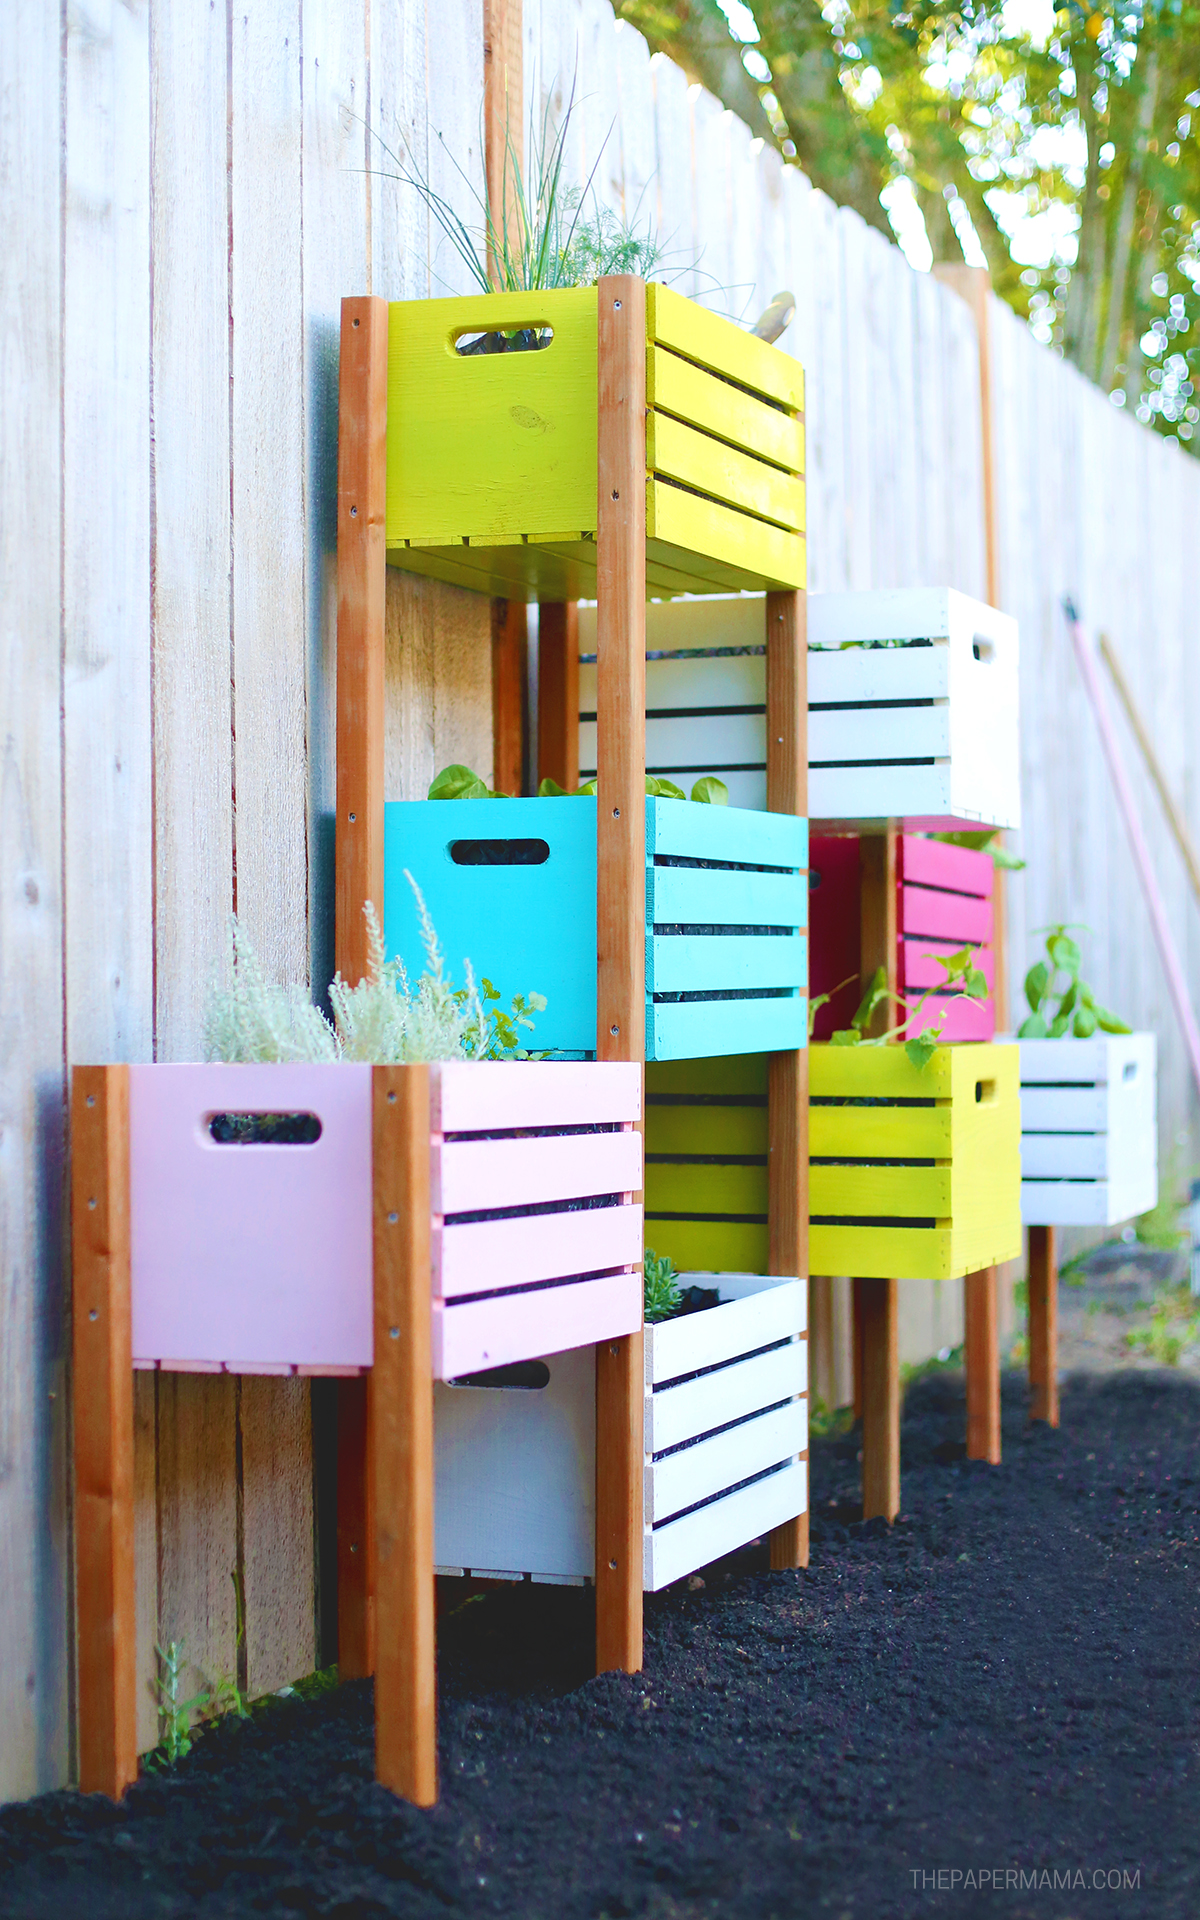
Step 3: Plan out a pattern for your vertical garden. Be sure to consider what kind of plants you want. You might need more crates with more vertical growing space for most plants.
Step 4: When you have your pattern figured out, measure out and cut the treated wood posts to the length you need (be sure you cut posts for the front and back of the vertical garden). Add about 3 inches to the length of each post so the boxes don’t sit right on the ground. Cutting tip: if you don’t have a saw to cut the wood, don’t worry. Most home improvement stores will cut the posts to length for you if you have your measurements ready.
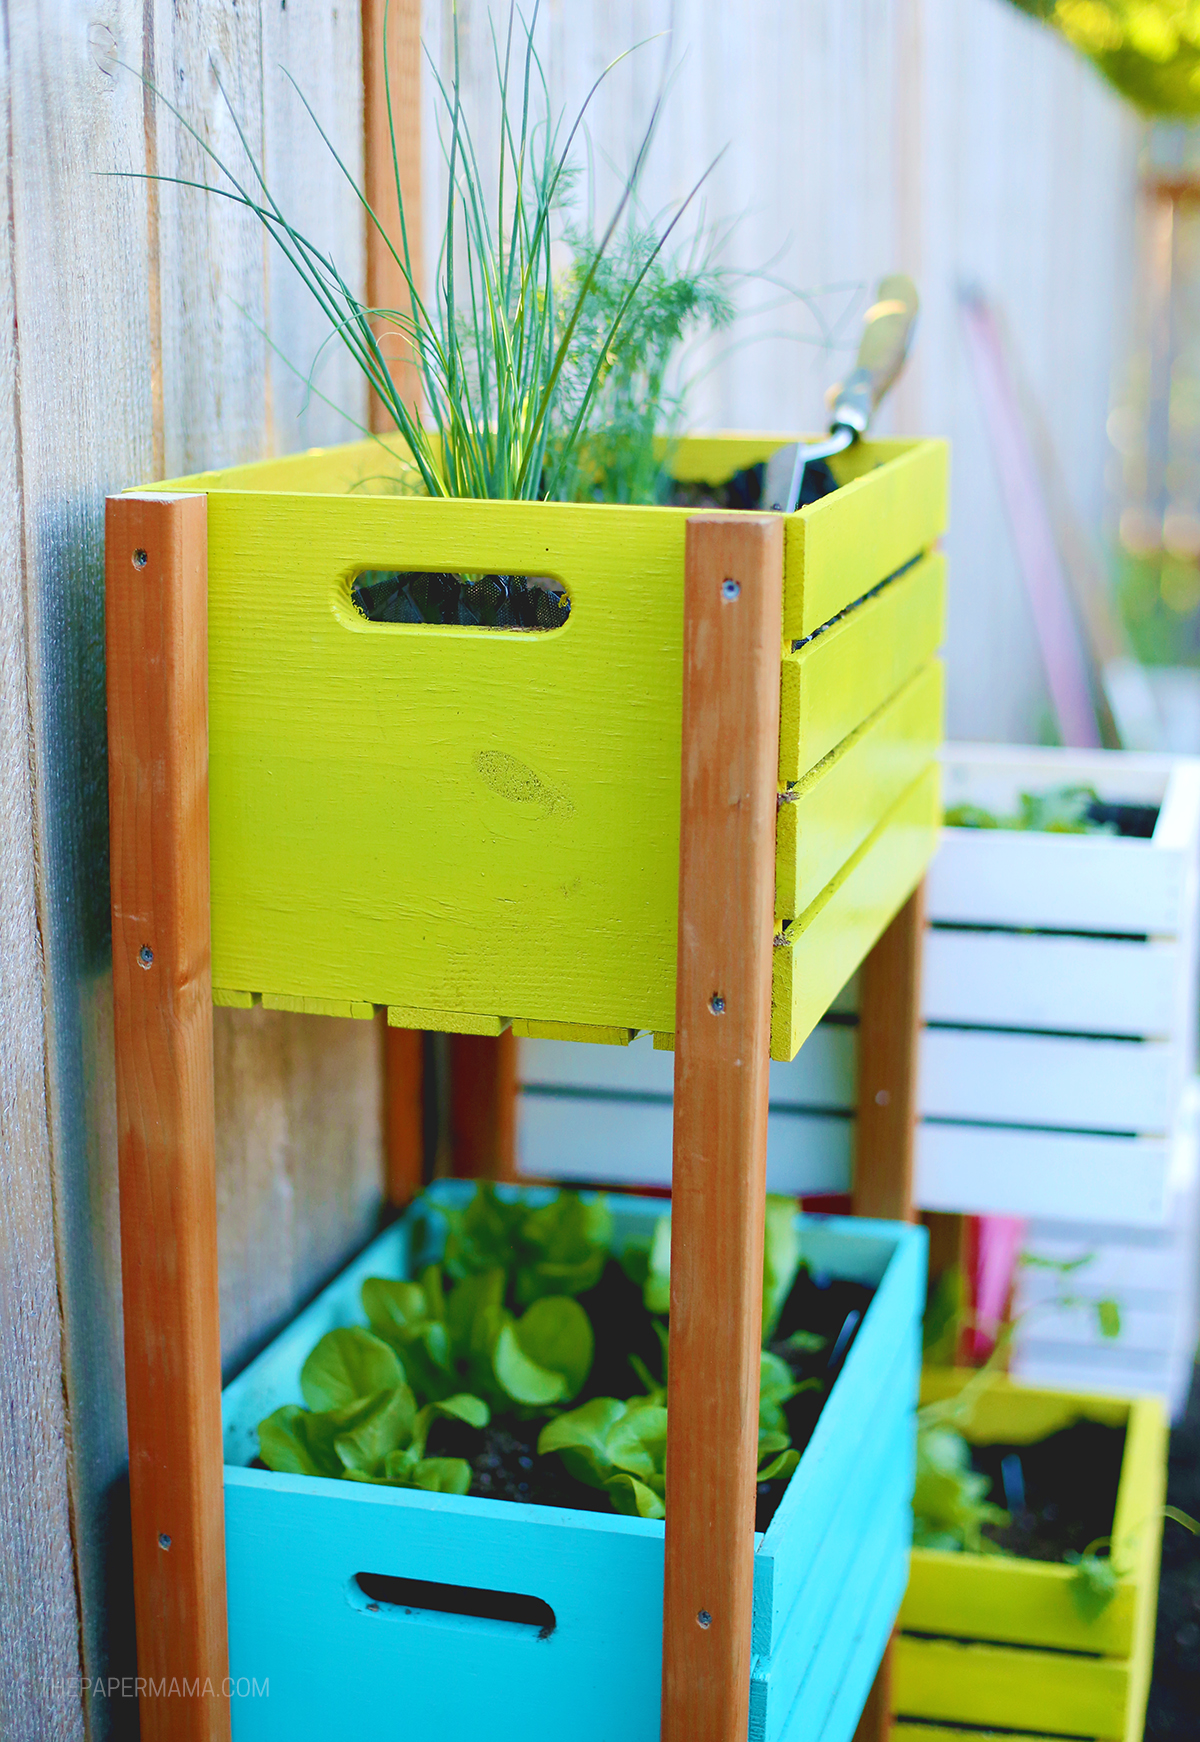
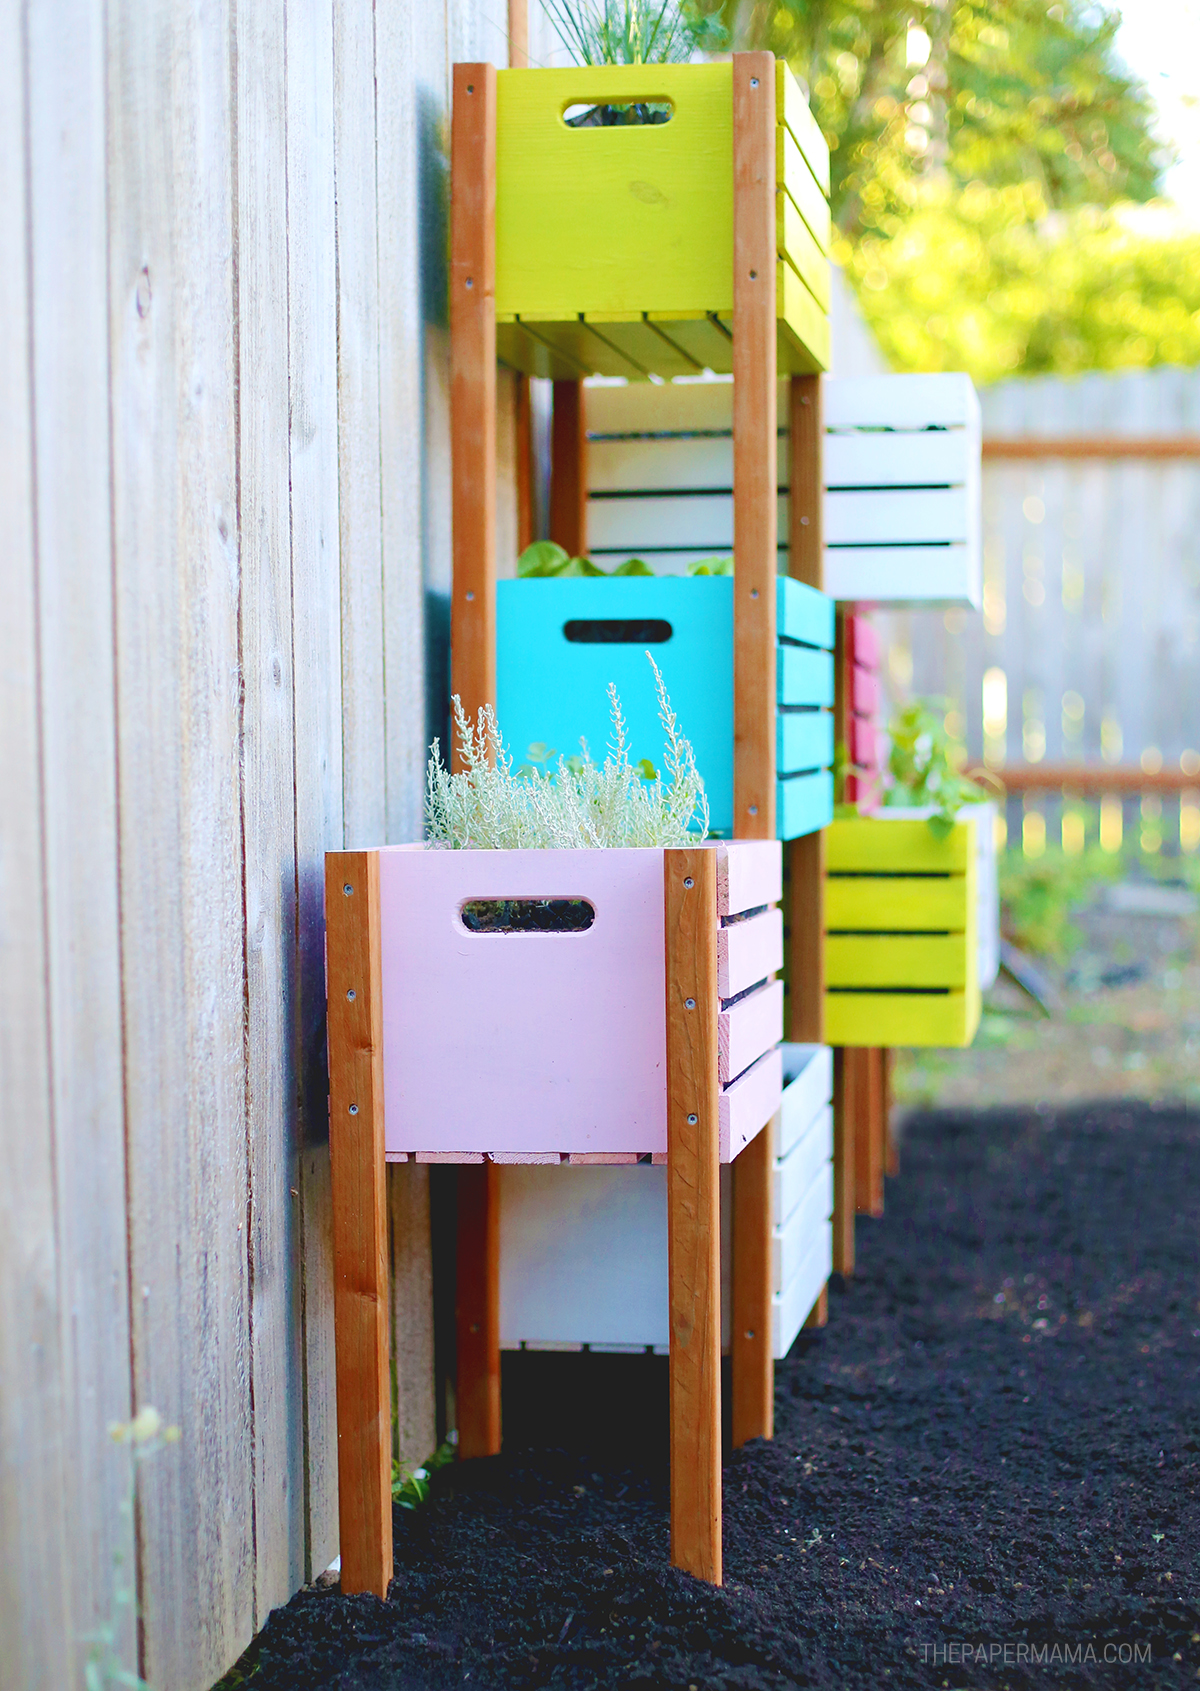
Step 5: Connect the posts to the sides of the crates using wood screws.
Step 6: Measure inside the crates to find out the size you need line the inside of the crate with the landscape fabric. Cut out 8. Line the inside of the crates with the landscape fabric and fill with dirt. Use some scissors to trim the excess fabric.
Step 7: Plant all your veggies and you are done! Since the vertical garden is tall and skinny you might need to secure the piece to something, like a fence!

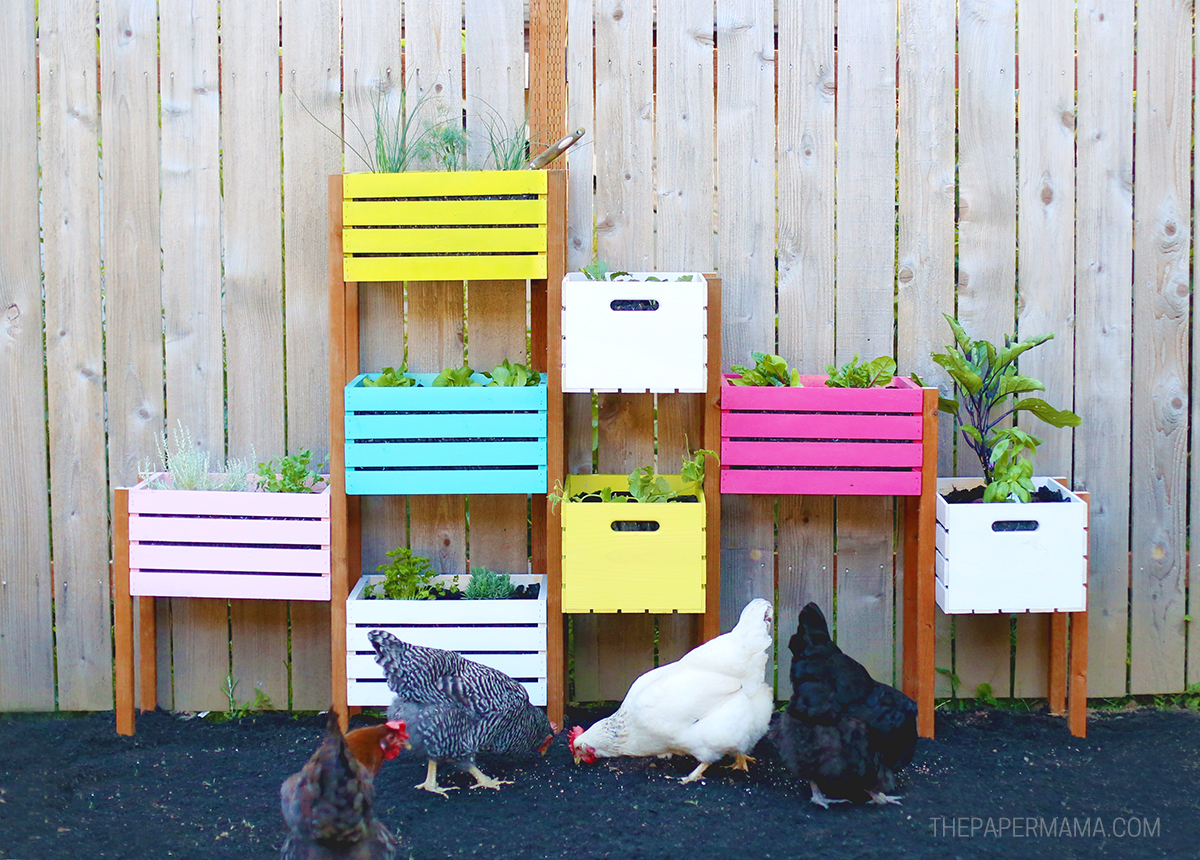
What do you think? Do you love my vertical garden? I do. SO much. Every time I look out my window into the backyard I get to see this colorful garden and it makes me smile.
With over 800 new styles of craft paint, Michaels has more paints for more surfaces! Check out some of their new finishes including ultra metallic & watercolor and get started on your next DIY! Looking for even more inspiration? Make sure you visit Michaels’ blog, The Glue String, to see the rest of the Michaels Makers’ DIY projects!

– Chelsey
P.S. I was provided with a Michaels gift card to share this craft paint DIY with you.


Just moved from 4 acres to a very small area. I will certainly try this. I need to plant my herbs.
Let me know if you build it.
Is this anchored to the fence at all?
Hi Chris,
Yes. We have anchored it to the fence.
Can you share which plants you are growing in these boxes?
Hello Lindsey,
I missed this comment. We grew cilantro, parsley, lavender, curry, dill, and some greens.