My family and I have lived in our little home for about 9 years. The first few years we owned this place we didn’t have the income or time to fix up this 1920’s home. It’s small and needs a ton of work, but it’s ours and we love it (most of the time). Because this house is on the smaller side (950 square feet) we are always searching for clever ideas to create more storage in every little space of this home.
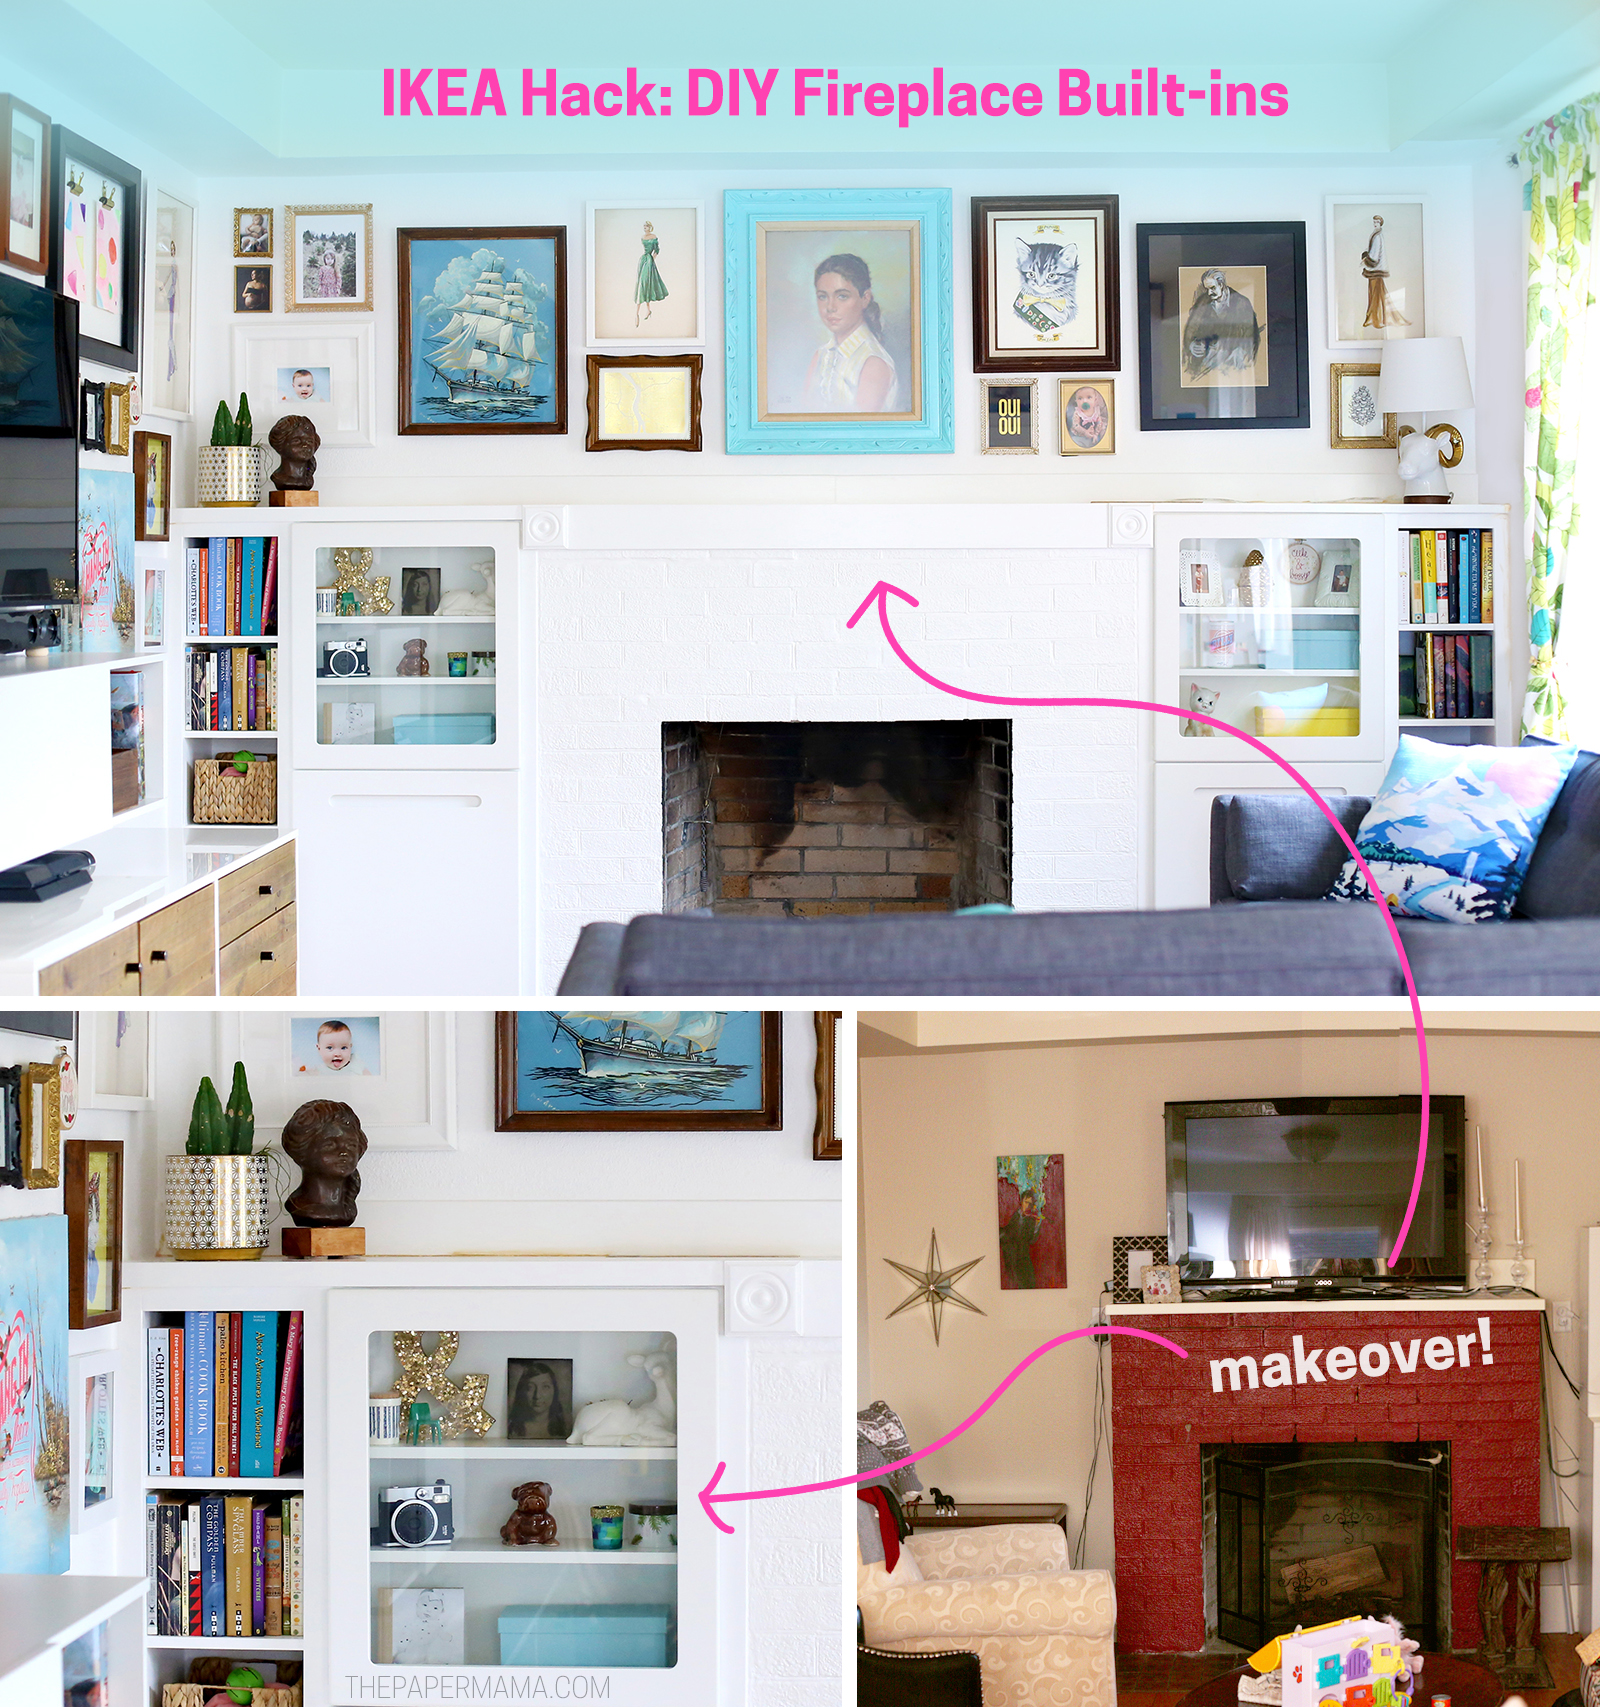
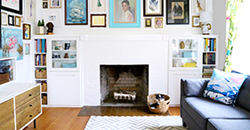
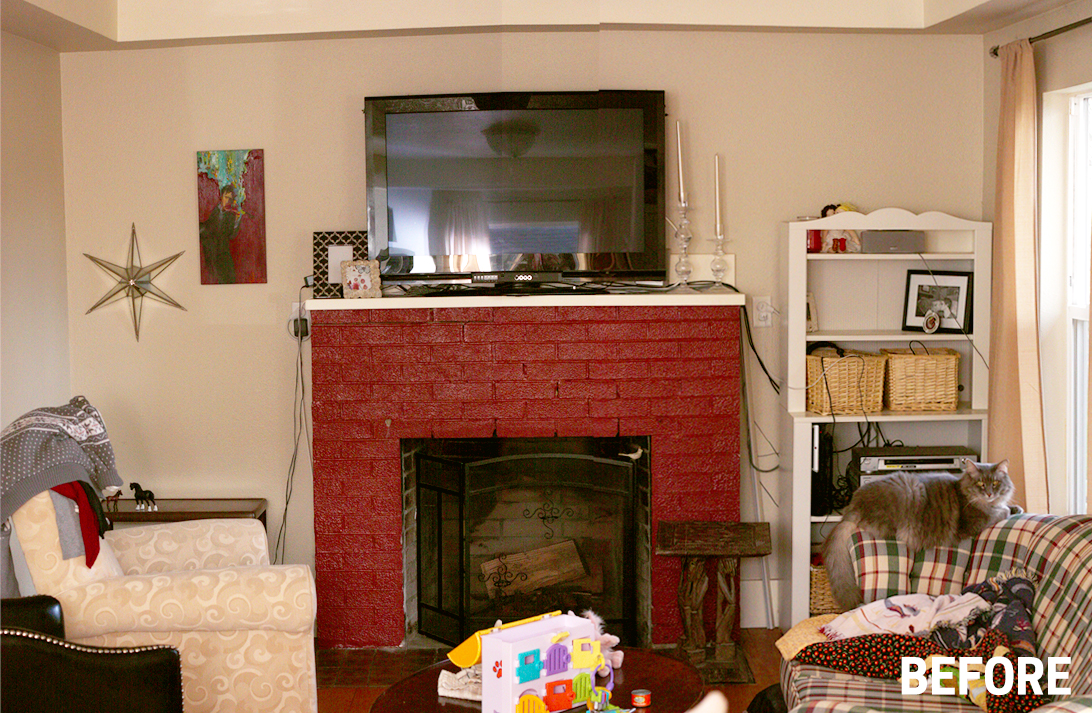
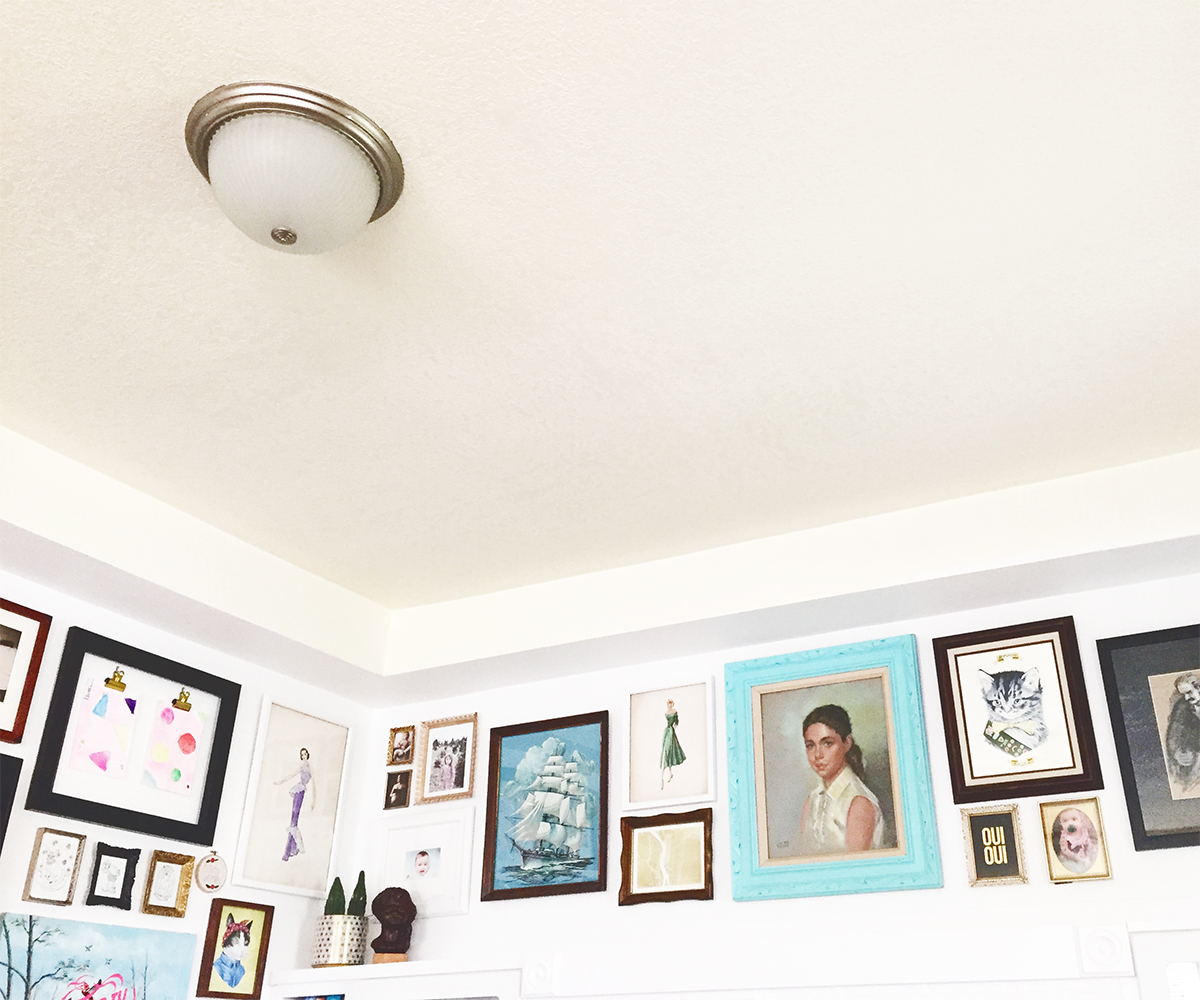
Our fireplace has been on the top of our to do list since we moved in! As you can see in our before photo (from 2012) it was painted this terrible red color and it had these two awkward spaces on either side. Well, we finally did it! We made over the fireplace wall and the wall next to it. Our living room is looking so much more welcoming and we actually have a ton more space in here.
I took a few process photos with my phone while we were working on these DIY Fireplace Built-ins and I added a few notes to each photo to share how we built it.
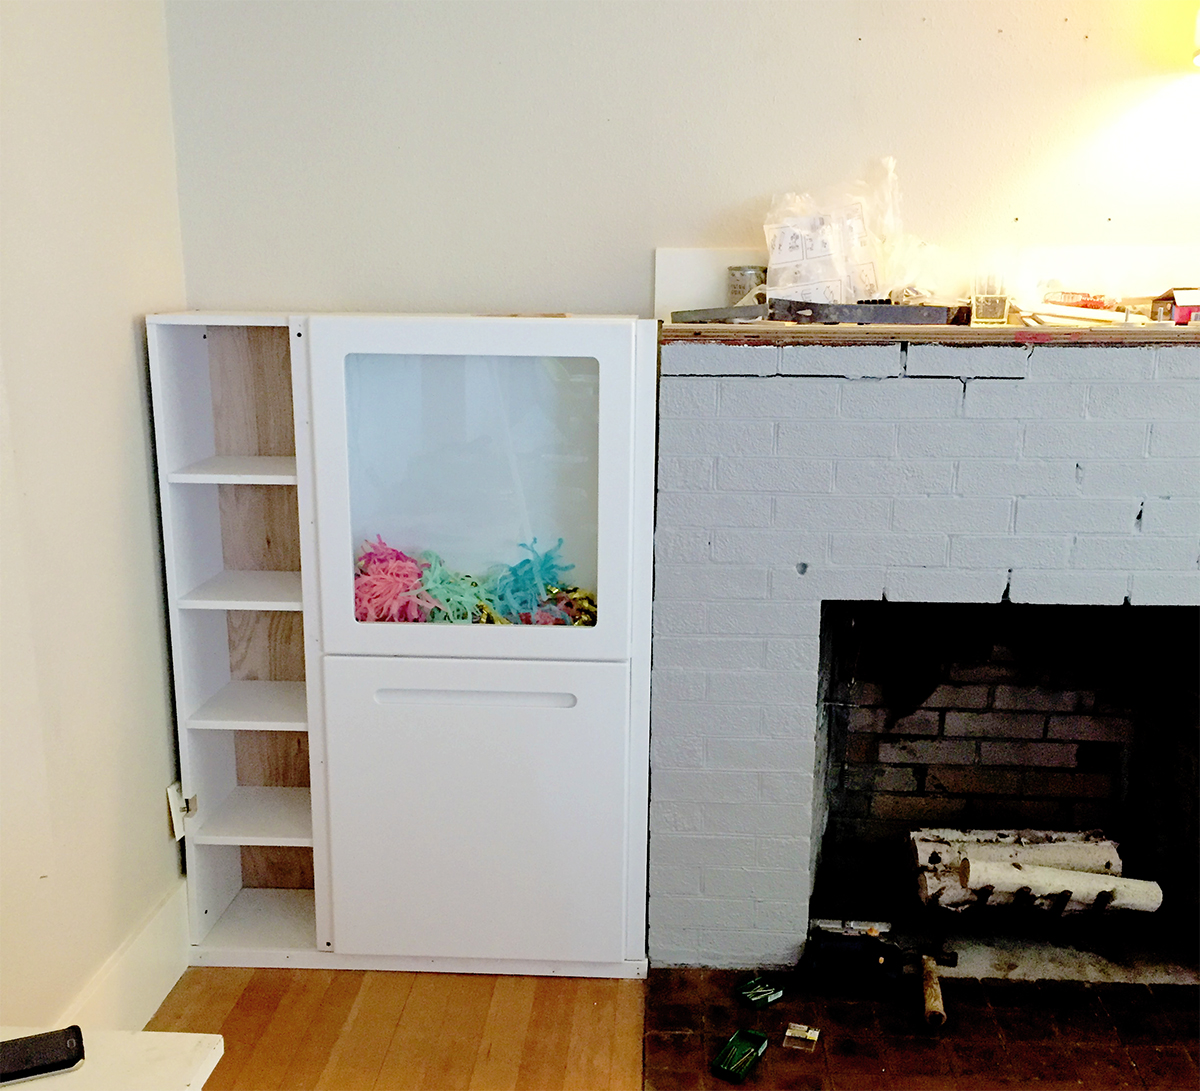
1. First thing we did was decide what sort of Ikea shelving we wanted to use around the fireplace. We ended up going with the Besta system from Ikea (we had used these cupboards in our little babys’ room and loved it). We purchased two stacked 7 inch deep cabinets. Before we installed the cabinets we attached a base to the floor to raise up the cabinets off of the floor.

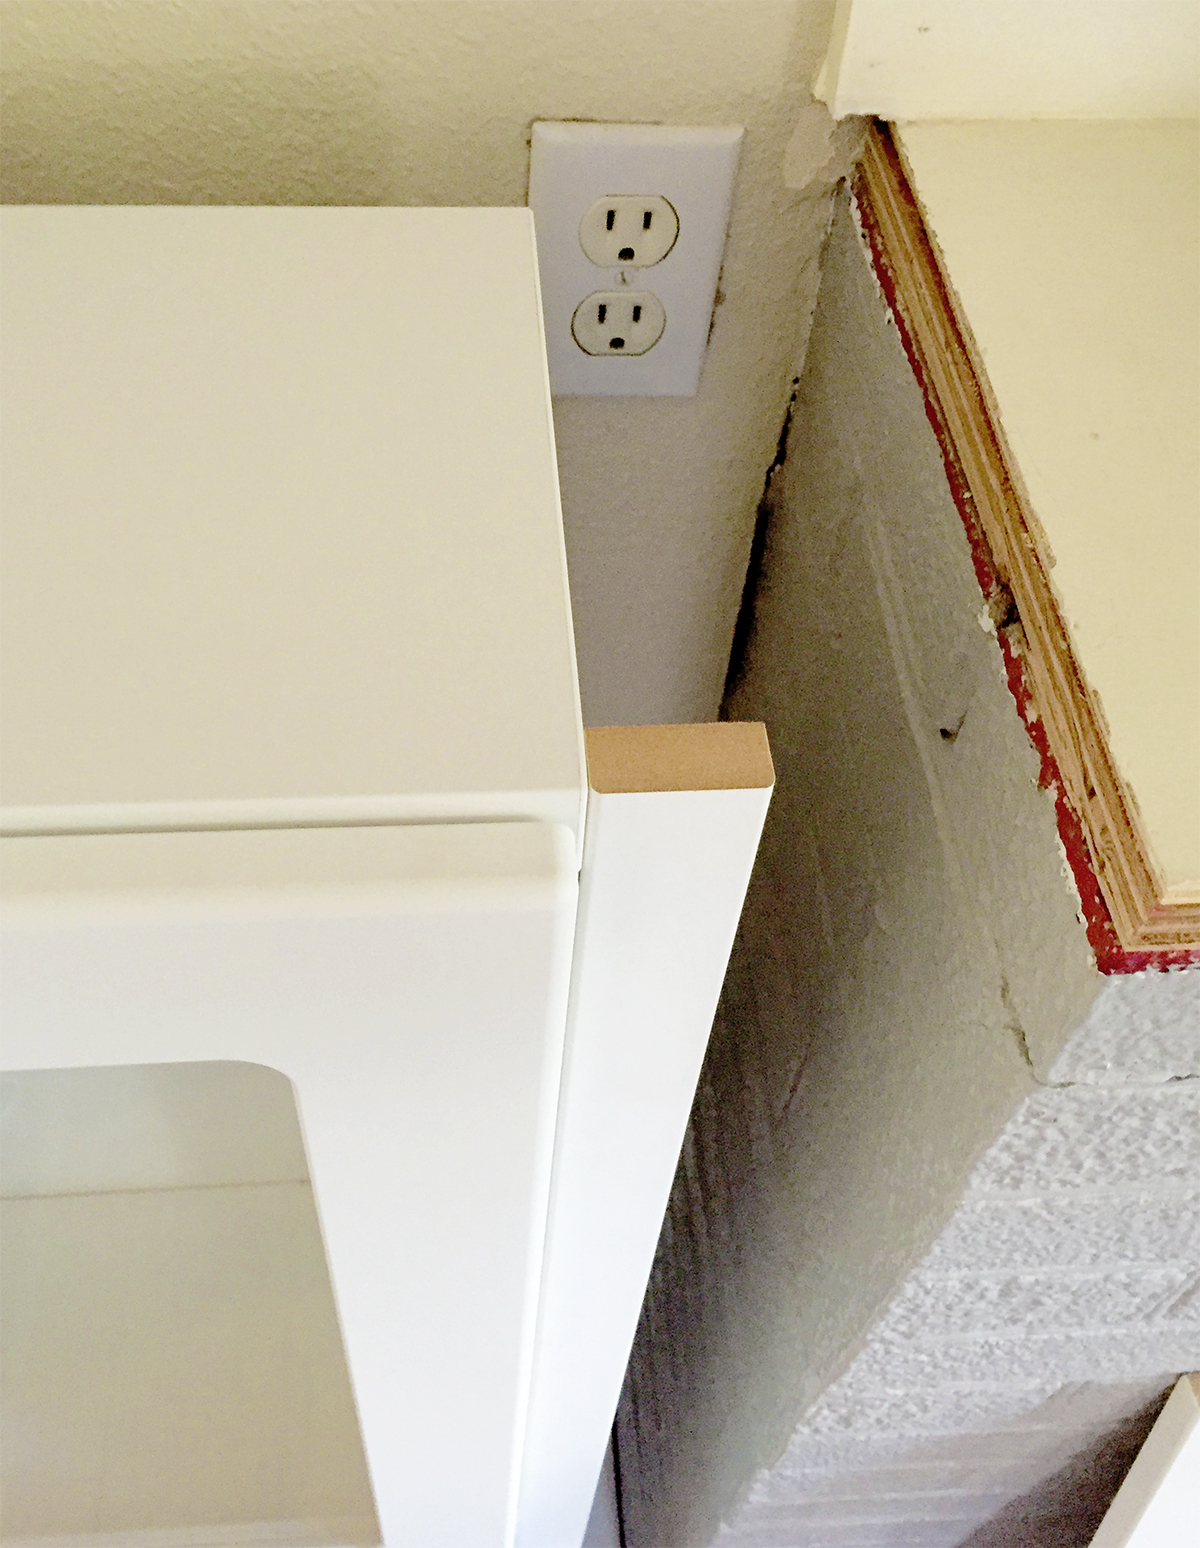
2. We added trim to each side of the cabinet and then secured the cabinet to the floor and wall.
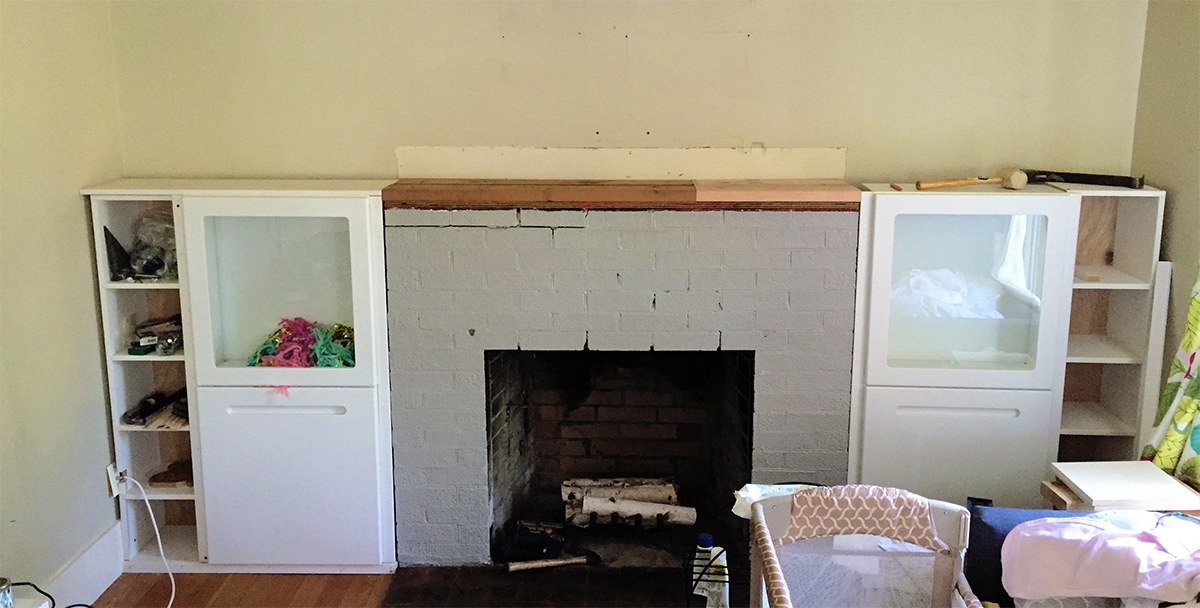
3. We had enough space left next to the cabinet to create a couple of bookshelves (my husband built these). He secured them to the floor, wall, and cabinets.
4.
5. Once the bookshelves were installed we began adding the mantle. The cool thing about our 97-year-old house is the floors are not even, ha! We weren’t able to just pop the mantle on top… it would have been very crooked. SO, to fix this my husband added some extra layers of wood to the lower side to even it out. In the end it worked out.
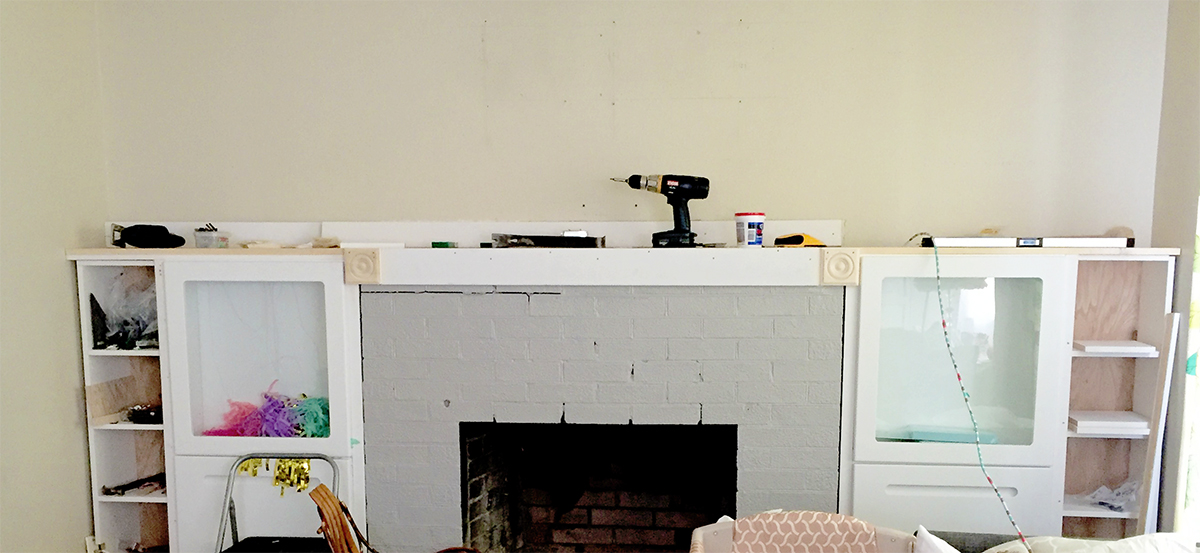
6. Once we leveled it all out we were able to add the mantle. Since there were two electrical outlets up near the top of the fireplace we left two holes, with removable covers, so we could easily access the electric if we need it.
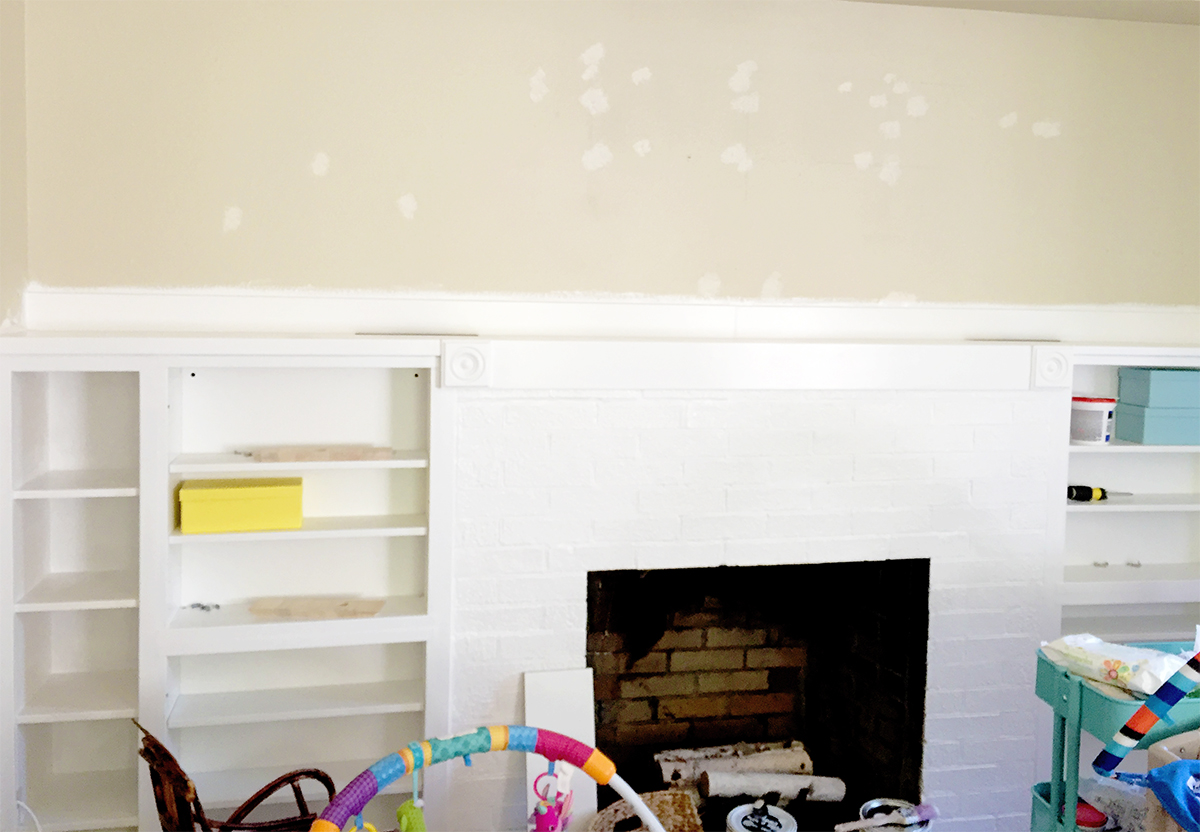
7. When we were done building we filled in cracks, added some decoration and trim, and painted.
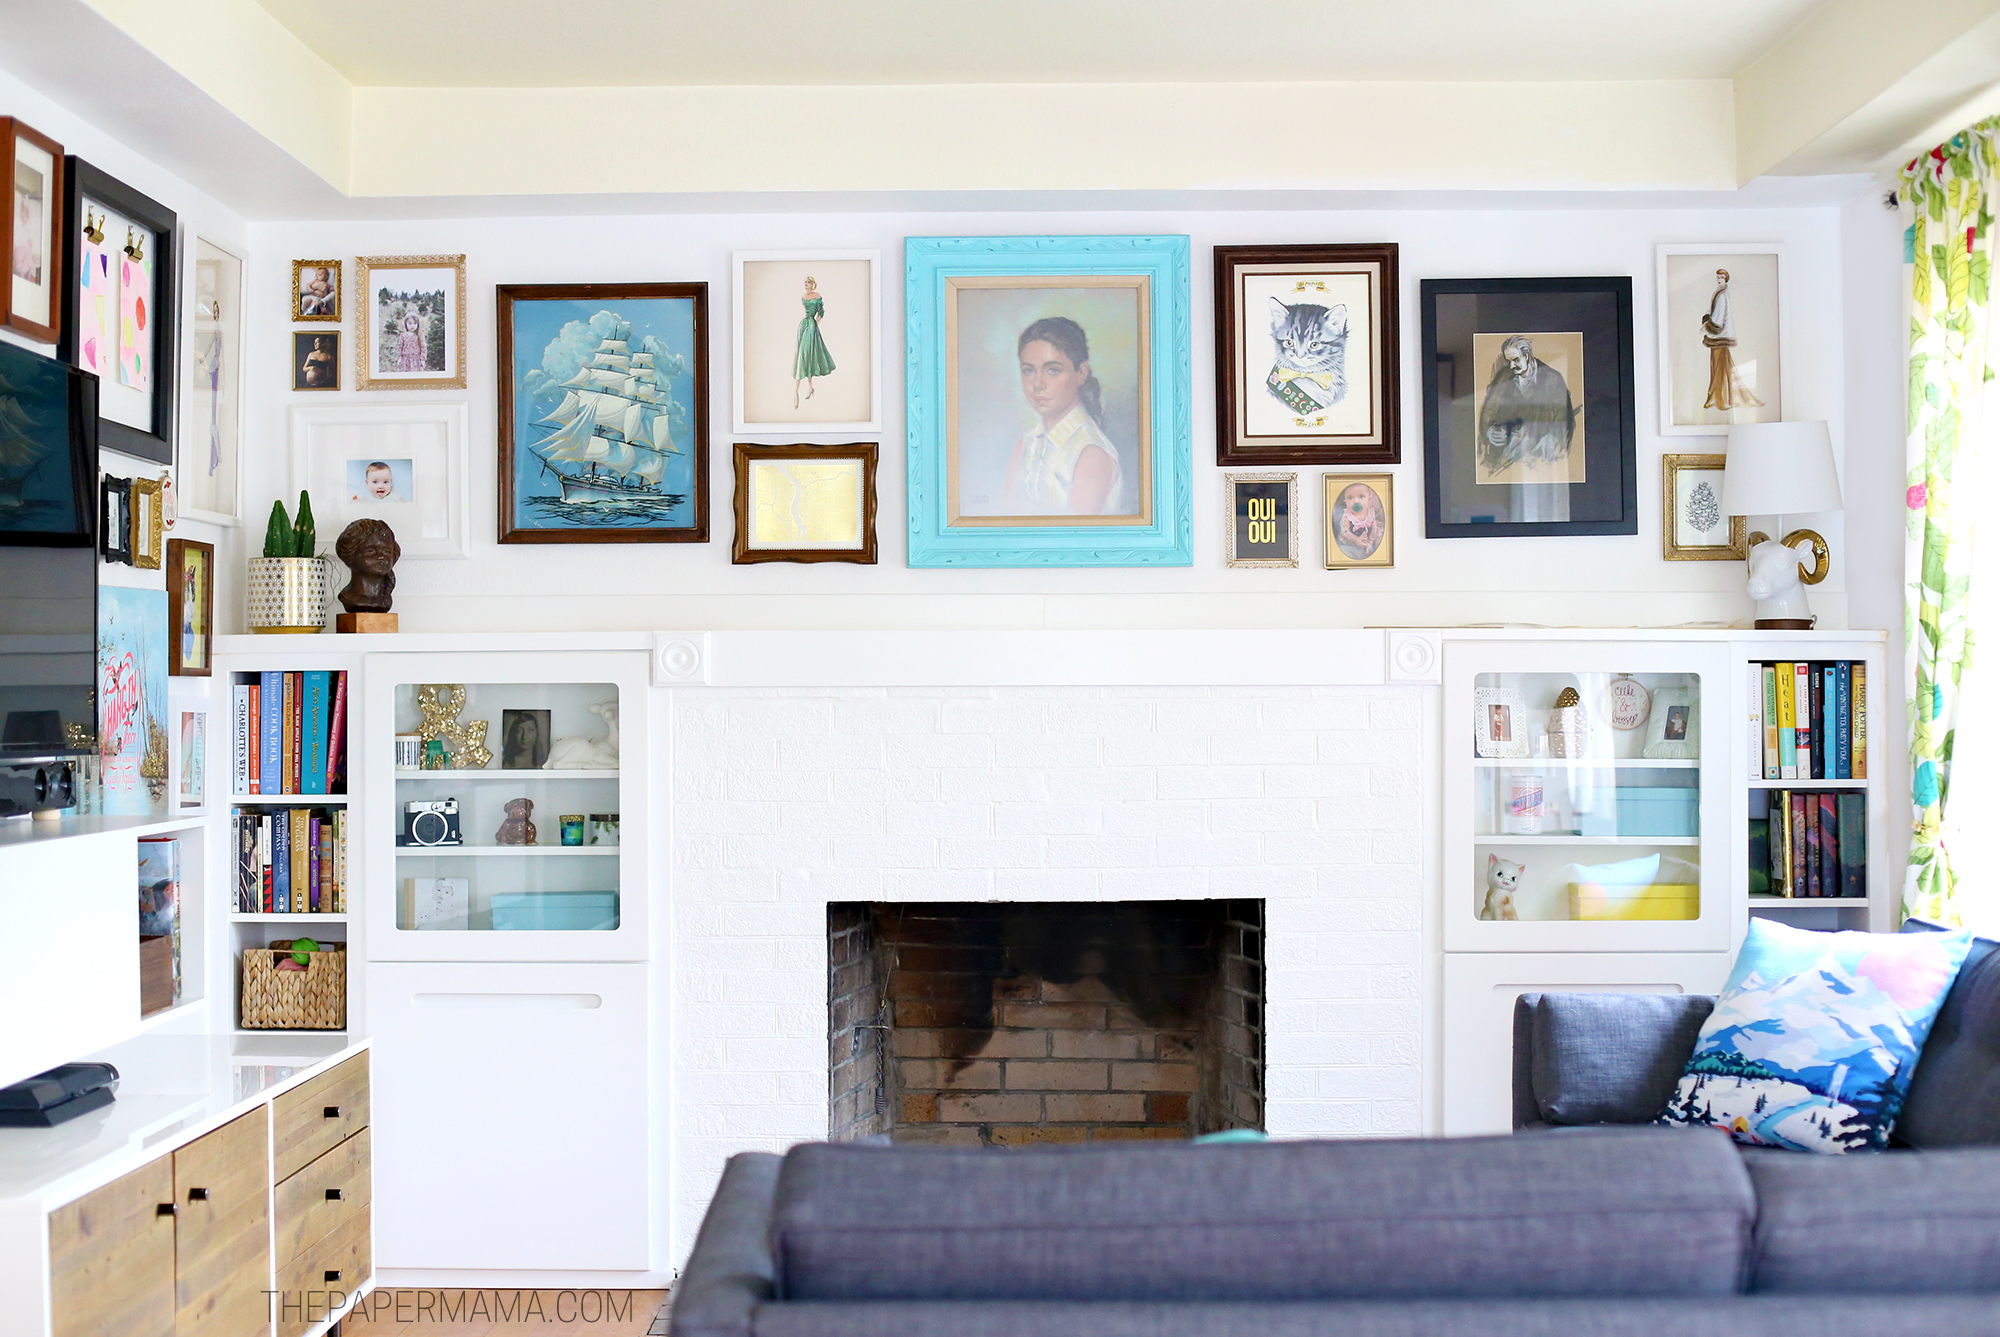

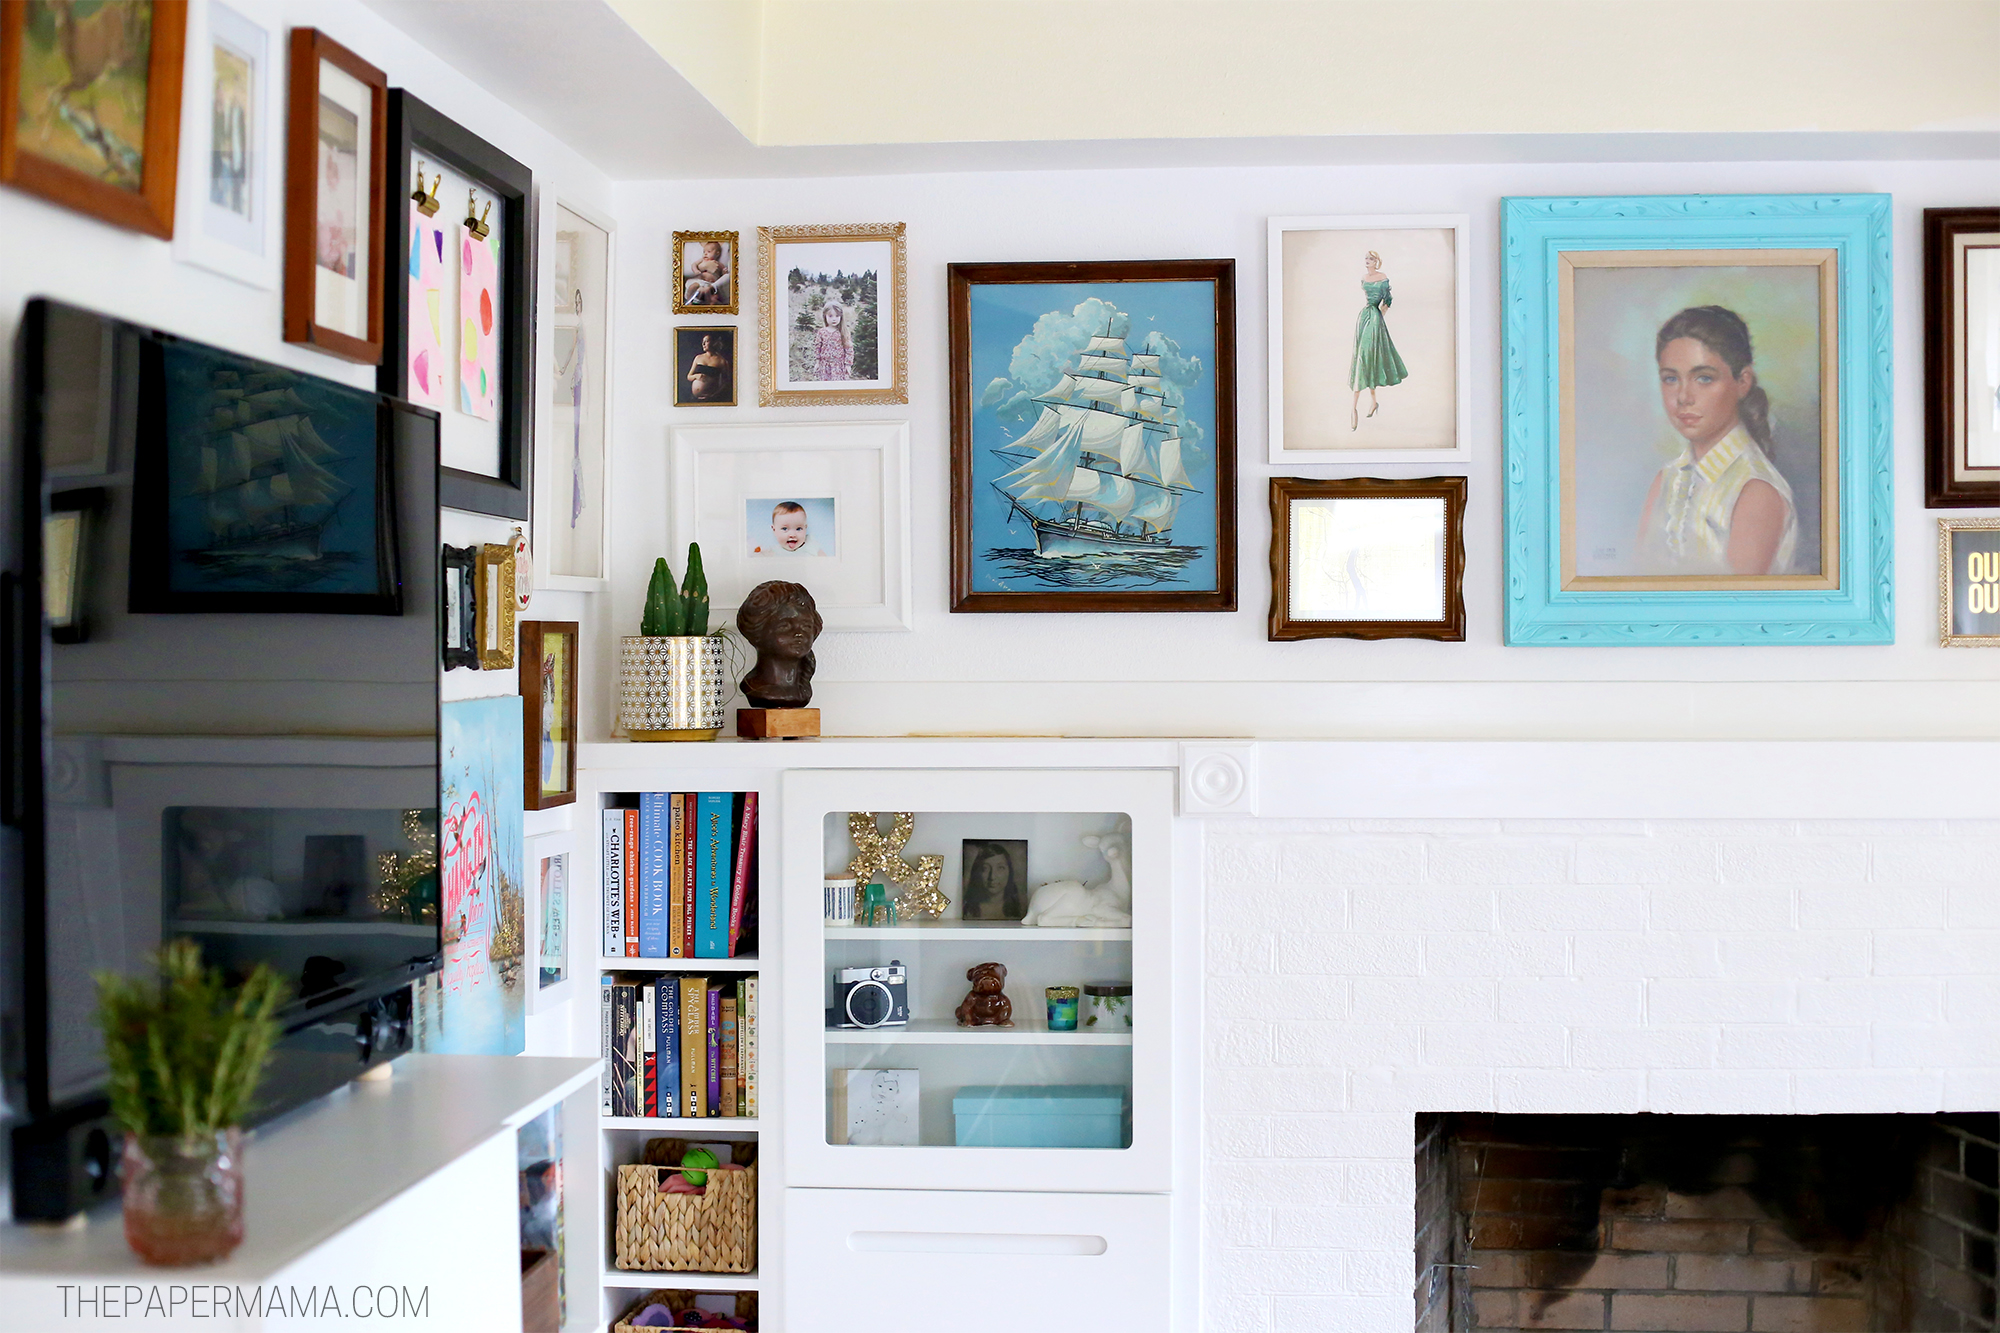
8. We were done! All we needed to do was paint the walls and add some pretty decoration. I believe we spent around $550 total for this project. Yay!
All we have left to do is paint the wall on the opposite side of the TV, paint the ceiling, and change out our boob lights! Yeah, boob lights. I hate those lights… so much! I’m on the lookout for some cool vintage ceiling light, but I haven’t found the right one yet.
If you’d like more details about all the artwork hanging on the walls you can check out my art wall post from yesterday.
Happy Friday!
– Chelsey