

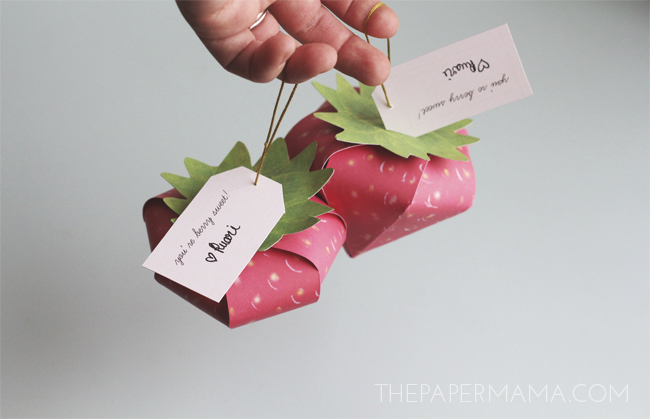
Valentine’s Day is this Friday! You know what’s super exciting? My kiddo is in preschool and get’s to share Valentines with her classmates. This is so fun for both of us. She helped me come up with the Strawberry Valentine treat idea! She always says, “You’re berry sweet!” instead of “very” (because of a certain strawberry cartoon…). Ok, check out below to make your own with some free printables!
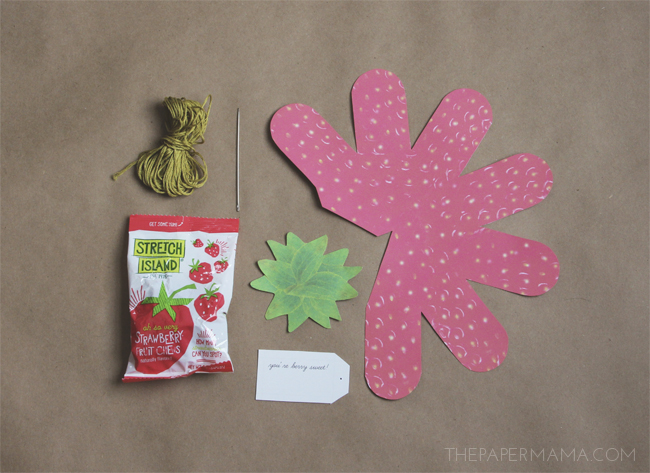
Supplies:
– free strawberry Valentine printables: strawberry front, strawberry back, leaf front, leaf back, and gift tag.
– green embroidery thread
– embroidery needle
– scissors
– hot glue
– yummy Valentine goody
Directions:
1. Print out your free printables (all linked in the supplies: click link and right click + save). Optional: make your printouts double sided. I provided fronts and backs for both the leaves and berry. Just be sure to click “two-sided” when printing.
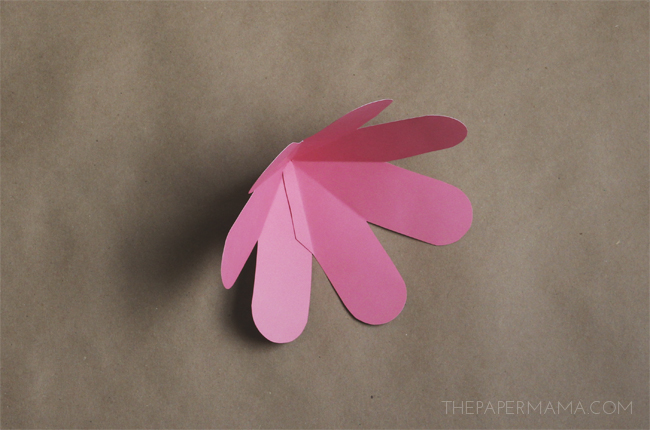
2. Cut out the leaves and strawberry. Just follow the lines of the image on the front side of the printables.
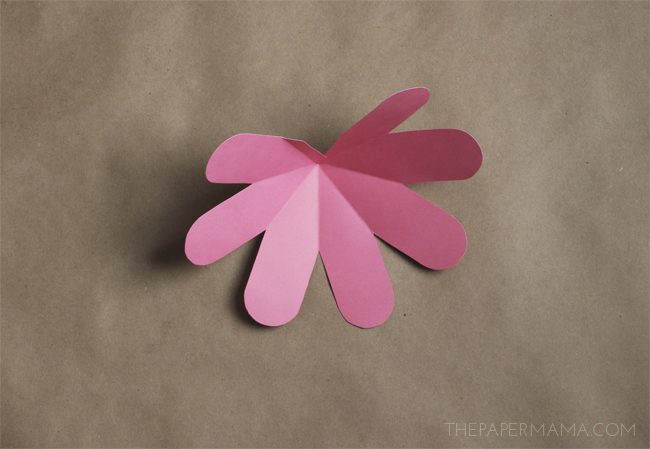
3. Fold the berry printable (see image above).
4. Hot glue the folded flap to the inside of the opposite edge (see image above).
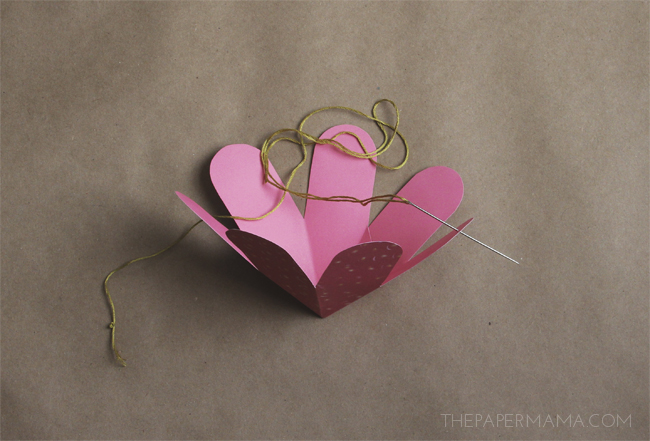
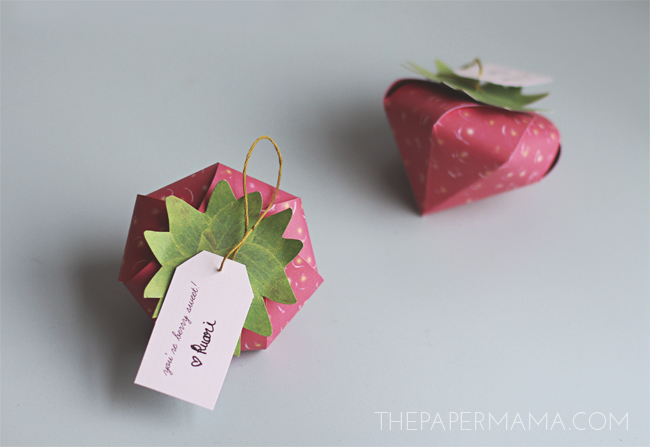
5. Thread the embroidery thread onto your embroidery needle. Tie a large knot onto the end of the thread. Choose one berry “petal” to start with. Poke the needle through the back side to the front side of the printout.
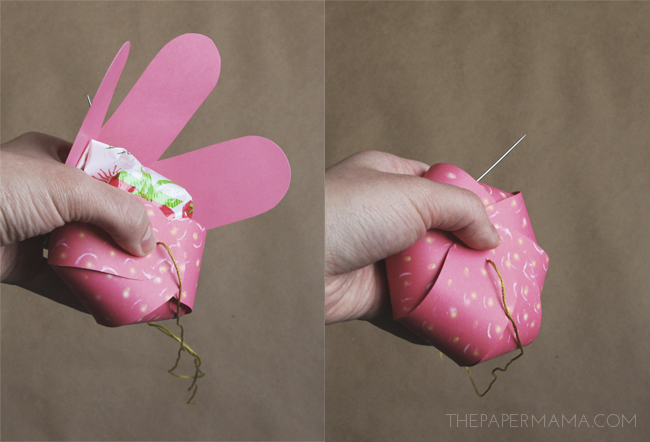
6. Continue threading the back of each petal through the front. When you’ve threaded four petals, place your treat in the strawberry.
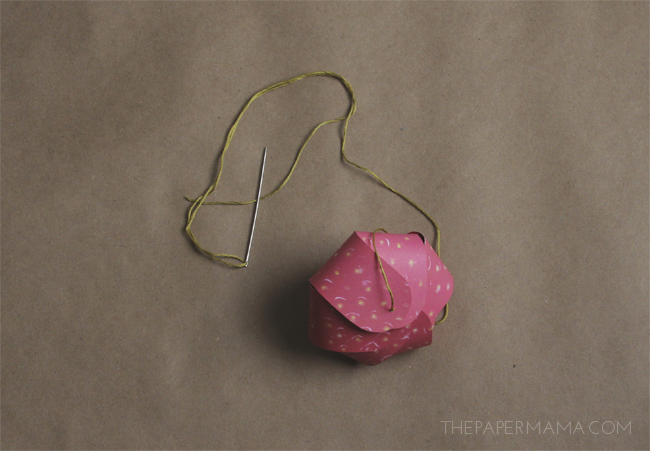
7. Continue threading the berry petals, and tie a knot to secure it.
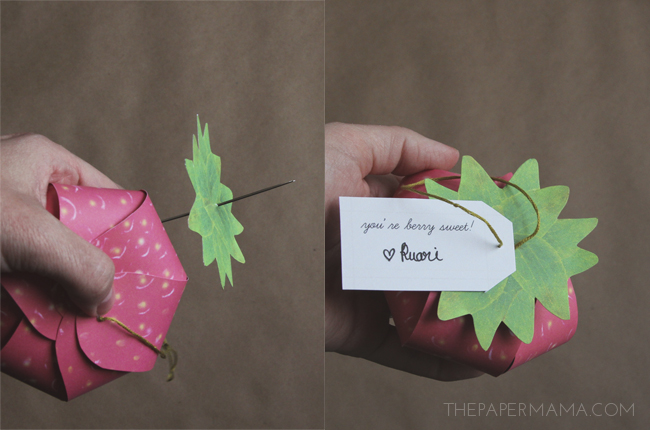
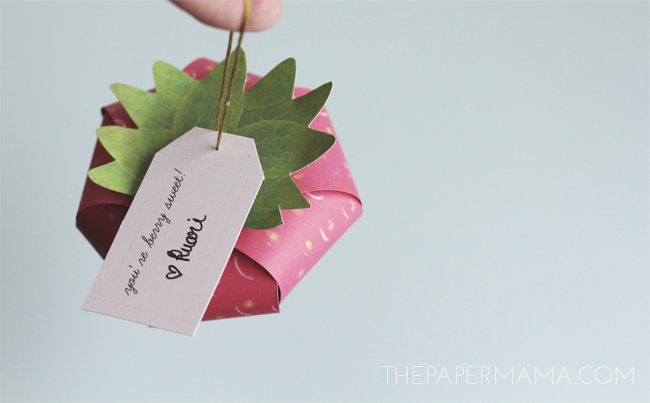
8. Grab your cutout leaf and poke the needle through the back in the center. Then, poke the needle through the back of the gift tag hole and push to the top of the strawberry. Poke the needle back through the top of the leaf. Tie a large knot on the back of the leaf. Cut the thread. Done. Optional: for a more secure leaf, put a couple dots of hot glue behind the leaf and secure.
9. Optional: Want to skip the “sewing”? Well, use hot glue for steps number 5 – 8. Before you glue down the final petal, push a tied off section of embroidery thread through the inside of the strawberry. Push it back through the strawberry top and tie off the thread to make a loop.
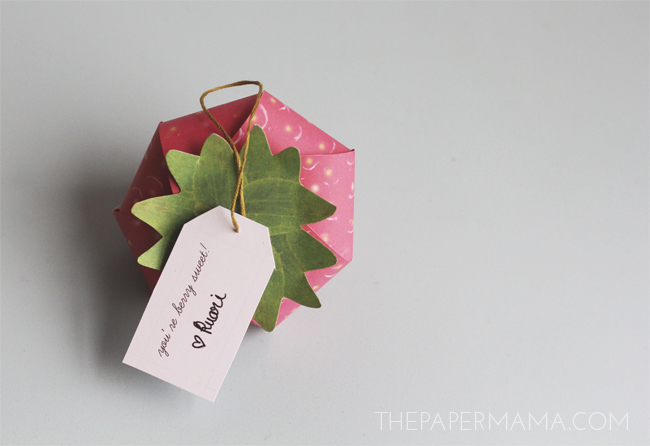
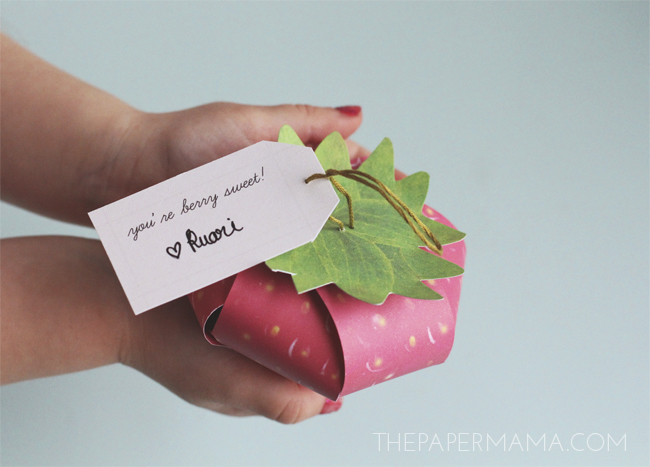
Done!
– Chelsey
P.S. Turns out I was not the only one with the paper strawberry idea. There’s a TON out there. My fave was definitely the paper strawberry made by Mini-eco for Oh Happy Day.
Tags: gift tag, happy valentines day, paper, party, printable
Categories: diy, Holiday - Valentine's Day


ridiculously cute – love it!
So cute! I'm having a hard time locating the link to the printable?
OMG. I forgot to link it. It's up now. So sorry!
Beautiful diy project!!