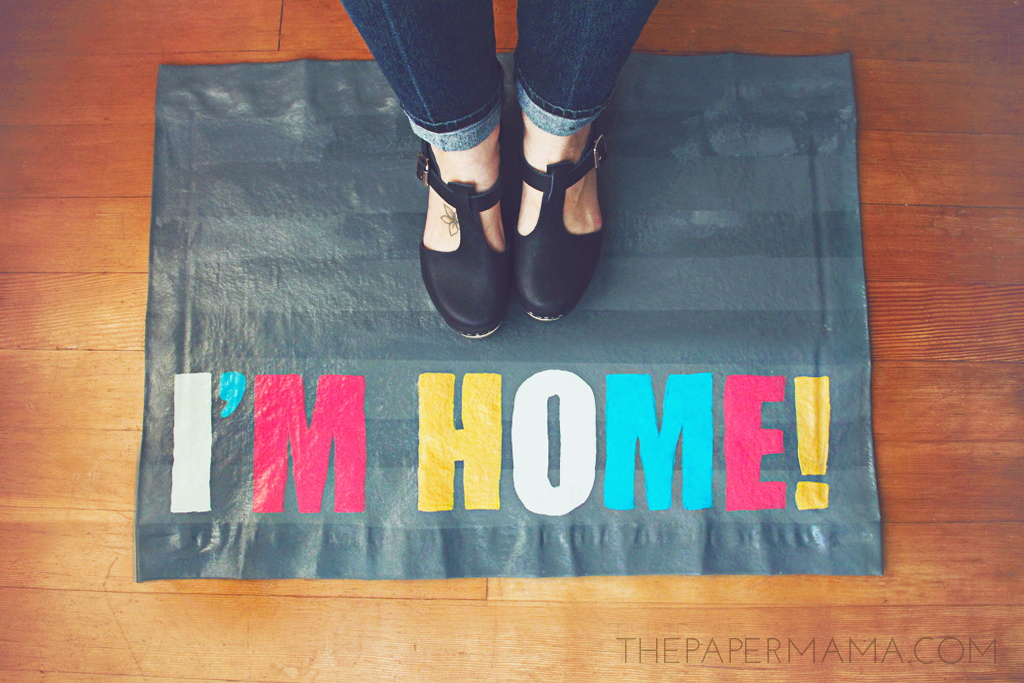
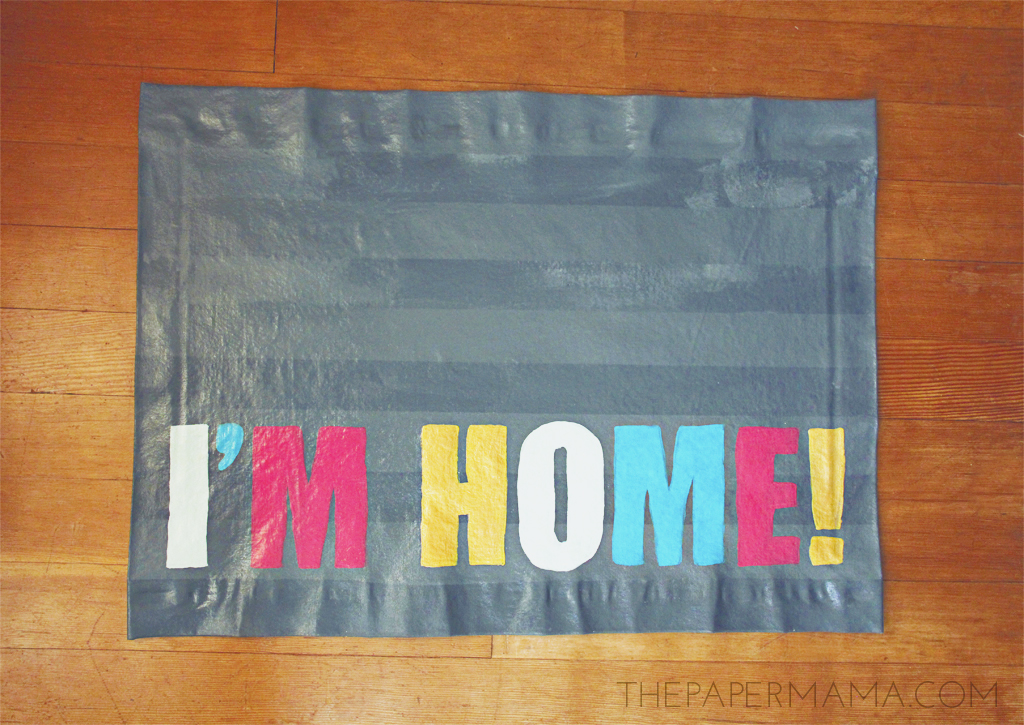
Today I want to share this canvas No Sew “I’m Home” Floor Mat with you (I made it for the HP Create site). I LOVE how it turned out. The best part: it’s a no sew project. Yup. You CAN sew it if you want, or not. I went with the “not” option. Another thing about this little mat is it’s waterproof, just use a wet rag to wipe off any water or dirt. Boom.
Supplies:
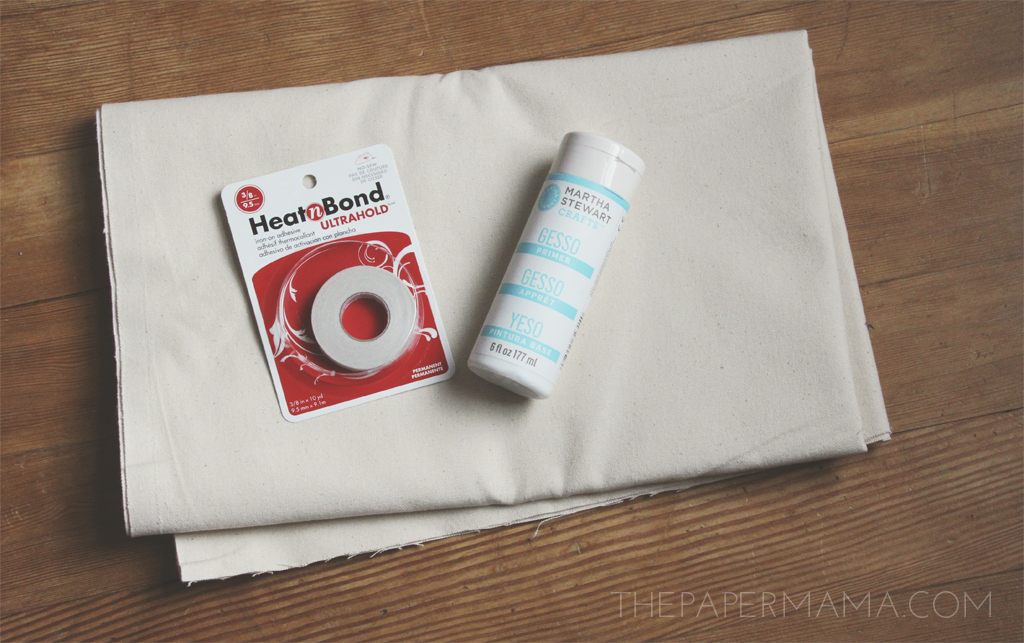
- 1 yard duck canvas cloth
- 1 bottle of Gesso Primer
- Heat n Bond Iron-on Adhesive
- large paintbrush
- medium paintbrush
- small point paintbrush
- 2 inch wide blue painter’s tape
- acrylic paint: grey, white, pink, light blue, darker blue, yellow, and gold
- “I’m Home” free printout
- pencil
- optional: fray check
Directions:
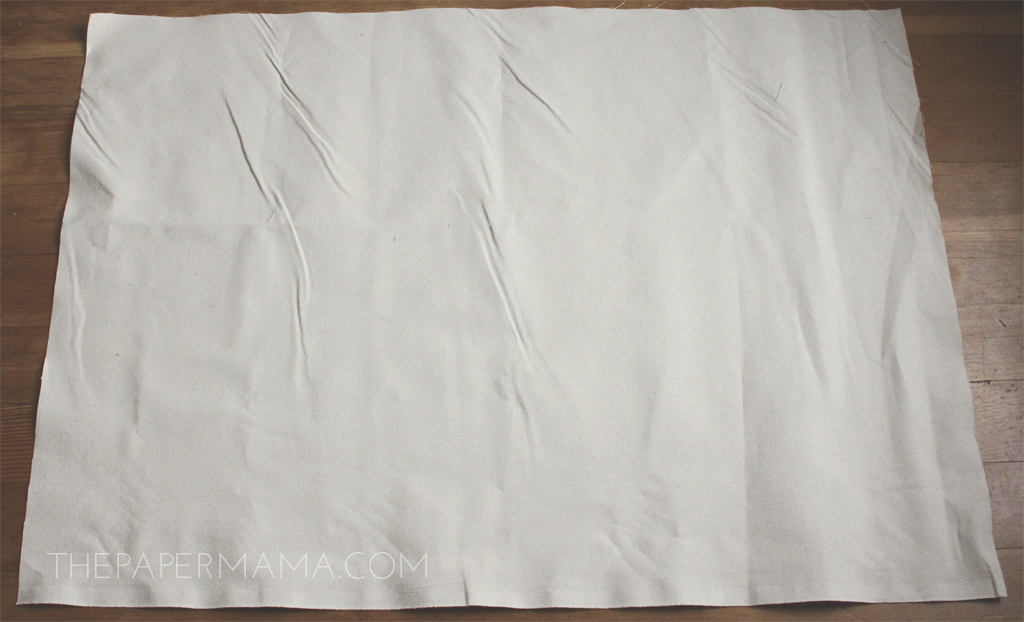
Step 1: Measure and cut out your duck canvas cloth to 34 inches wide by 26 inches wide (that gives you 2 inch seam allowance on each side). Iron out any wrinkles (set to cotton setting).
Step 2:
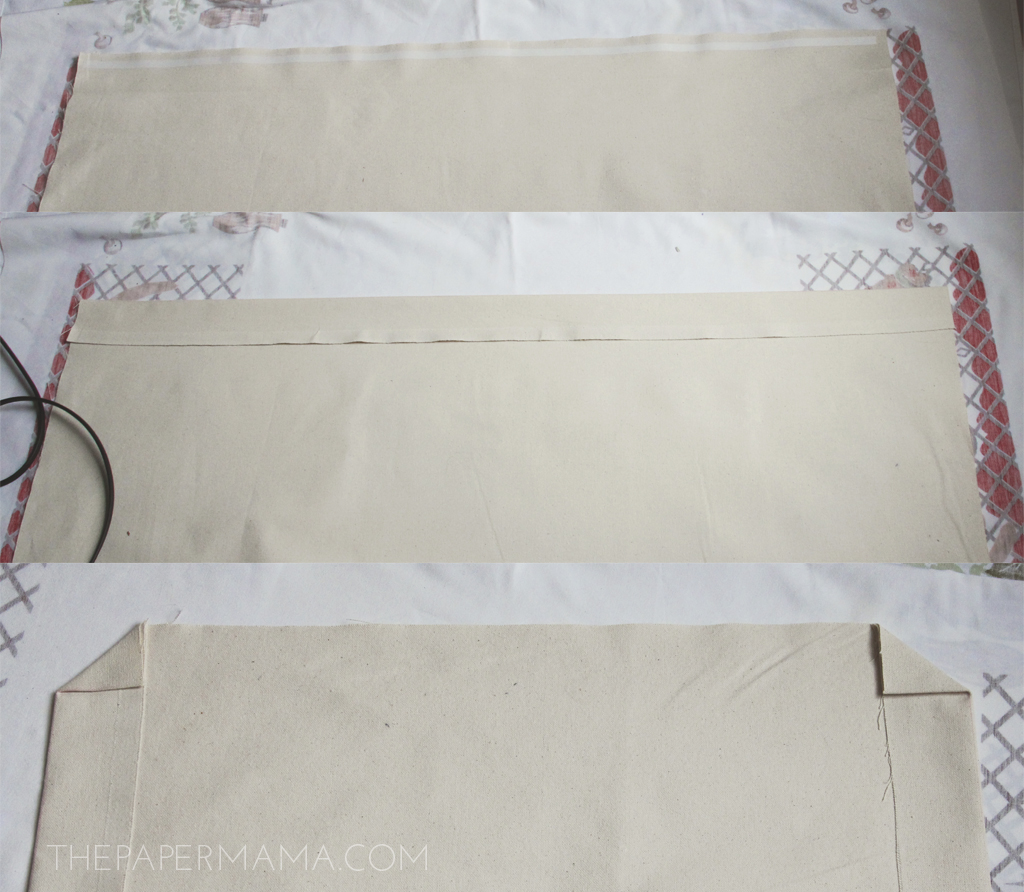
A. Measure and mark, with a pencil, 2 inches in on each edge of your freshly cut canvas piece.
B. Starting on the 34 inch side, place a strip of the Heat ‘n Bond Iron-on Adhesive (paper side up) along the edge of the fabric. Heat up your iron to medium heat (no steam). Press the iron along the whole adhesive strip, keeping the iron on each section for 2 seconds. Let the strip cool. Repeat on the other 34 inch side. Tip #1: Always be sure to double check the directions of the product you’re using before starting.
C. When the ironed-on adhesive strips are cool, carefully peel back the paper. Fold the fabric over 2 inches to your measured mark. Press the iron along the folded portion of the fabric, keeping the iron on each section for 8 seconds (6 seconds for thinner fabric). Let cool. Tip #2: Since the duck cloth is so thick, I noticed that the adhesive+fabric might lift up a little while hot. Keep a hot pad nearby to press down these sections until cool (the strip glue just needs to cool down and secure itself to the fabric).
D. When the fabric + adhesive strip are cool, fold in the 4 corners (on the 34 inch side) to the folded fabric edge (pictured above). Mark the fold line with your pencil. Iron-on a small piece of Heat ‘n Bond Adhesive on the corner. Peel back paper, fold corner over at the marked line, and press the iron down on the corner for about 10 seconds. After ironing the corner, push the corner down with the hot pad until cool. Repeat this on all 4 corners. Let cool.
E. Repeat B & C on both of the 26 inch side of the fabric. When you’re done ironing you should have a rectangle measuring around 30 x 22 inches.
Step 3: This step is optional, but I did it since I already have fray check. Run the fray check along the raw edge of your folded fabric back. This will help keep the fabric from fraying.

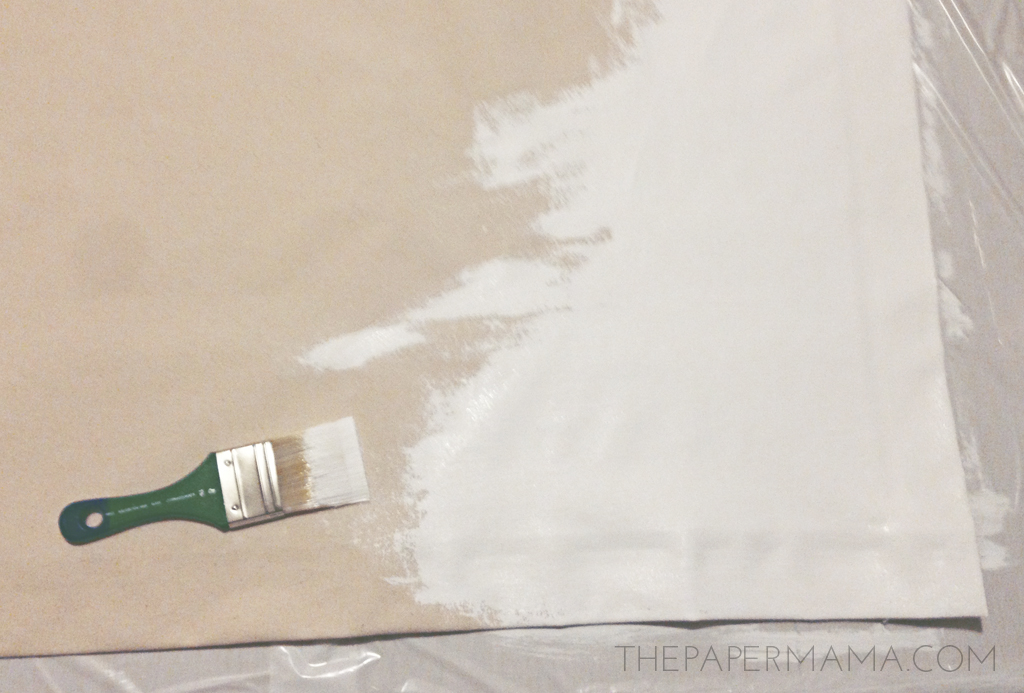
Step 4: Use your large paintbrush to paint on 3 layers of gesso (allowing the paint to completely dry between each layer). I used the entire bottle of Martha Stewart Primer Gesso. Tip #3: When you paint fabric, it will pinch and wrinkle. When the paint is dry you can press it down with something heavy (books), and/or iron the back of the floor mat to get those wrinkles out.
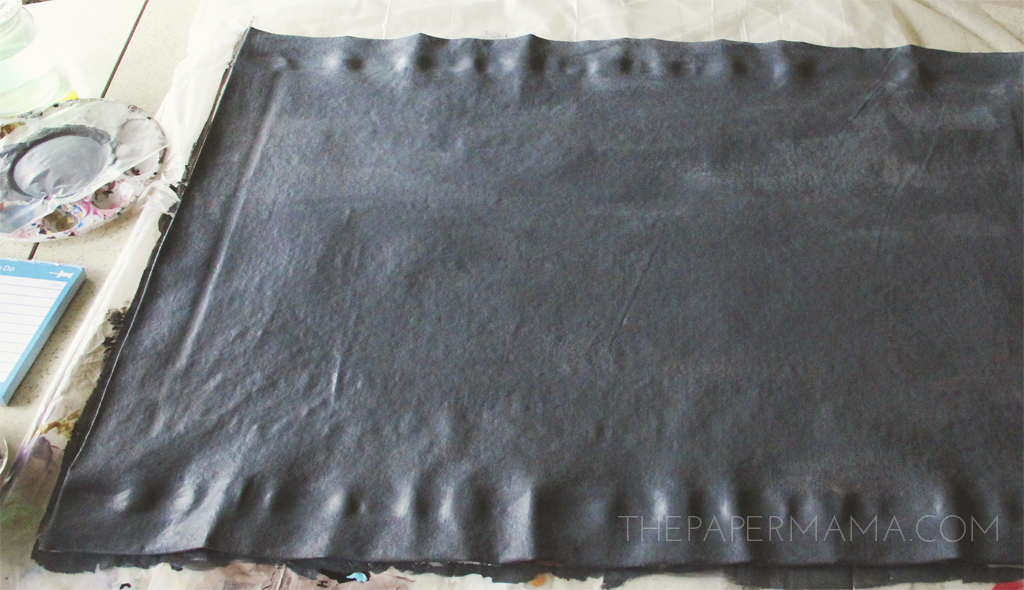
Step 5: Painting time! Use your large brush to completely cover the mat with your gray paint. Let dry.
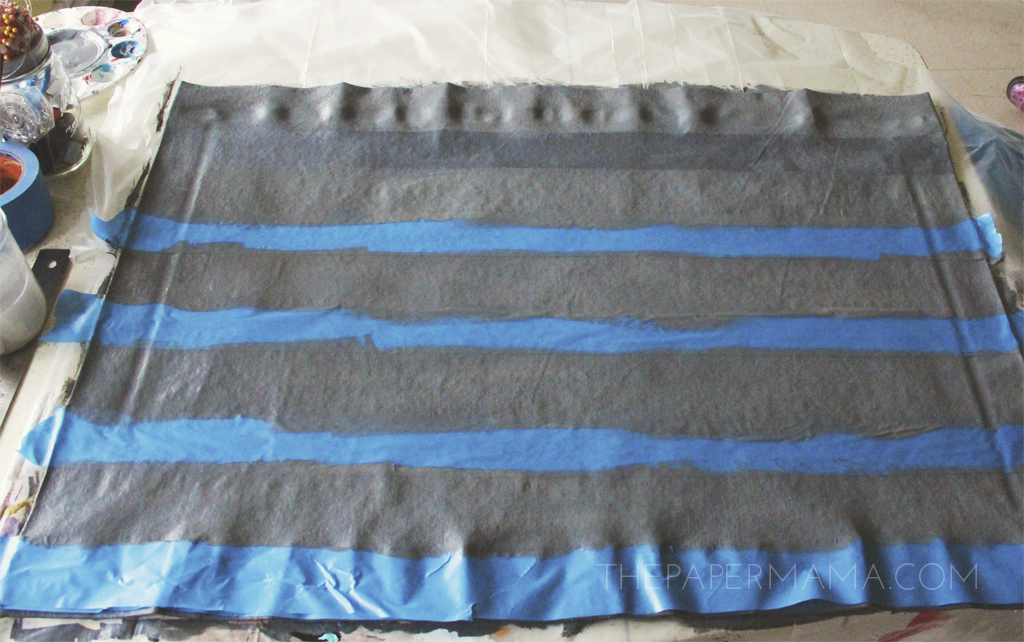
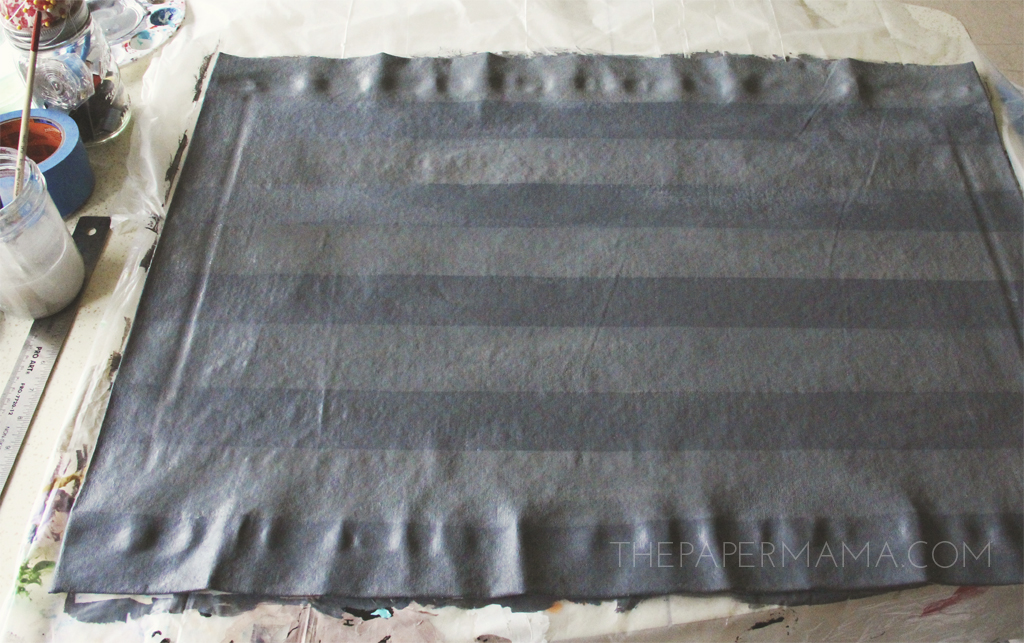
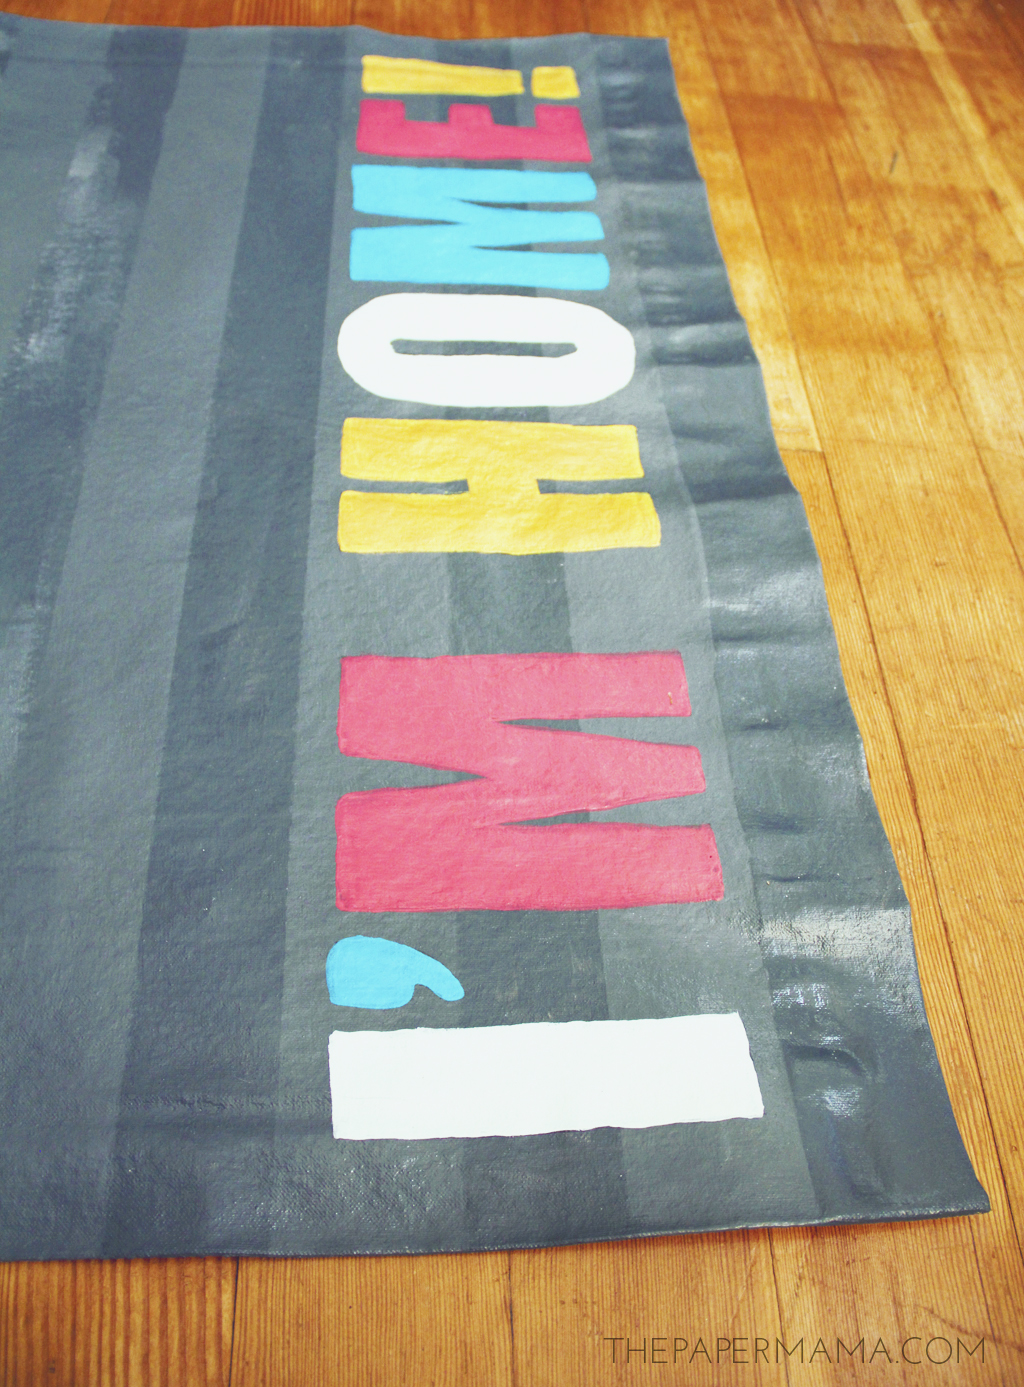
Step 6: Tape off horizontal stripes on your mat (with 2 inch spacing). Add a little bit of white paint to your gray paint and mix it together (to get a gray that’s just a tiny bit lighter than the base gray). Paint the lighter gray on the untaped stripes. When done painting, carefully peel back the tape and let the mat dry completely.
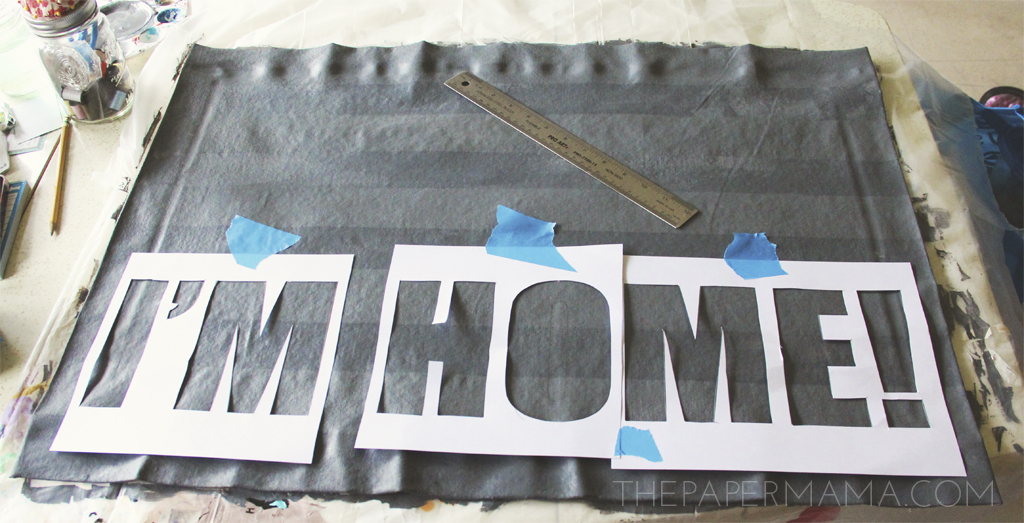
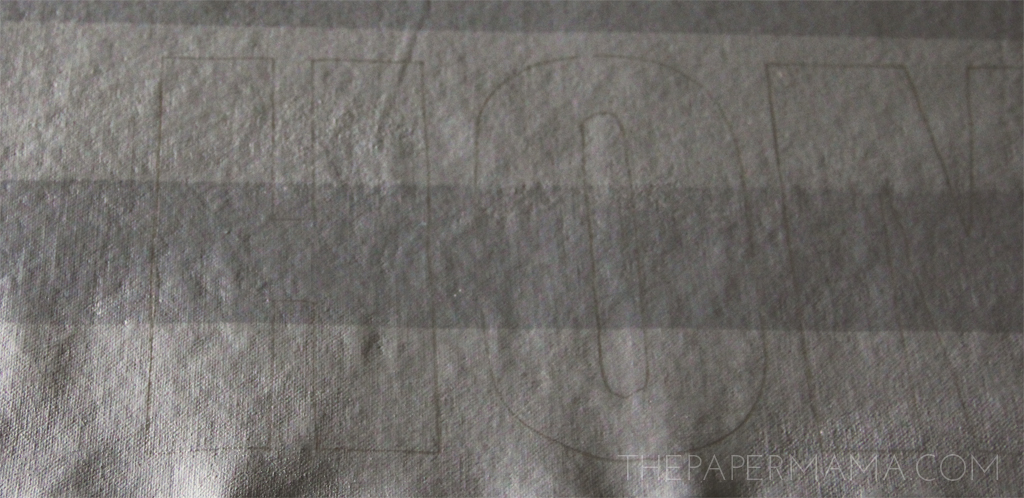
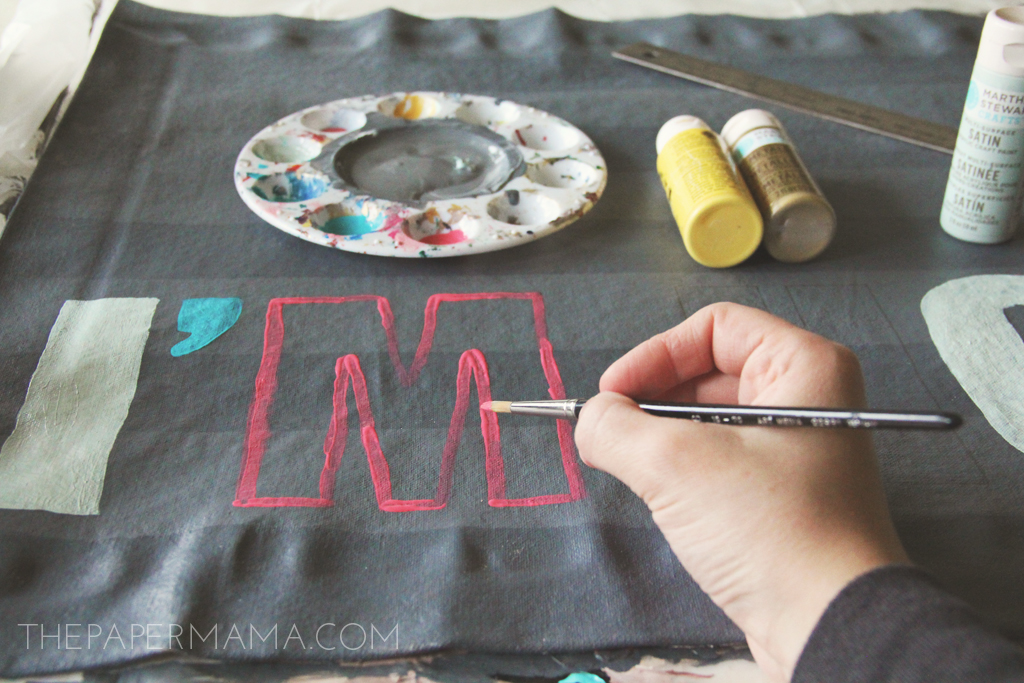
Step 7: Print and cut out your “I’m Home!” printout. This will be your stencil. Use a ruler to line up the stencil. Secure the stencil with some painter’s tape. Trace the letters with your pencil.
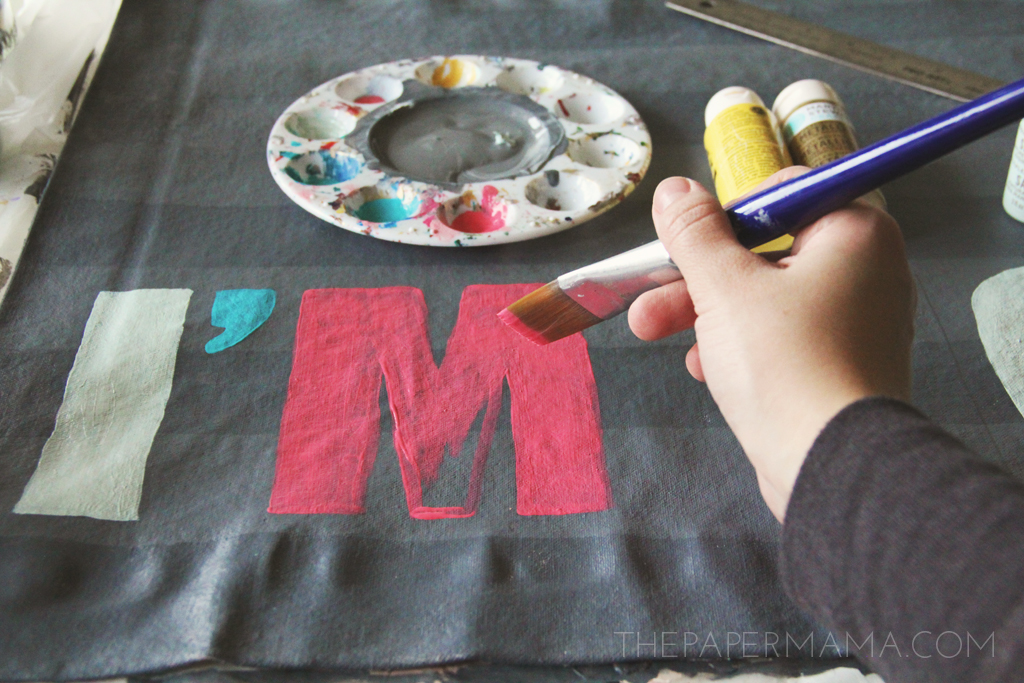
Step 8: Let’s paint the letters! Choose your color pattern: I went with light blue, dark blue, pink, and yellow/gold. Use your fine point brush to trace the lines of the letter with the paint. Fill in the traced paint lines with your medium brush. Let dry and repeat if needed. Tip #4: For the gold letter, I started with a layer of yellow paint and followed that with a layer of gold. The yellow underneath makes the gold brighter!
Step 9: In a well ventilated area, wearing a mask and safety goggles, spray 4 layers of Acrylic Sealing Spray on the painted side of the mat (allowing dry time between each layer). Let the mat dry at least 24 hours before handling.
Step 10: Still have a few wrinkles from painting the fabric? Flip the floor mat over (paint side down) and iron the back of the mat. This will get a few of the remaining wrinkles out. Don’t worry if there are still a few wrinkles after ironing, the mat will relax with time and use.
That’s it, you’re done!
– Chelsey
P.S. I am a paid contributor for the HP Create website!