
Day 25: Hi friends! My name is Maryam and I blog over at Pamplemousse1983. Today I’m going to show you how to make some easy peasy cheap wrapping paper.
Here’s what you’ll need…
- Paint (Tempera is perfect, especially if you’re doing this with a child. I used cheap-o Crayola)
- A Potato
- Paper (I used brown packing paper but newspaper would also work, as would butcher paper)
- An Exact-O or knife
- A brush
- Metallic ink pads or Metallic sharpies
- Optional: a pencil
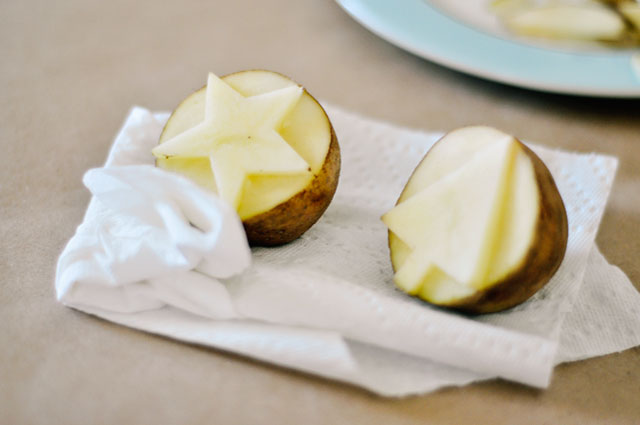
Start by cutting your potato in half and cutting out a design. Geometric shapes with straight lines are easiest but hey, go crazy!

When you’re done cutting your shapes out, blot them with tissue or a paper towel to get them nice and dry.
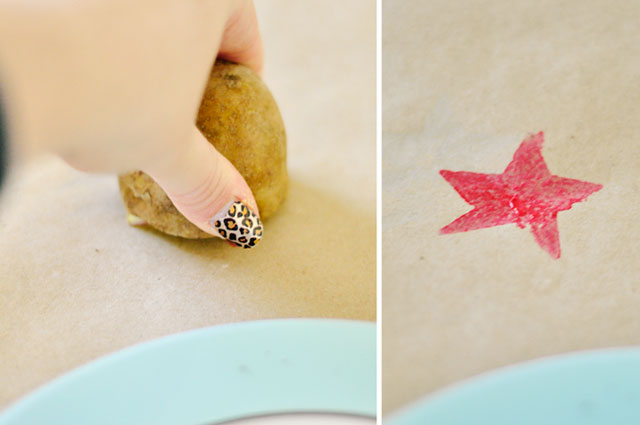
Use your brush to add paint to your stamp. You don’t want too much paint or else it’ll slide and smoosh and be generally unpretty.

Stamp away! You can stamp randomly on your paper or in lines. I chose lines. I like the way the patterns looked.

Use your stamp pad to add designs. You can use a small finger on the stamp pad to make smooshy shapes or the rubber eraser on the back of a pencil for nice round shapes.
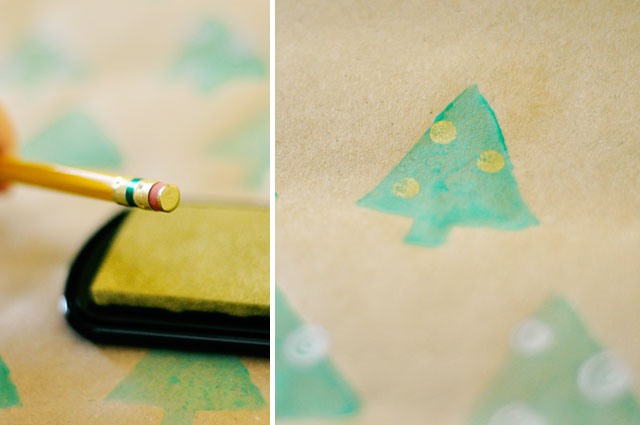
You can also use the sharpies to add designs if you’d like.
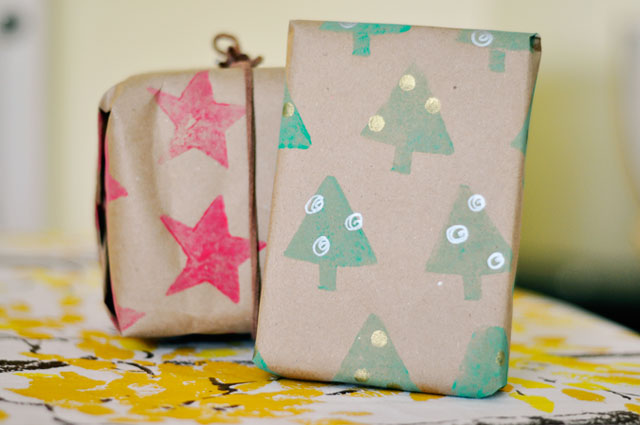
And voila! There you have it…pretty one of a kind wrapping paper!
………………………………………………..
Thank you SO much to Maryam from Pamplemousse 1983! What a LOVELY guest post. So simple! I have to try it! Thank you for joining my 50 DIY Days of Christmas!


